How to create a new Main Office / Branch Office
This is a step-by-step guide for Service Providers on add their first Main Office / Branch Office.
By Leo
In this guide, we'll learn how to add a new main office/branch office through the organization settings.
This process involves navigating from the homepage to the organization settings via the side menu. Once there, you'll create a new office and input the necessary details, such as the office name and branch code. Finally, you'll save the information to complete the setup.
Let's get started
Let's add a new office through the organization settings.
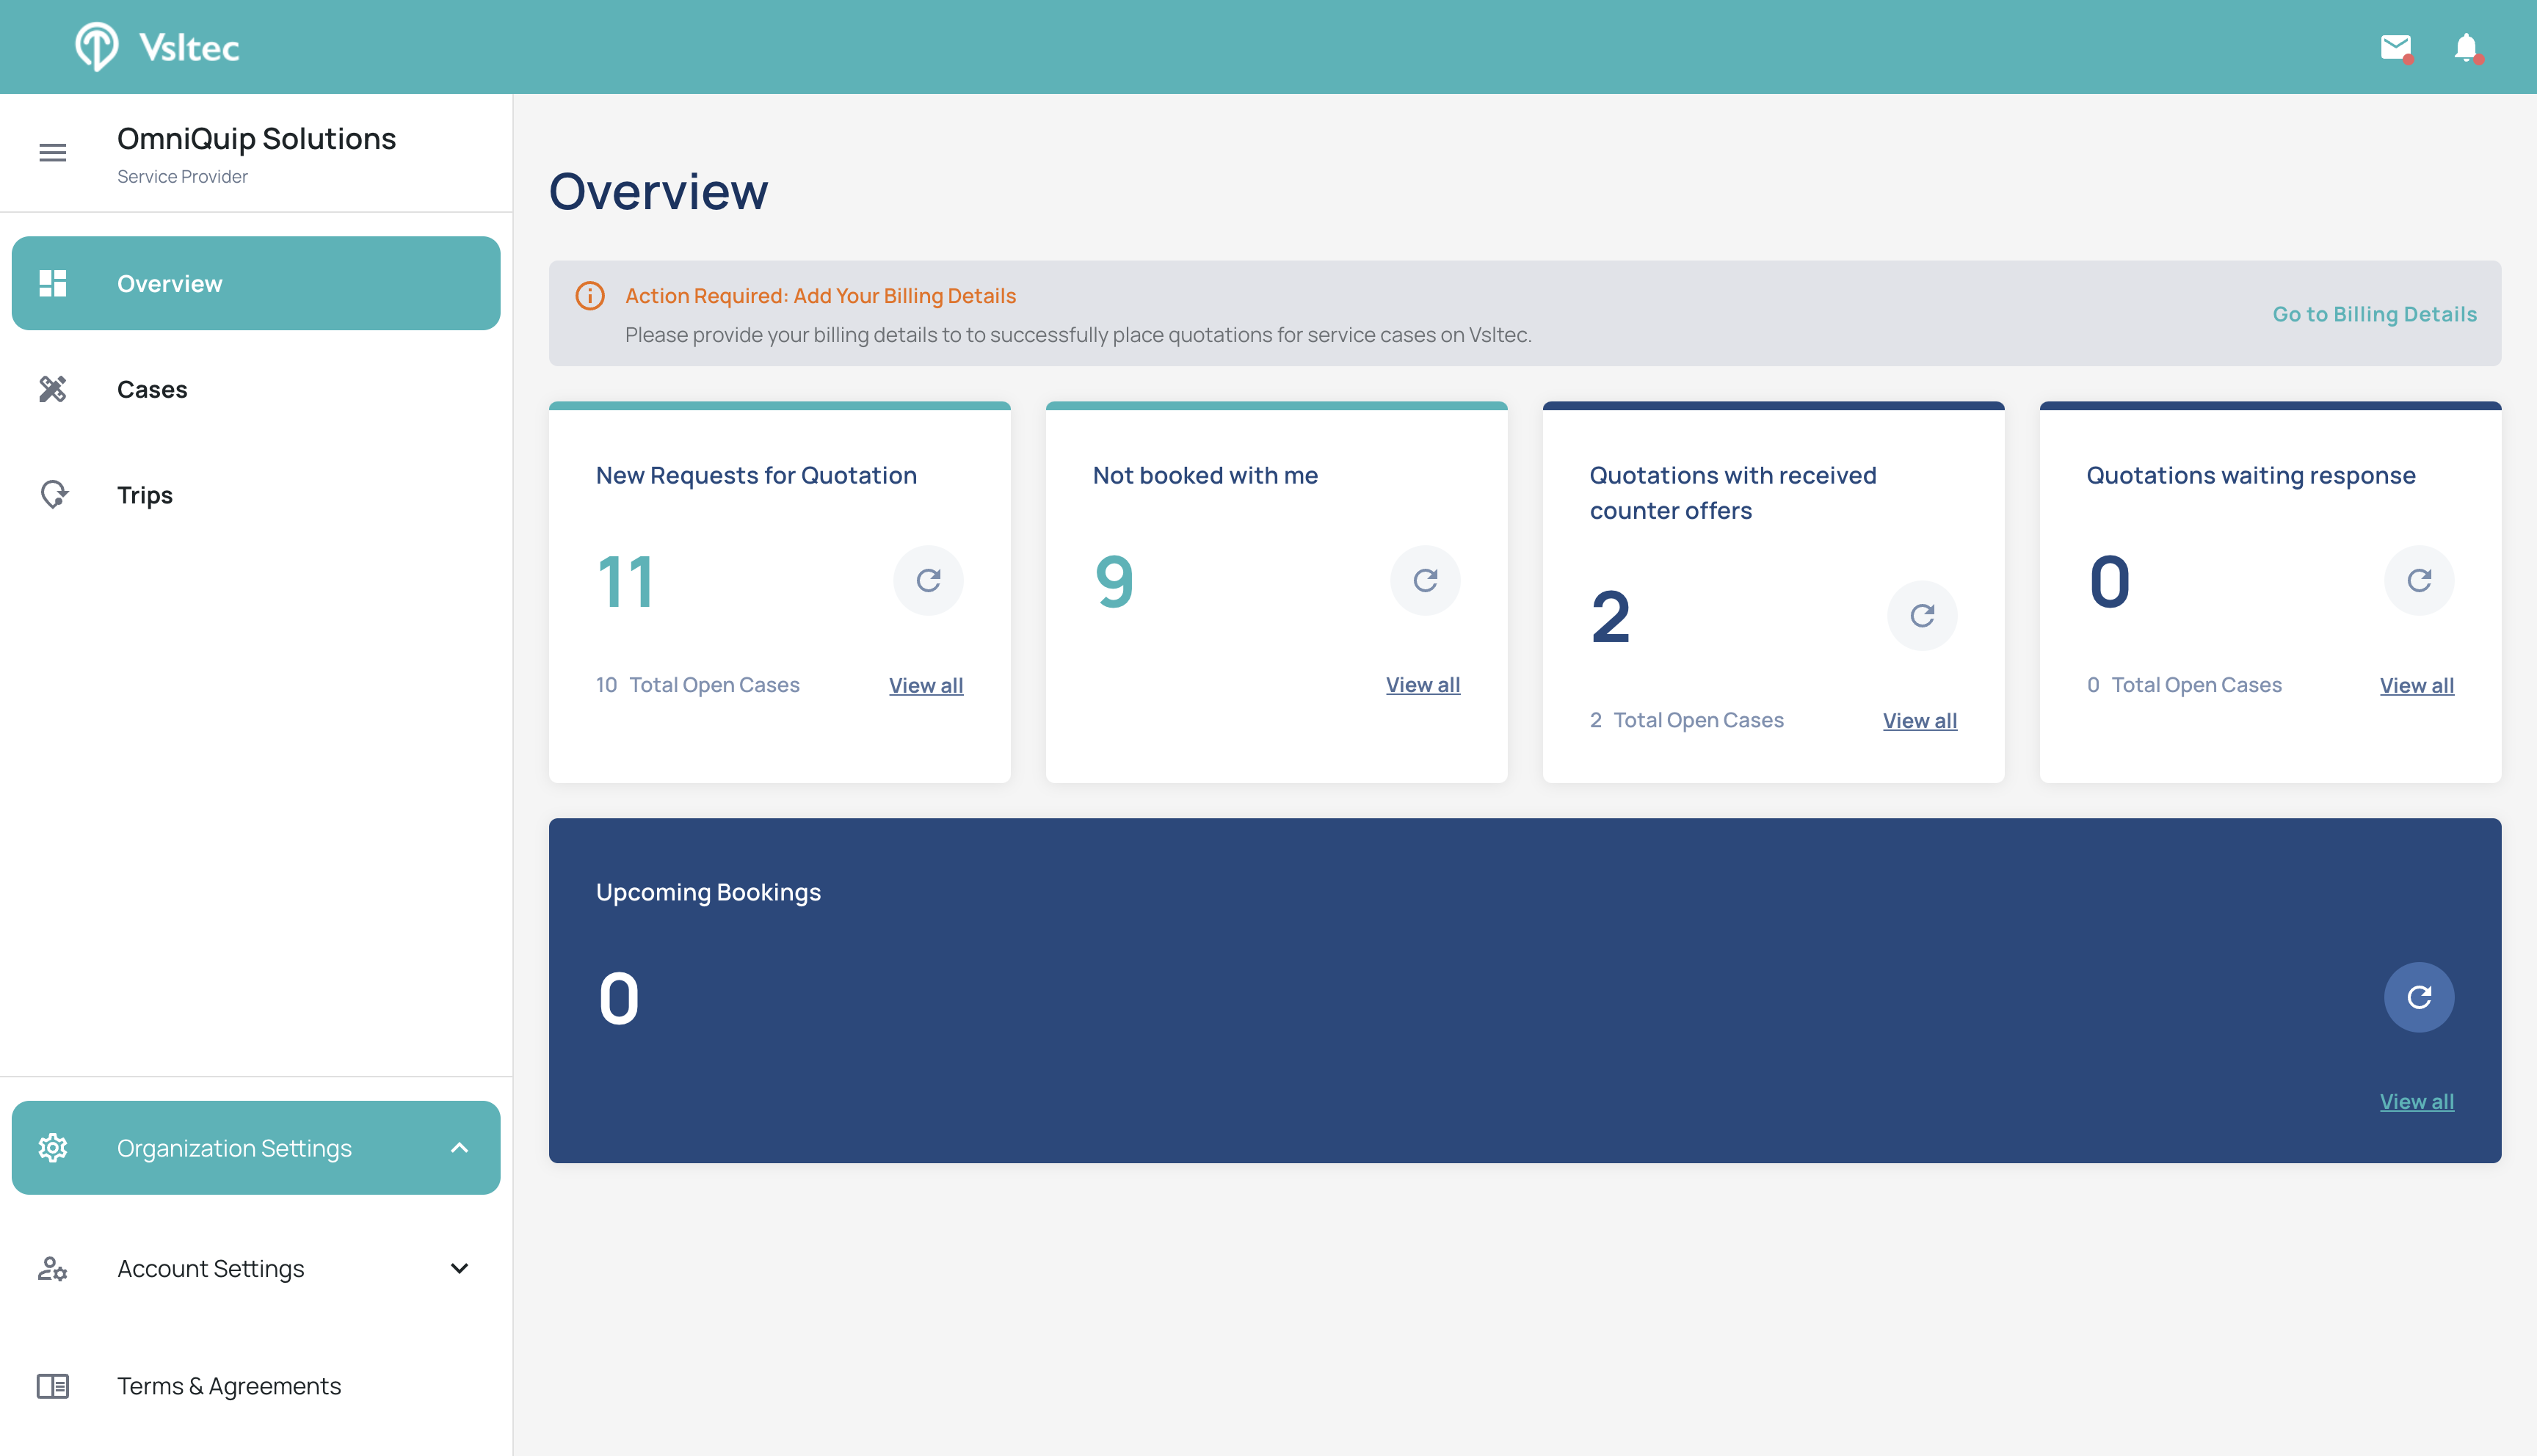
First, on your Dashboard Overview page, go to the side navigation menu and click on "Organization Settings."
1
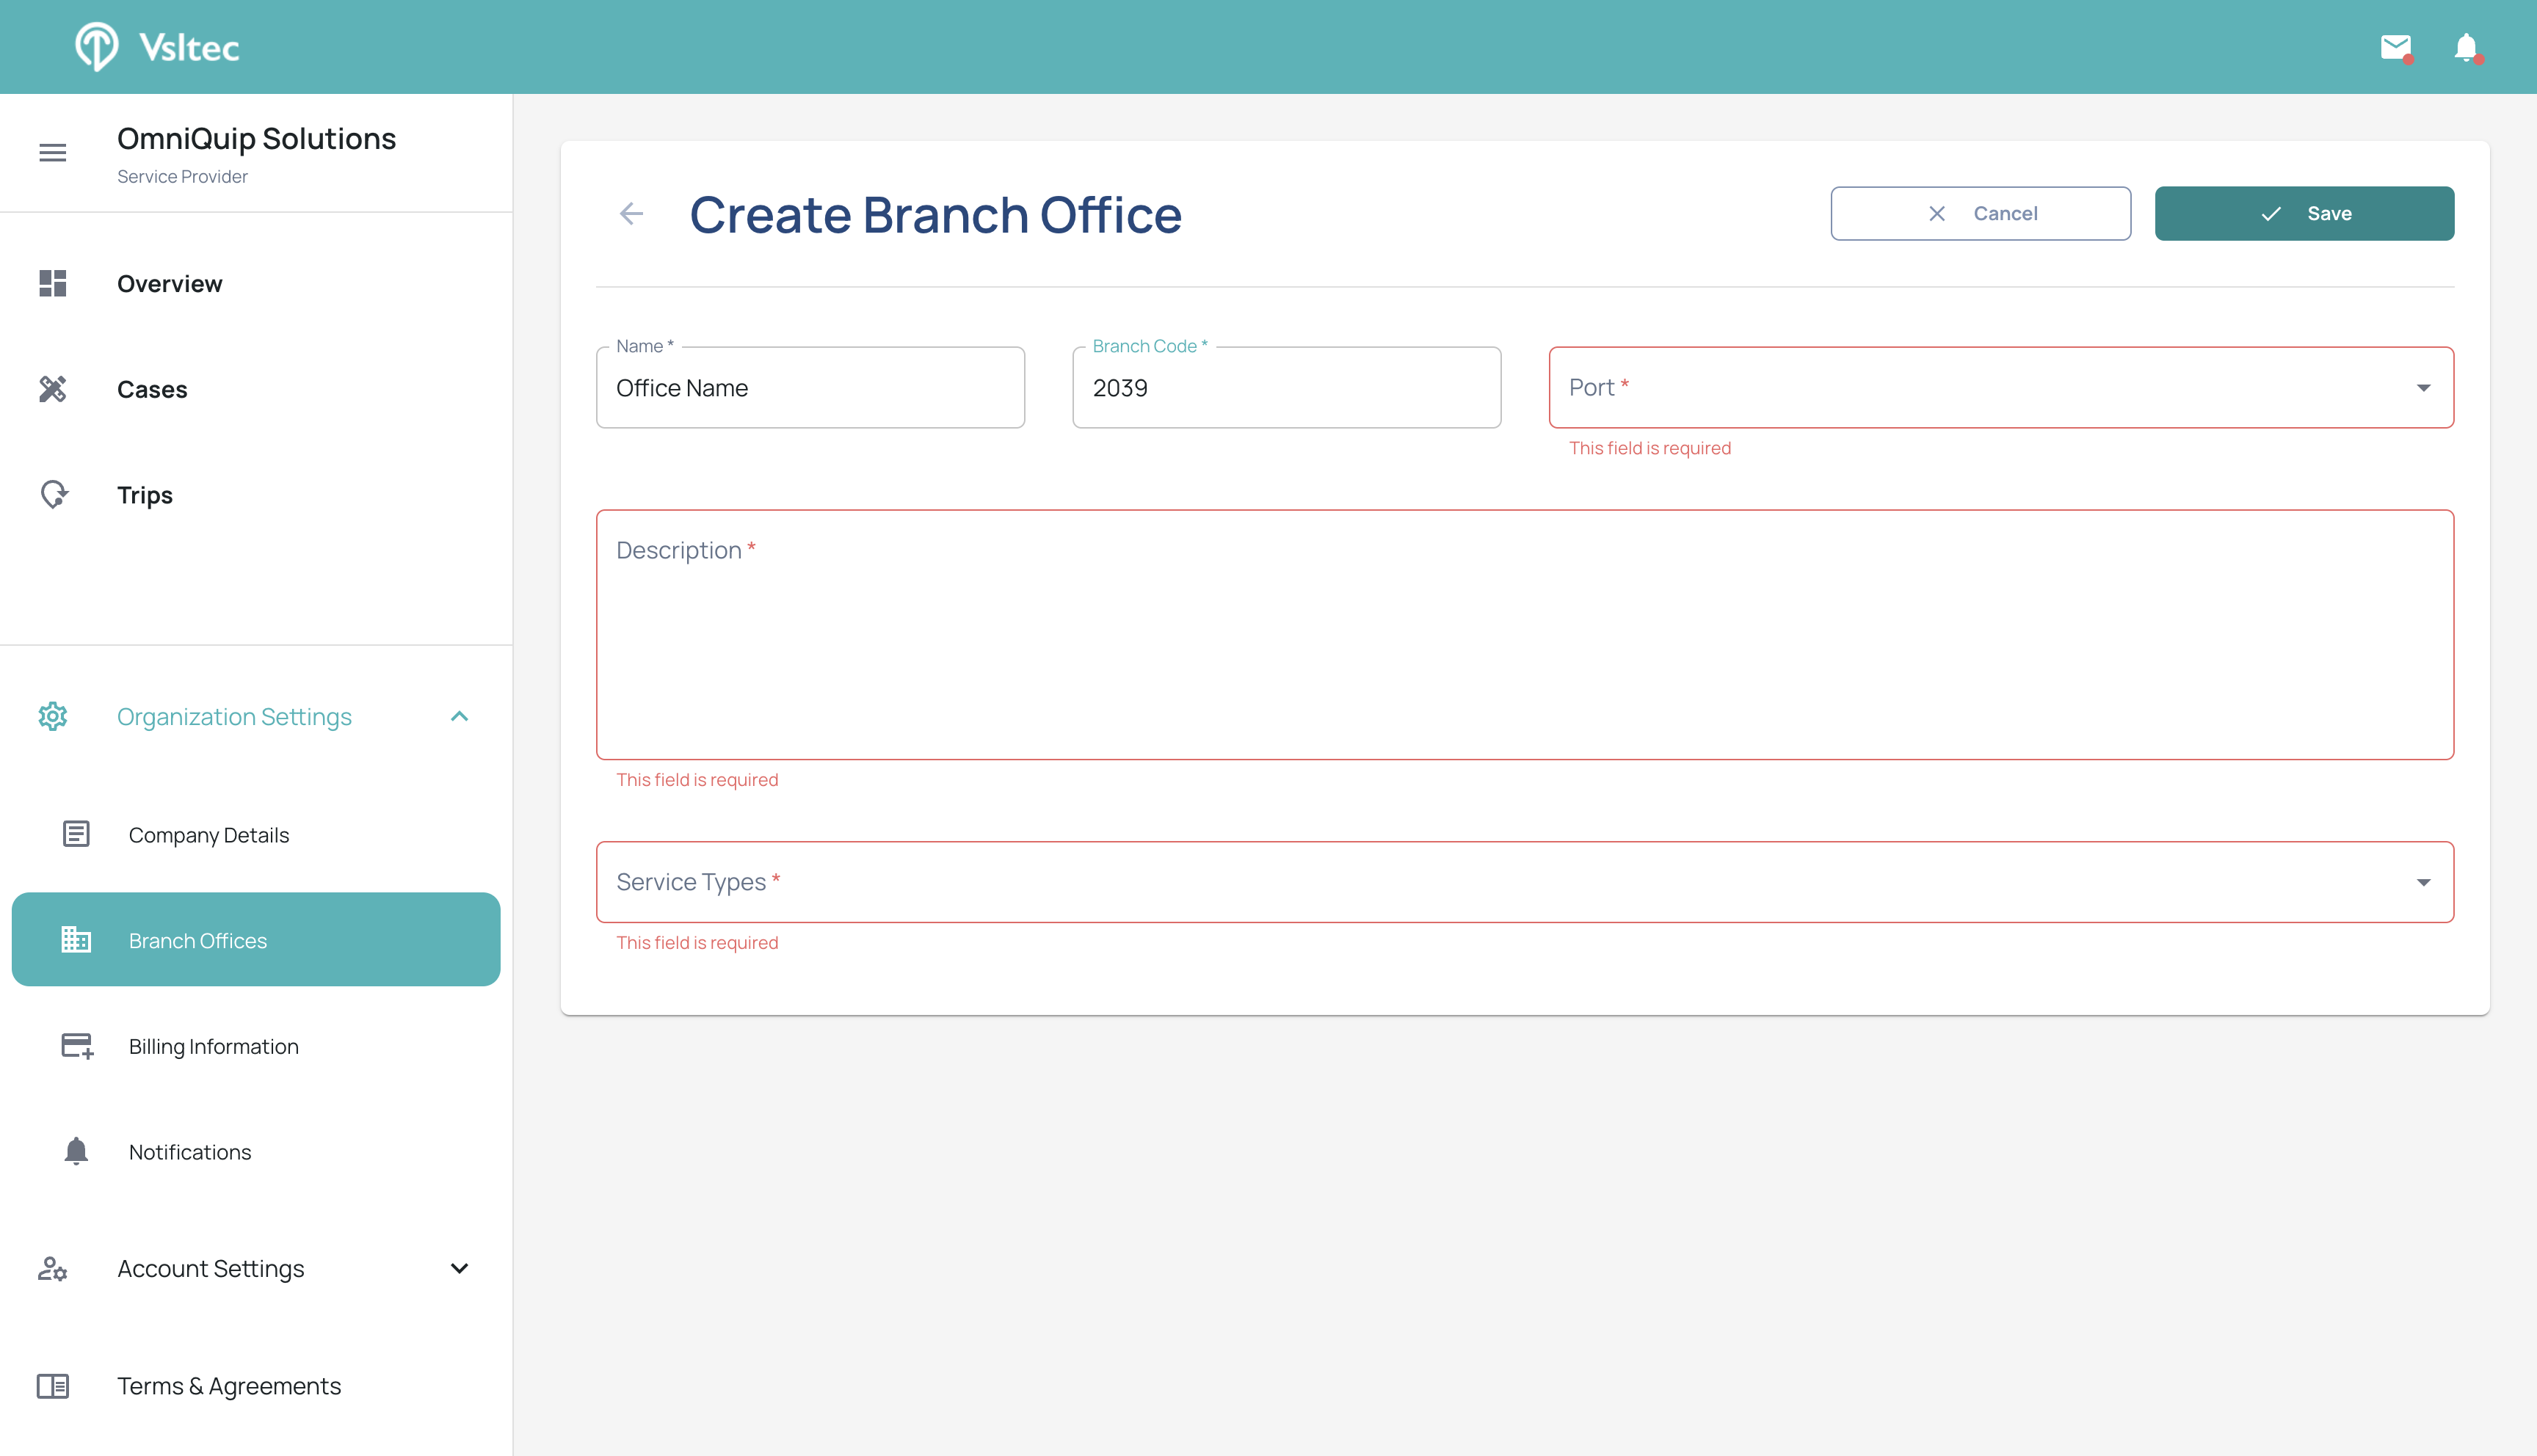
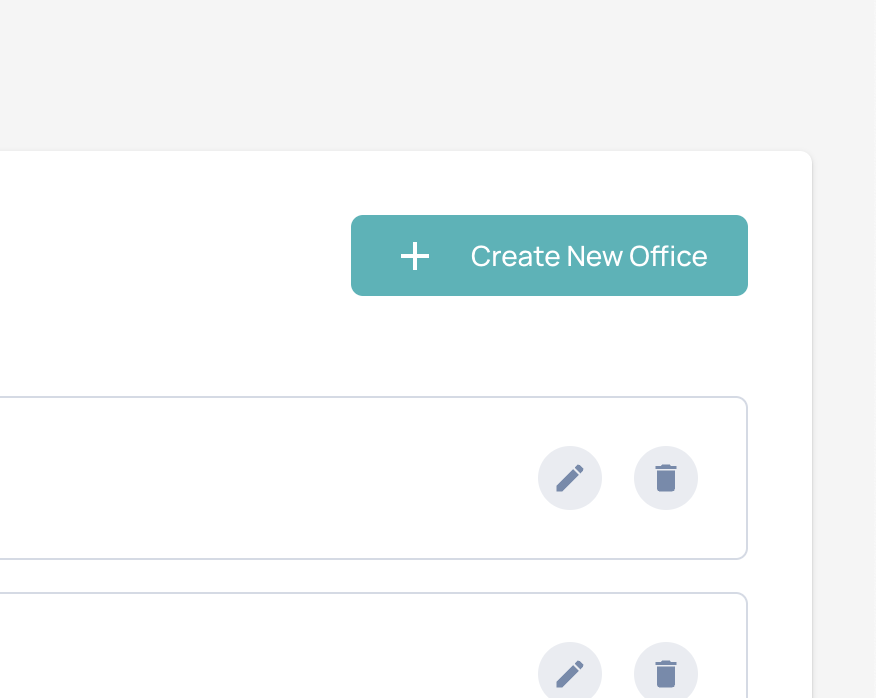
Click on "Branch Offices," create a new office, and start filling in the information such as office name and branch code.
2

3
4
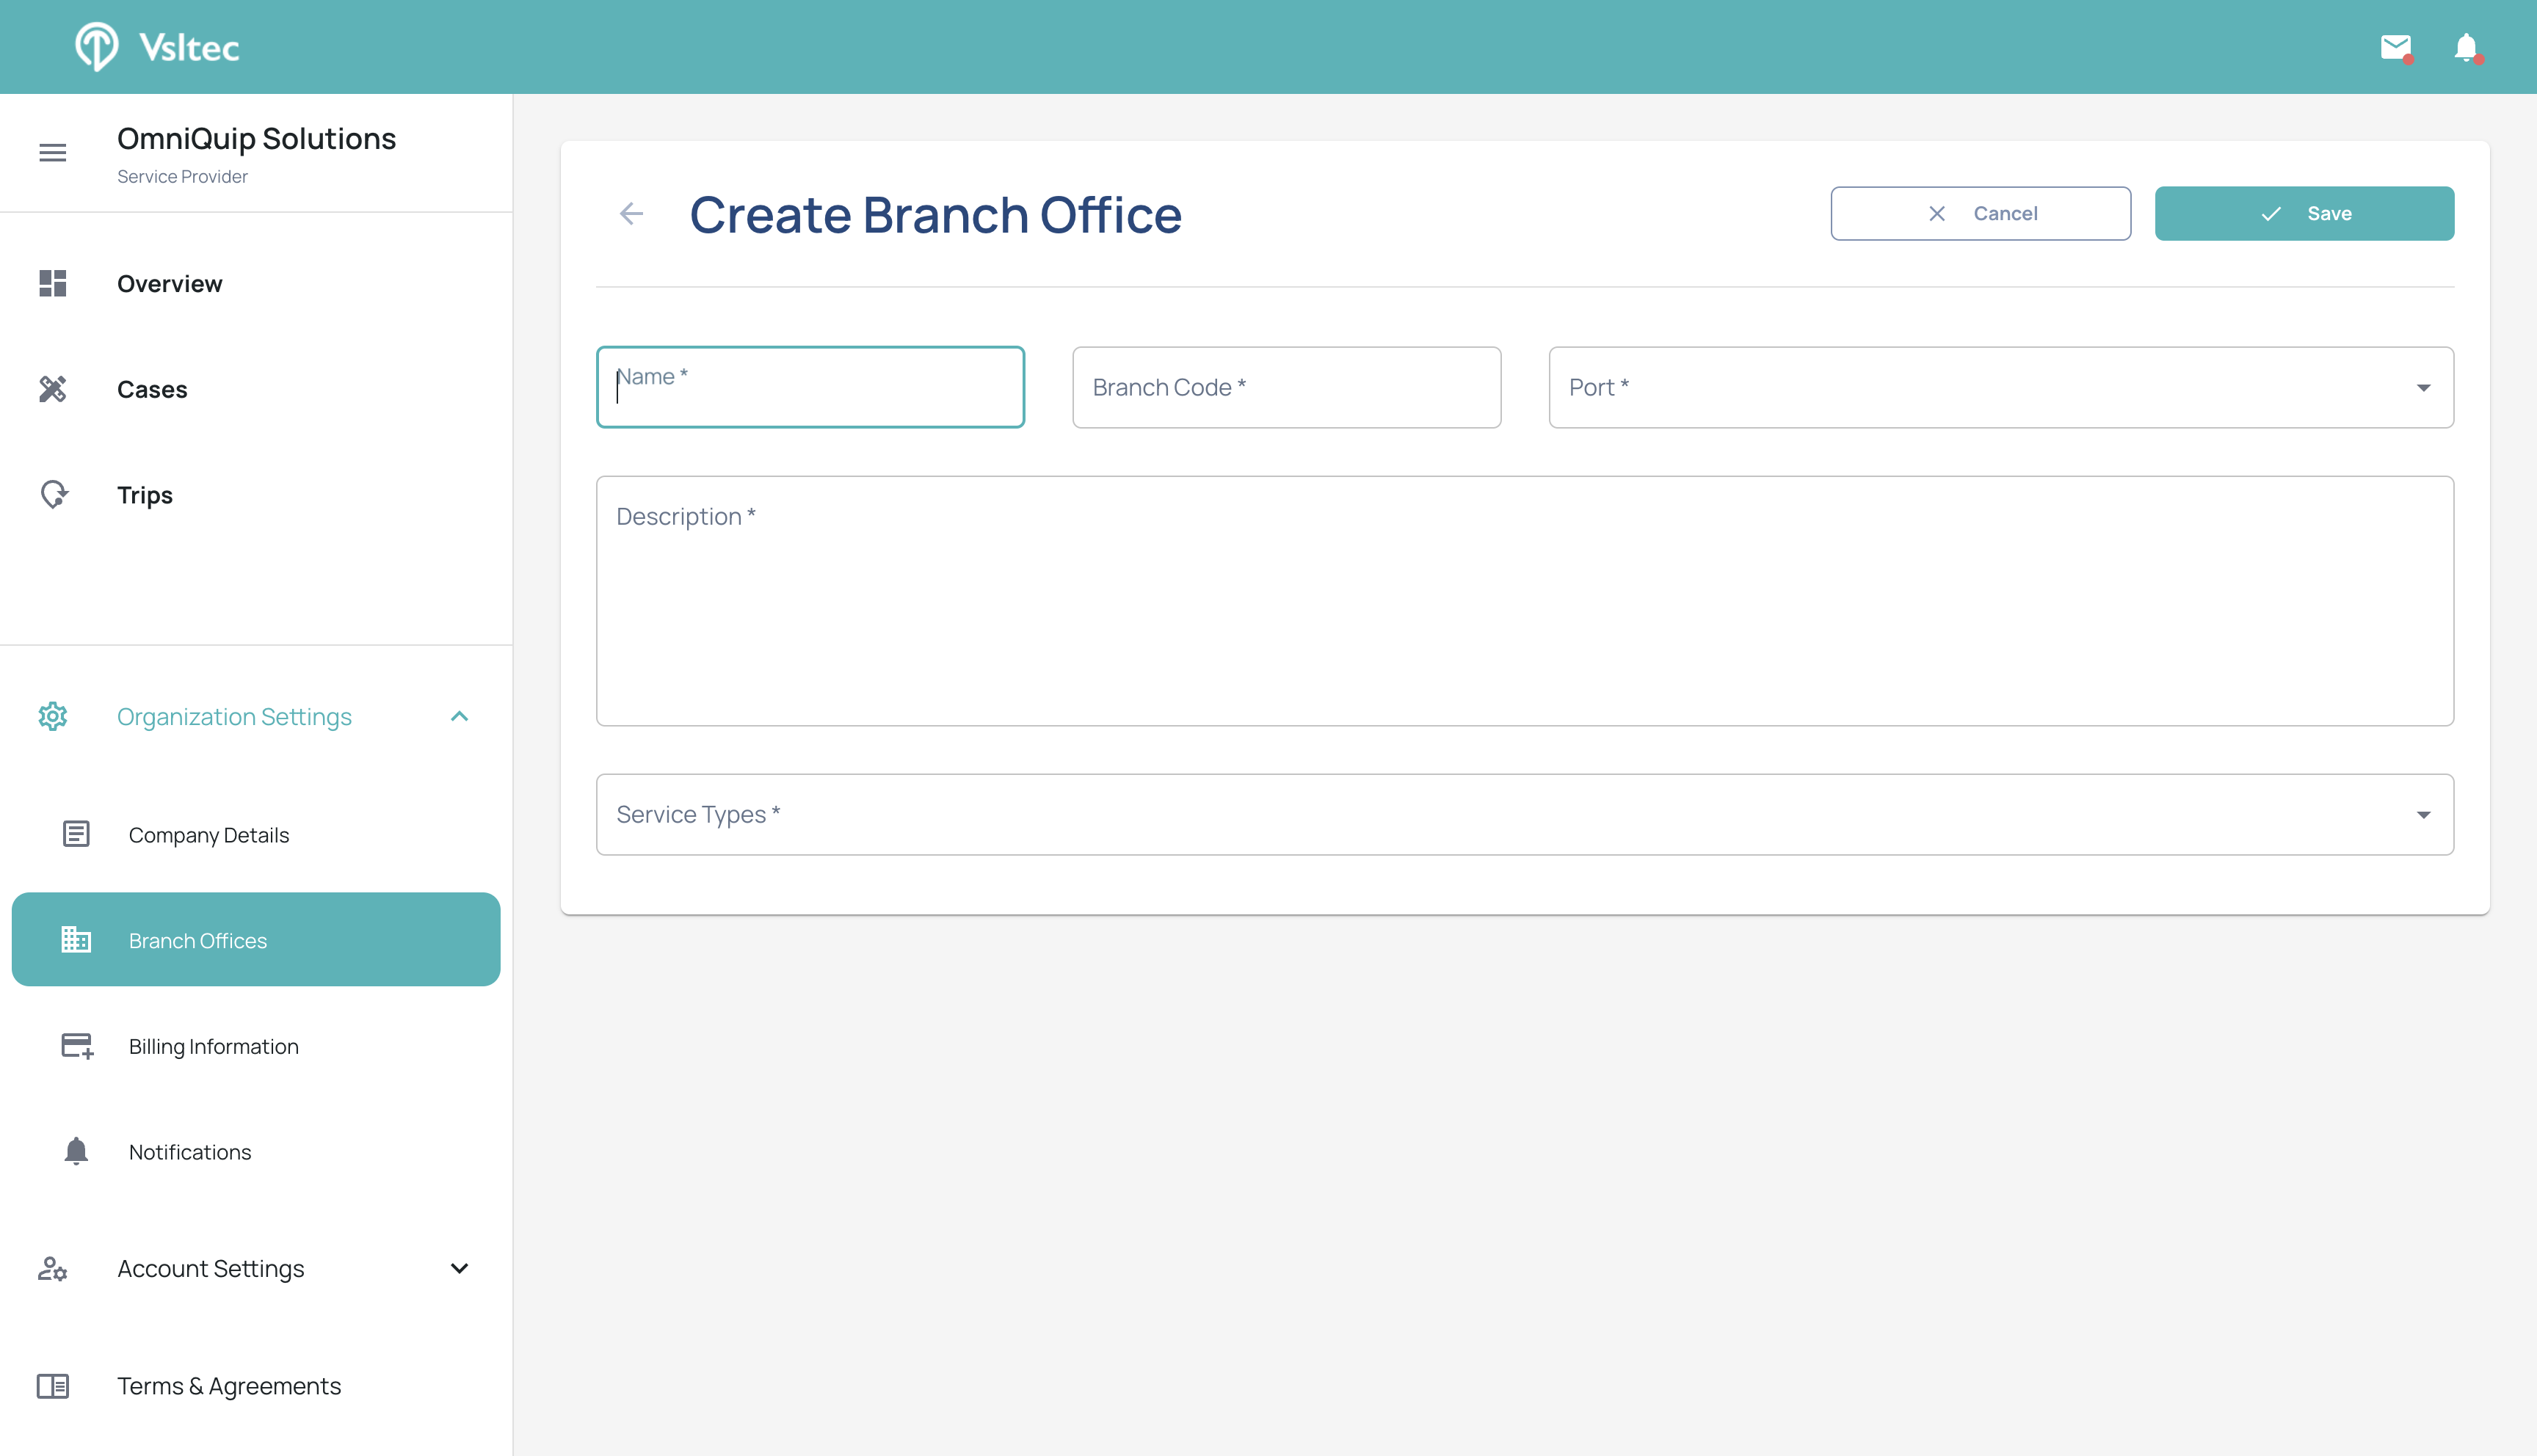
After finishing, click the save button.
5