How to Add a Signature to Your Gmail Account
Learn how to easily add a signature to your Gmail account by following these simple steps. Customize your signature with your name, title, and contact information.
In this guide, we'll learn how to add a signature to your Gmail account. A signature can provide essential contact information and a professional touch to your emails. We'll explore how to create a new signature, customize it with details like your name, title, and optional elements such as a logo or phone number. Finally, we'll cover how to set your signature for new emails and replies or forwards, ensuring consistent communication.
Let's get started
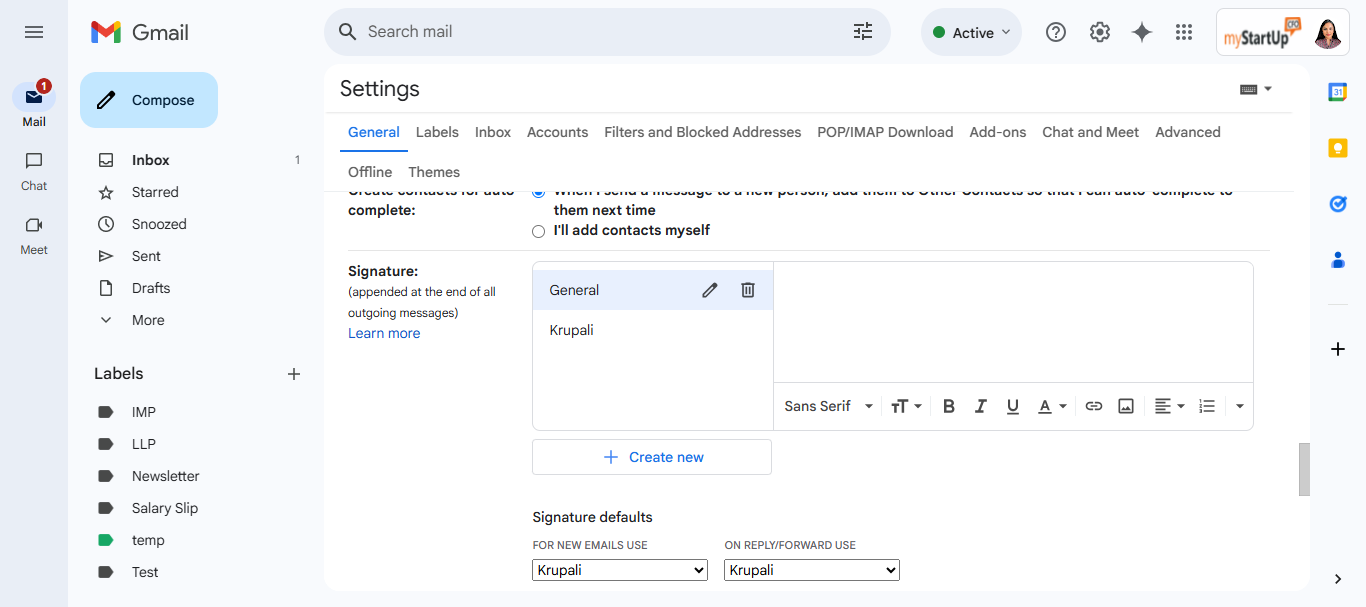
In the General tab, scroll down to find the Signature option, then click on "Create New."
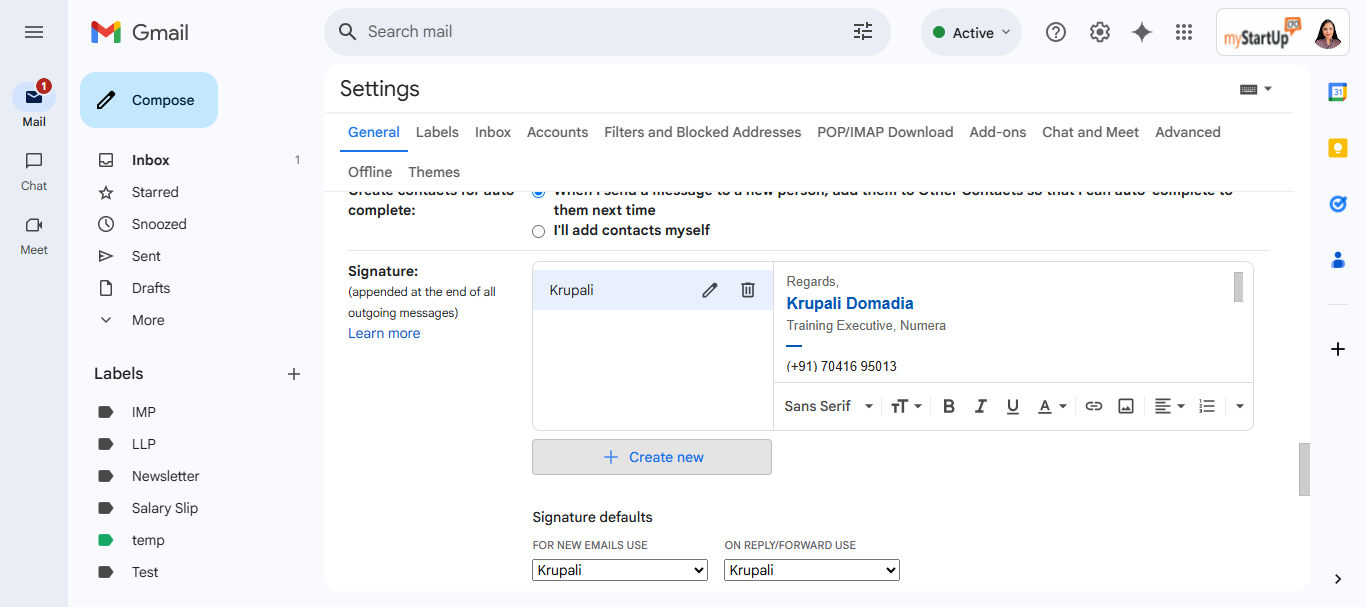
This option allows you to name the signature.
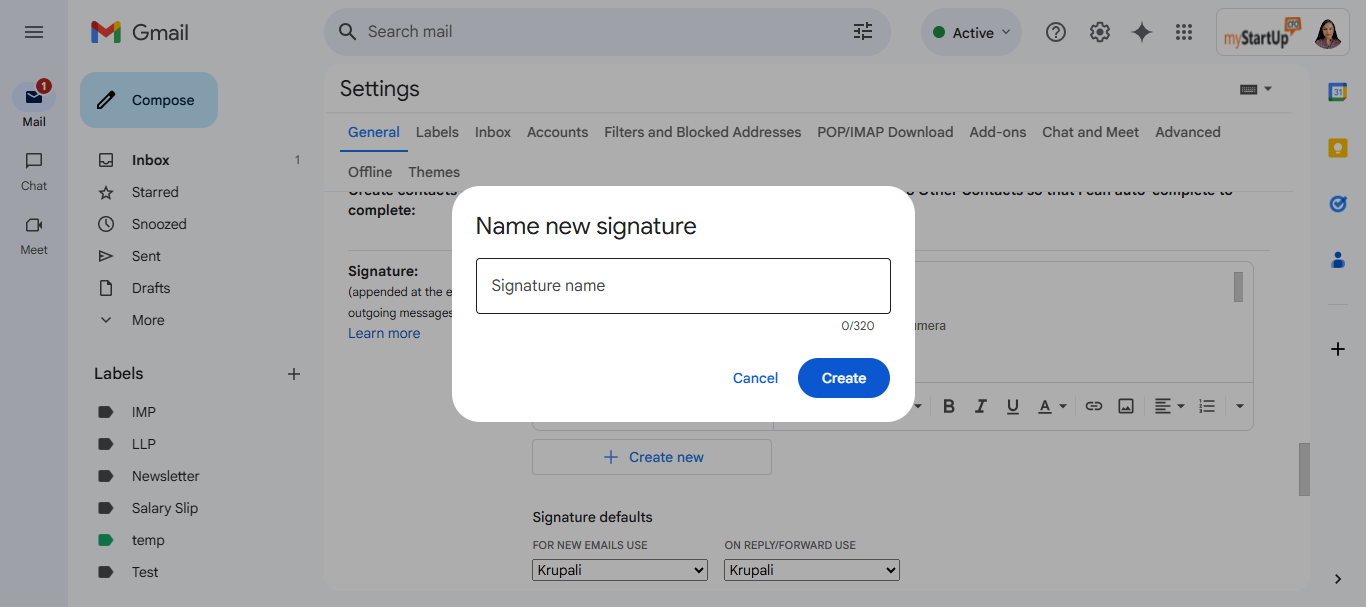
For example, this is my general signature. Once you click on "Create," a small white dialog box will appear here.
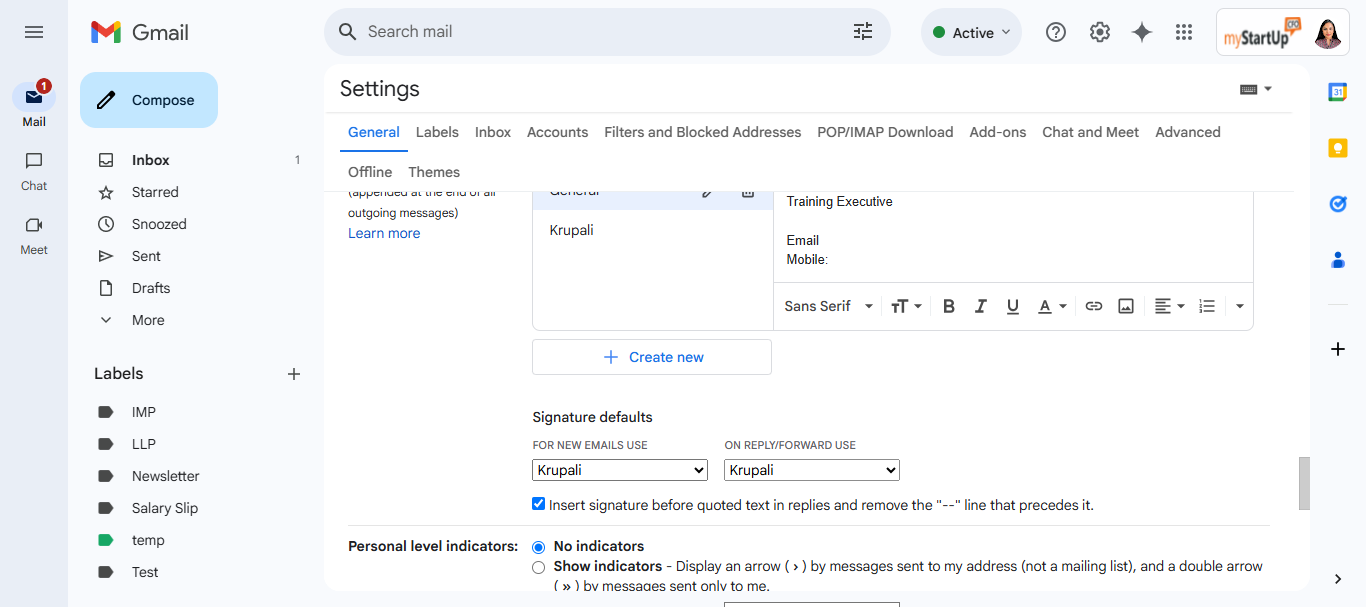
Once completed, scroll down and look for the new email and reply or forward option.
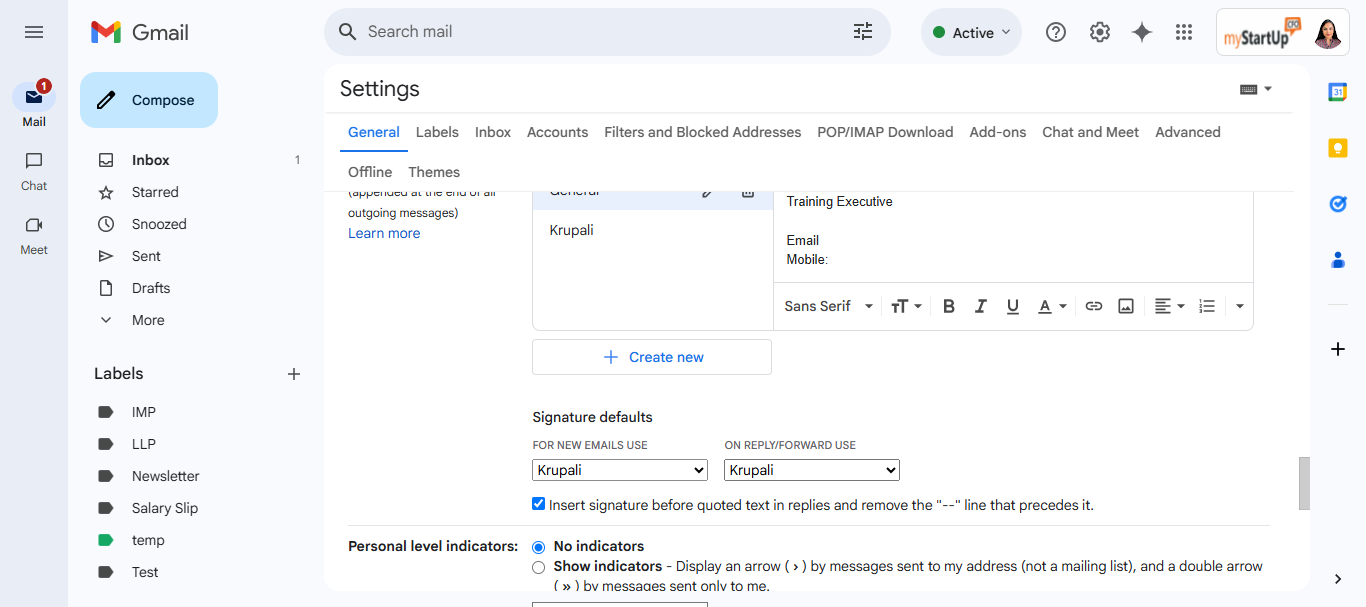
Choose the name of the signature you have created to use for new emails and for replies/forwarded emails.