How to Convert and Book a Sales-Qualified Lead in Salesforce
Learn the step-by-step process to convert a lead and book a sales-qualified lead in Salesforce, ensuring you receive credit for the SQL you generate.
In this guide, we'll learn how to convert a lead and book a sales-qualified lead in Salesforce.
You need to complete this process to generate opportunities with all relevant information, and ensure that you receive credit for your efforts.
We'll cover the steps to open a lead, convert it, and manage related contacts and opportunities. Additionally, we'll discuss how to properly book the SQL by completing necessary fields and sending calendar invites.
Let's get started
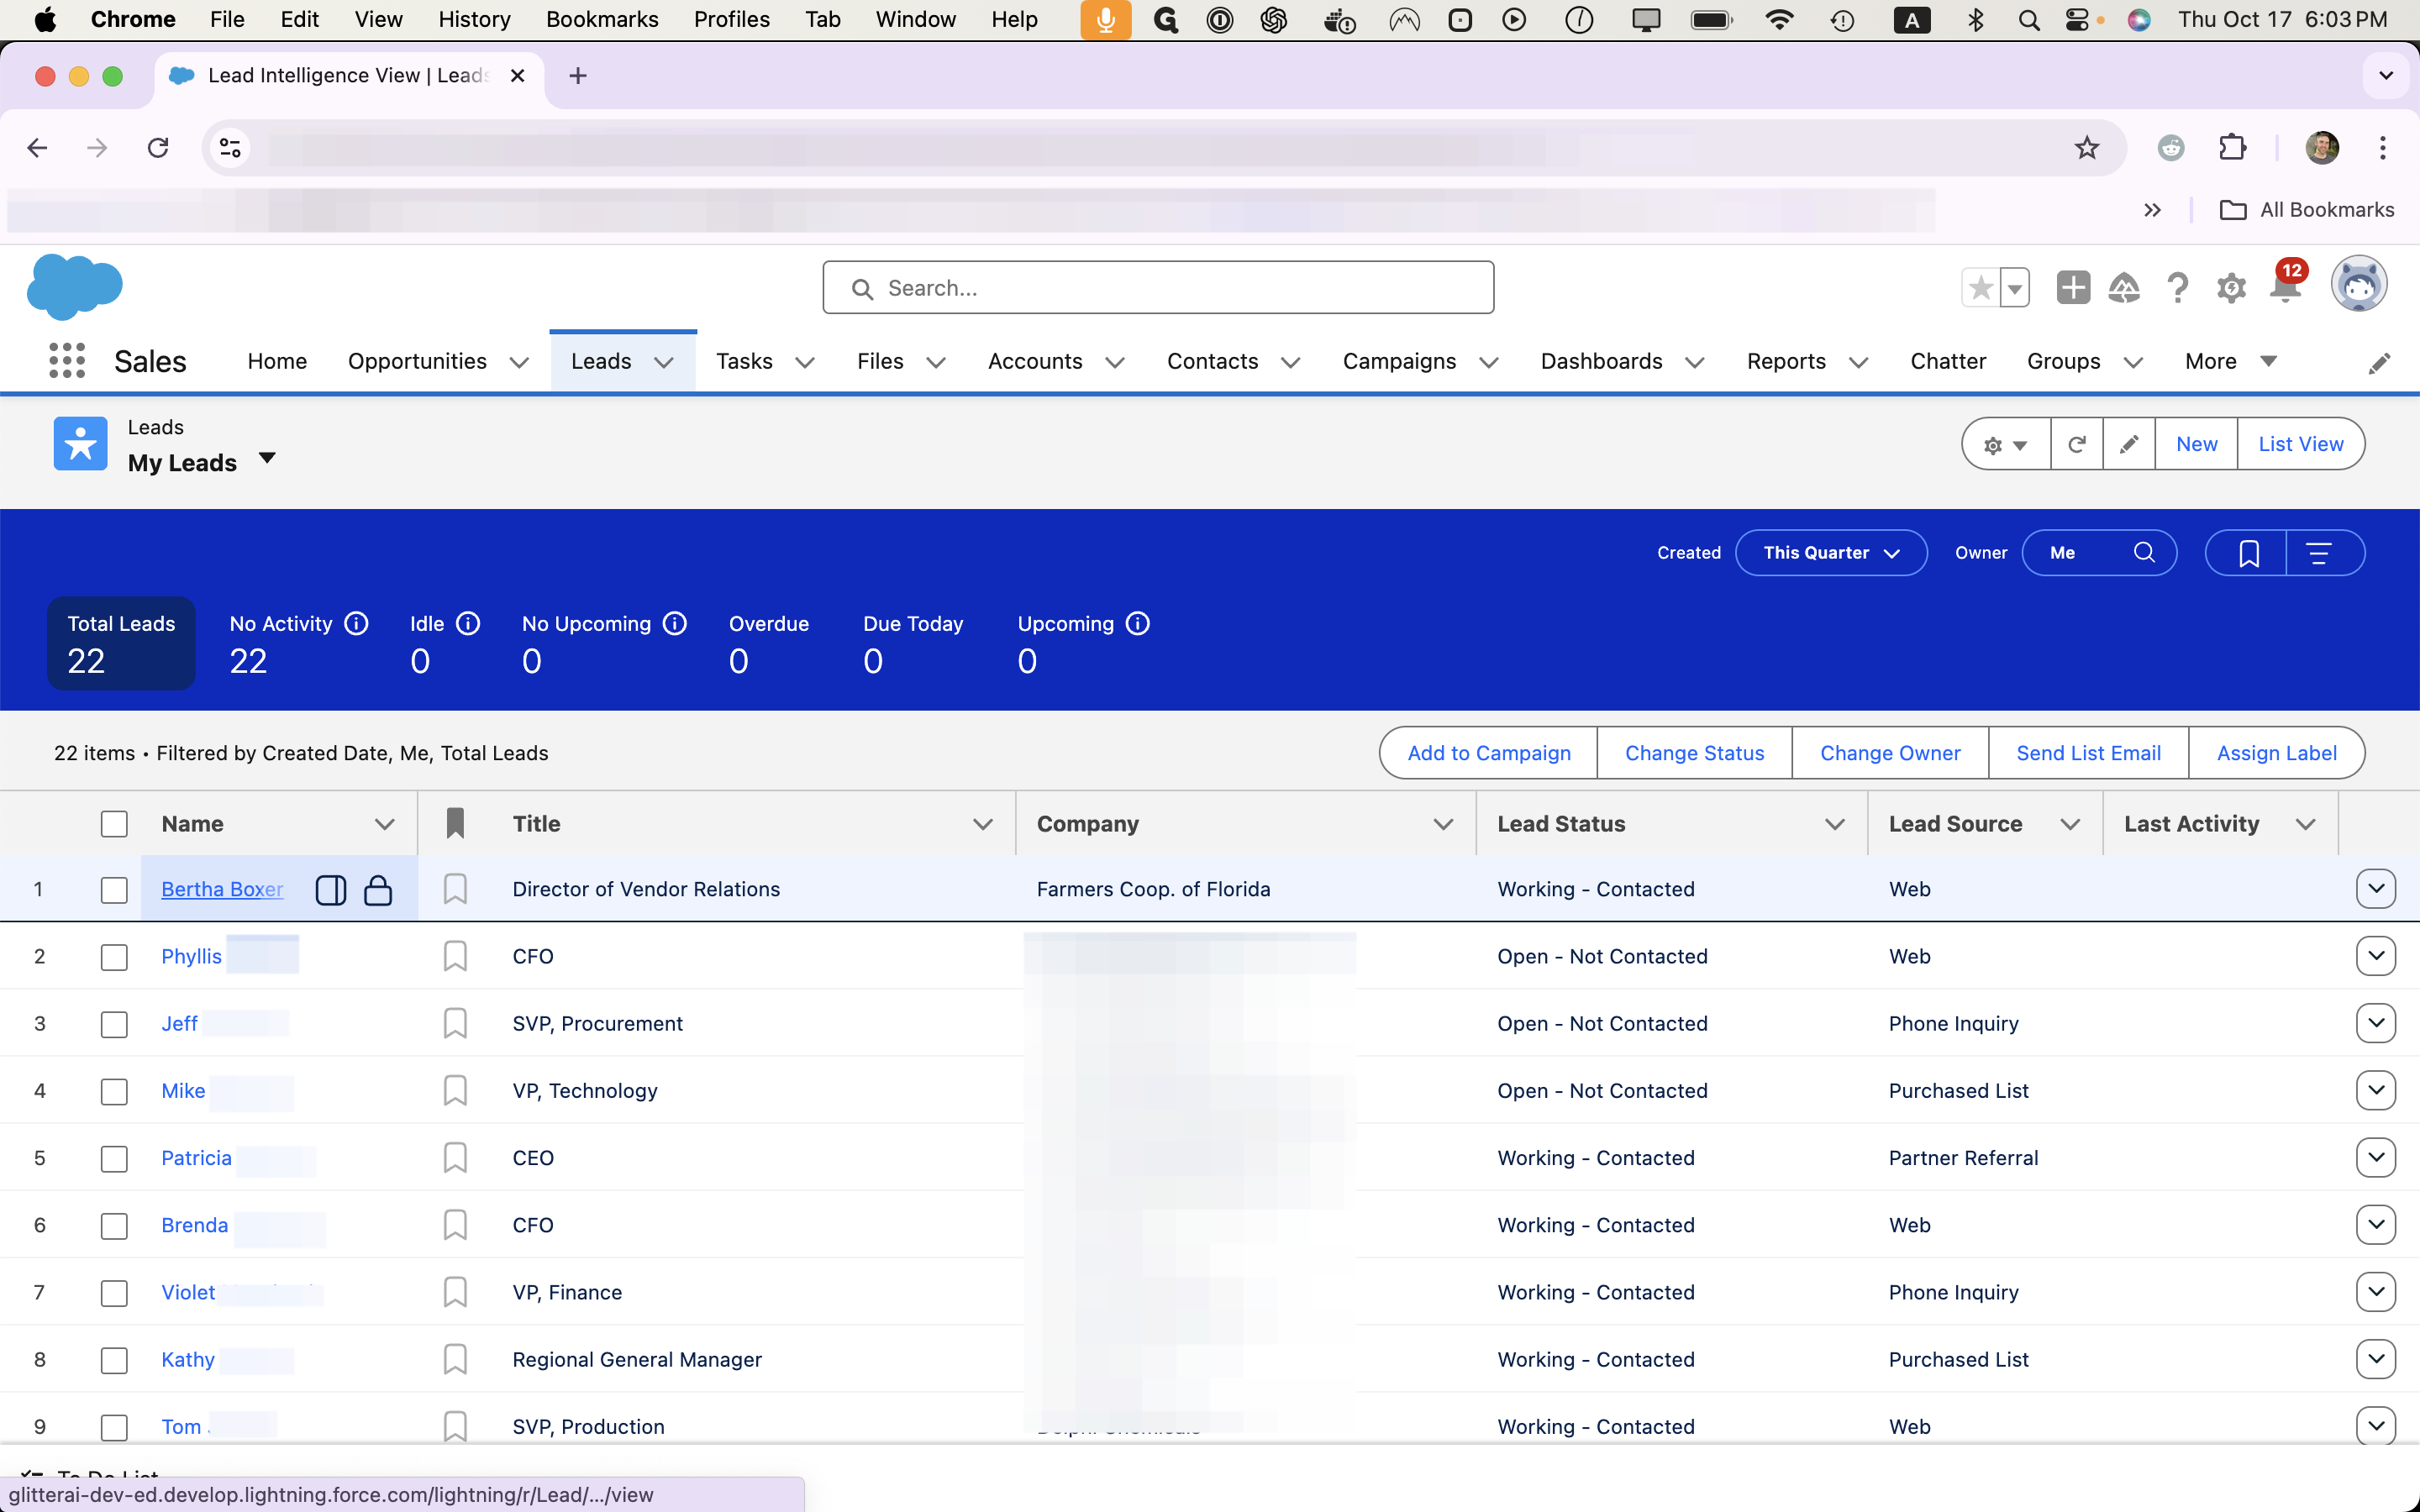
Once you book a meeting, it's time to convert the lead and set up an opportunity in Salesforce, as well as complete calendaring actions.
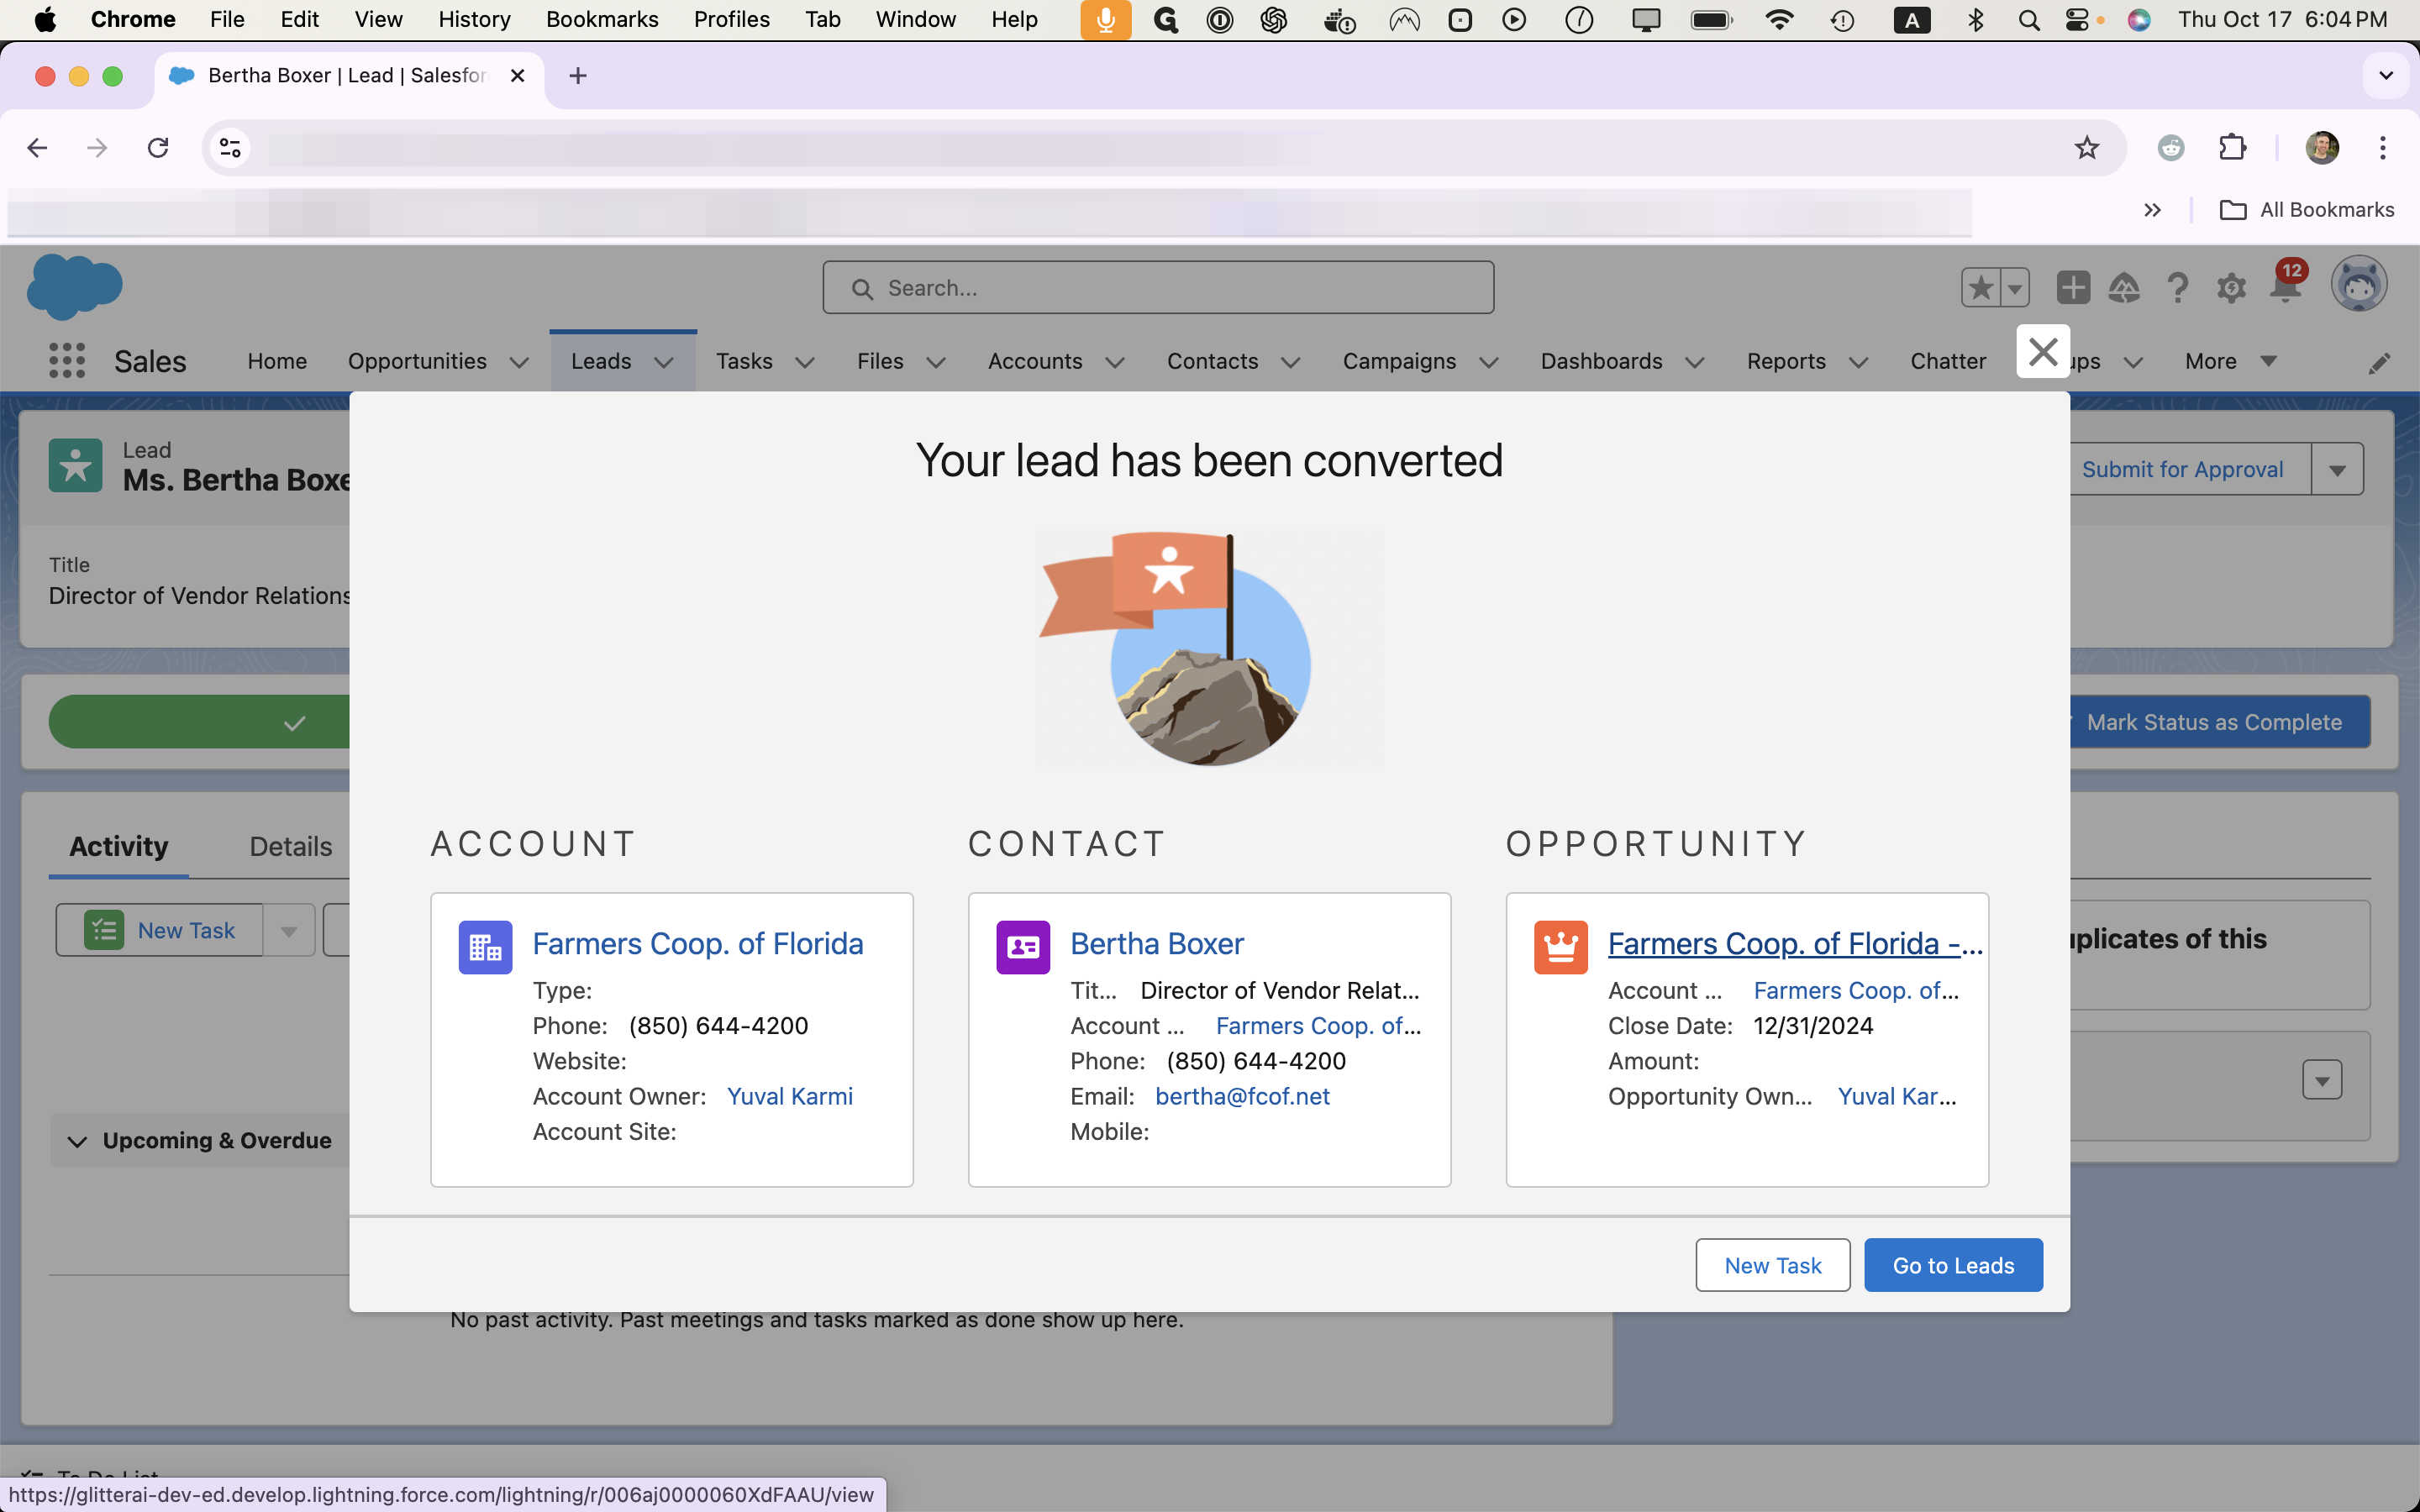
Converting a lead is the simplest way to create an opportunity with all relevant information in our Salesforce system. As an SDR, this process ensures you receive credit for the sales-qualified lead (SQL) you generate.
Here are the steps to convert a lead and book a sales-qualified lead:
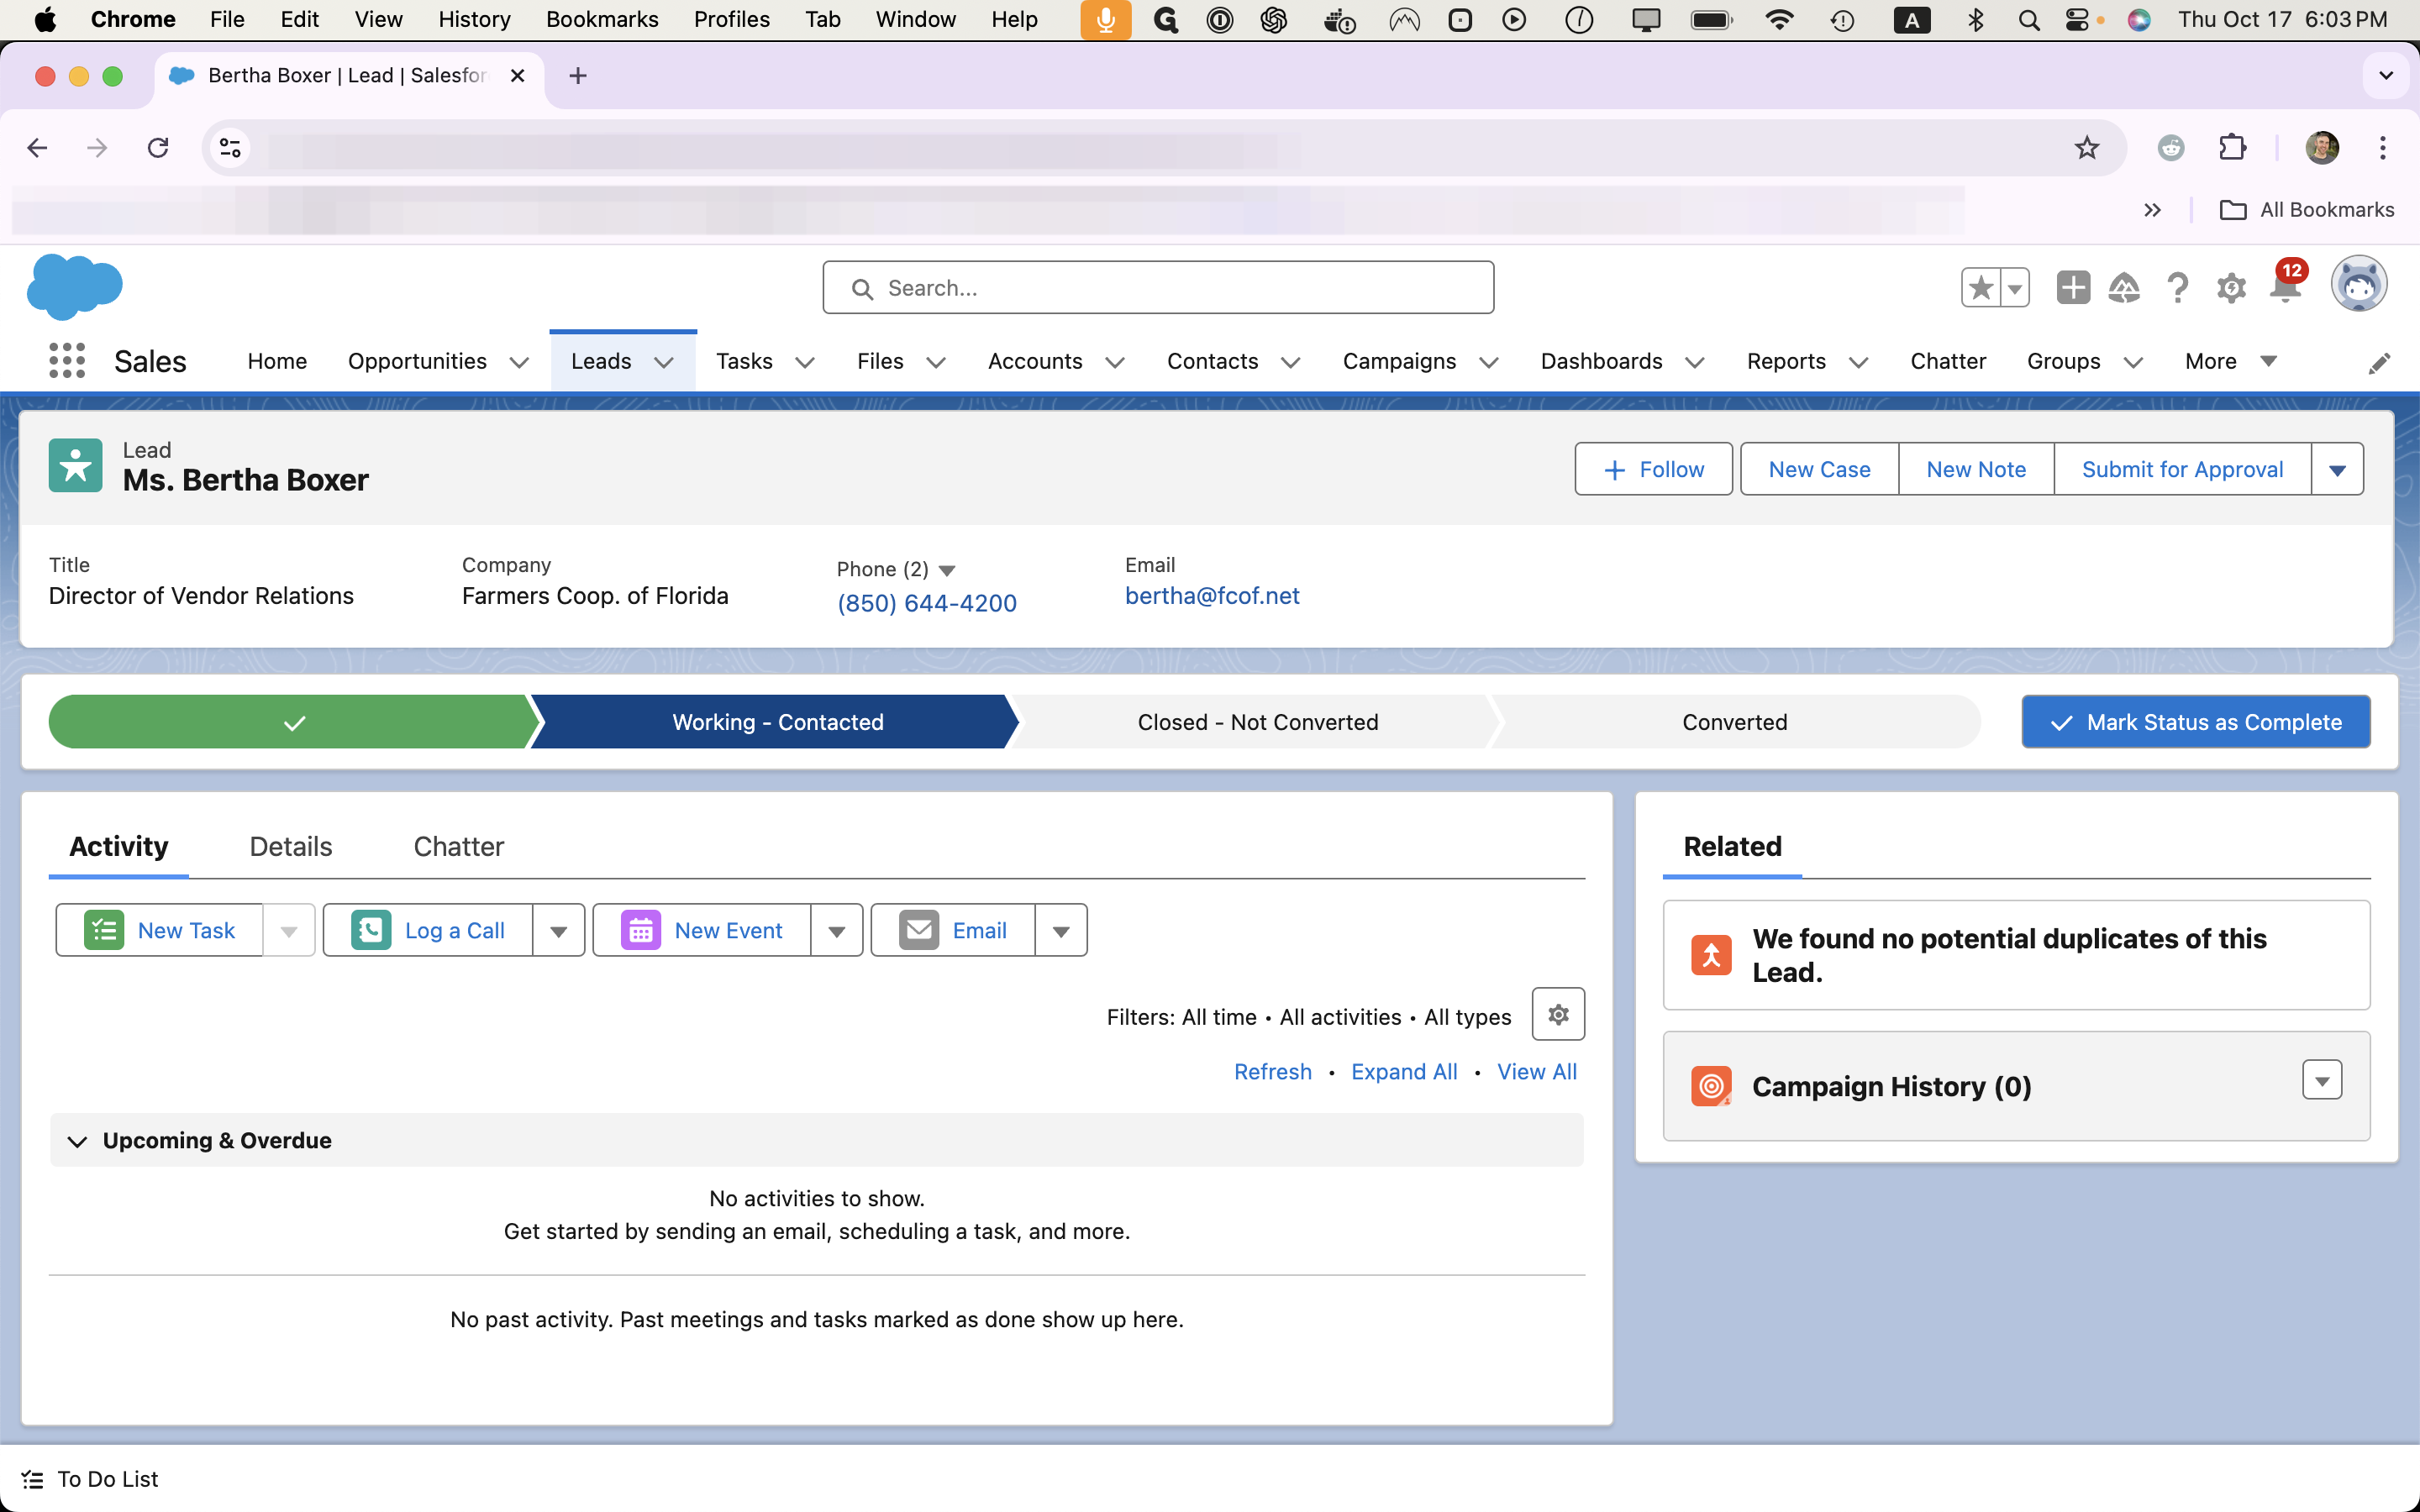
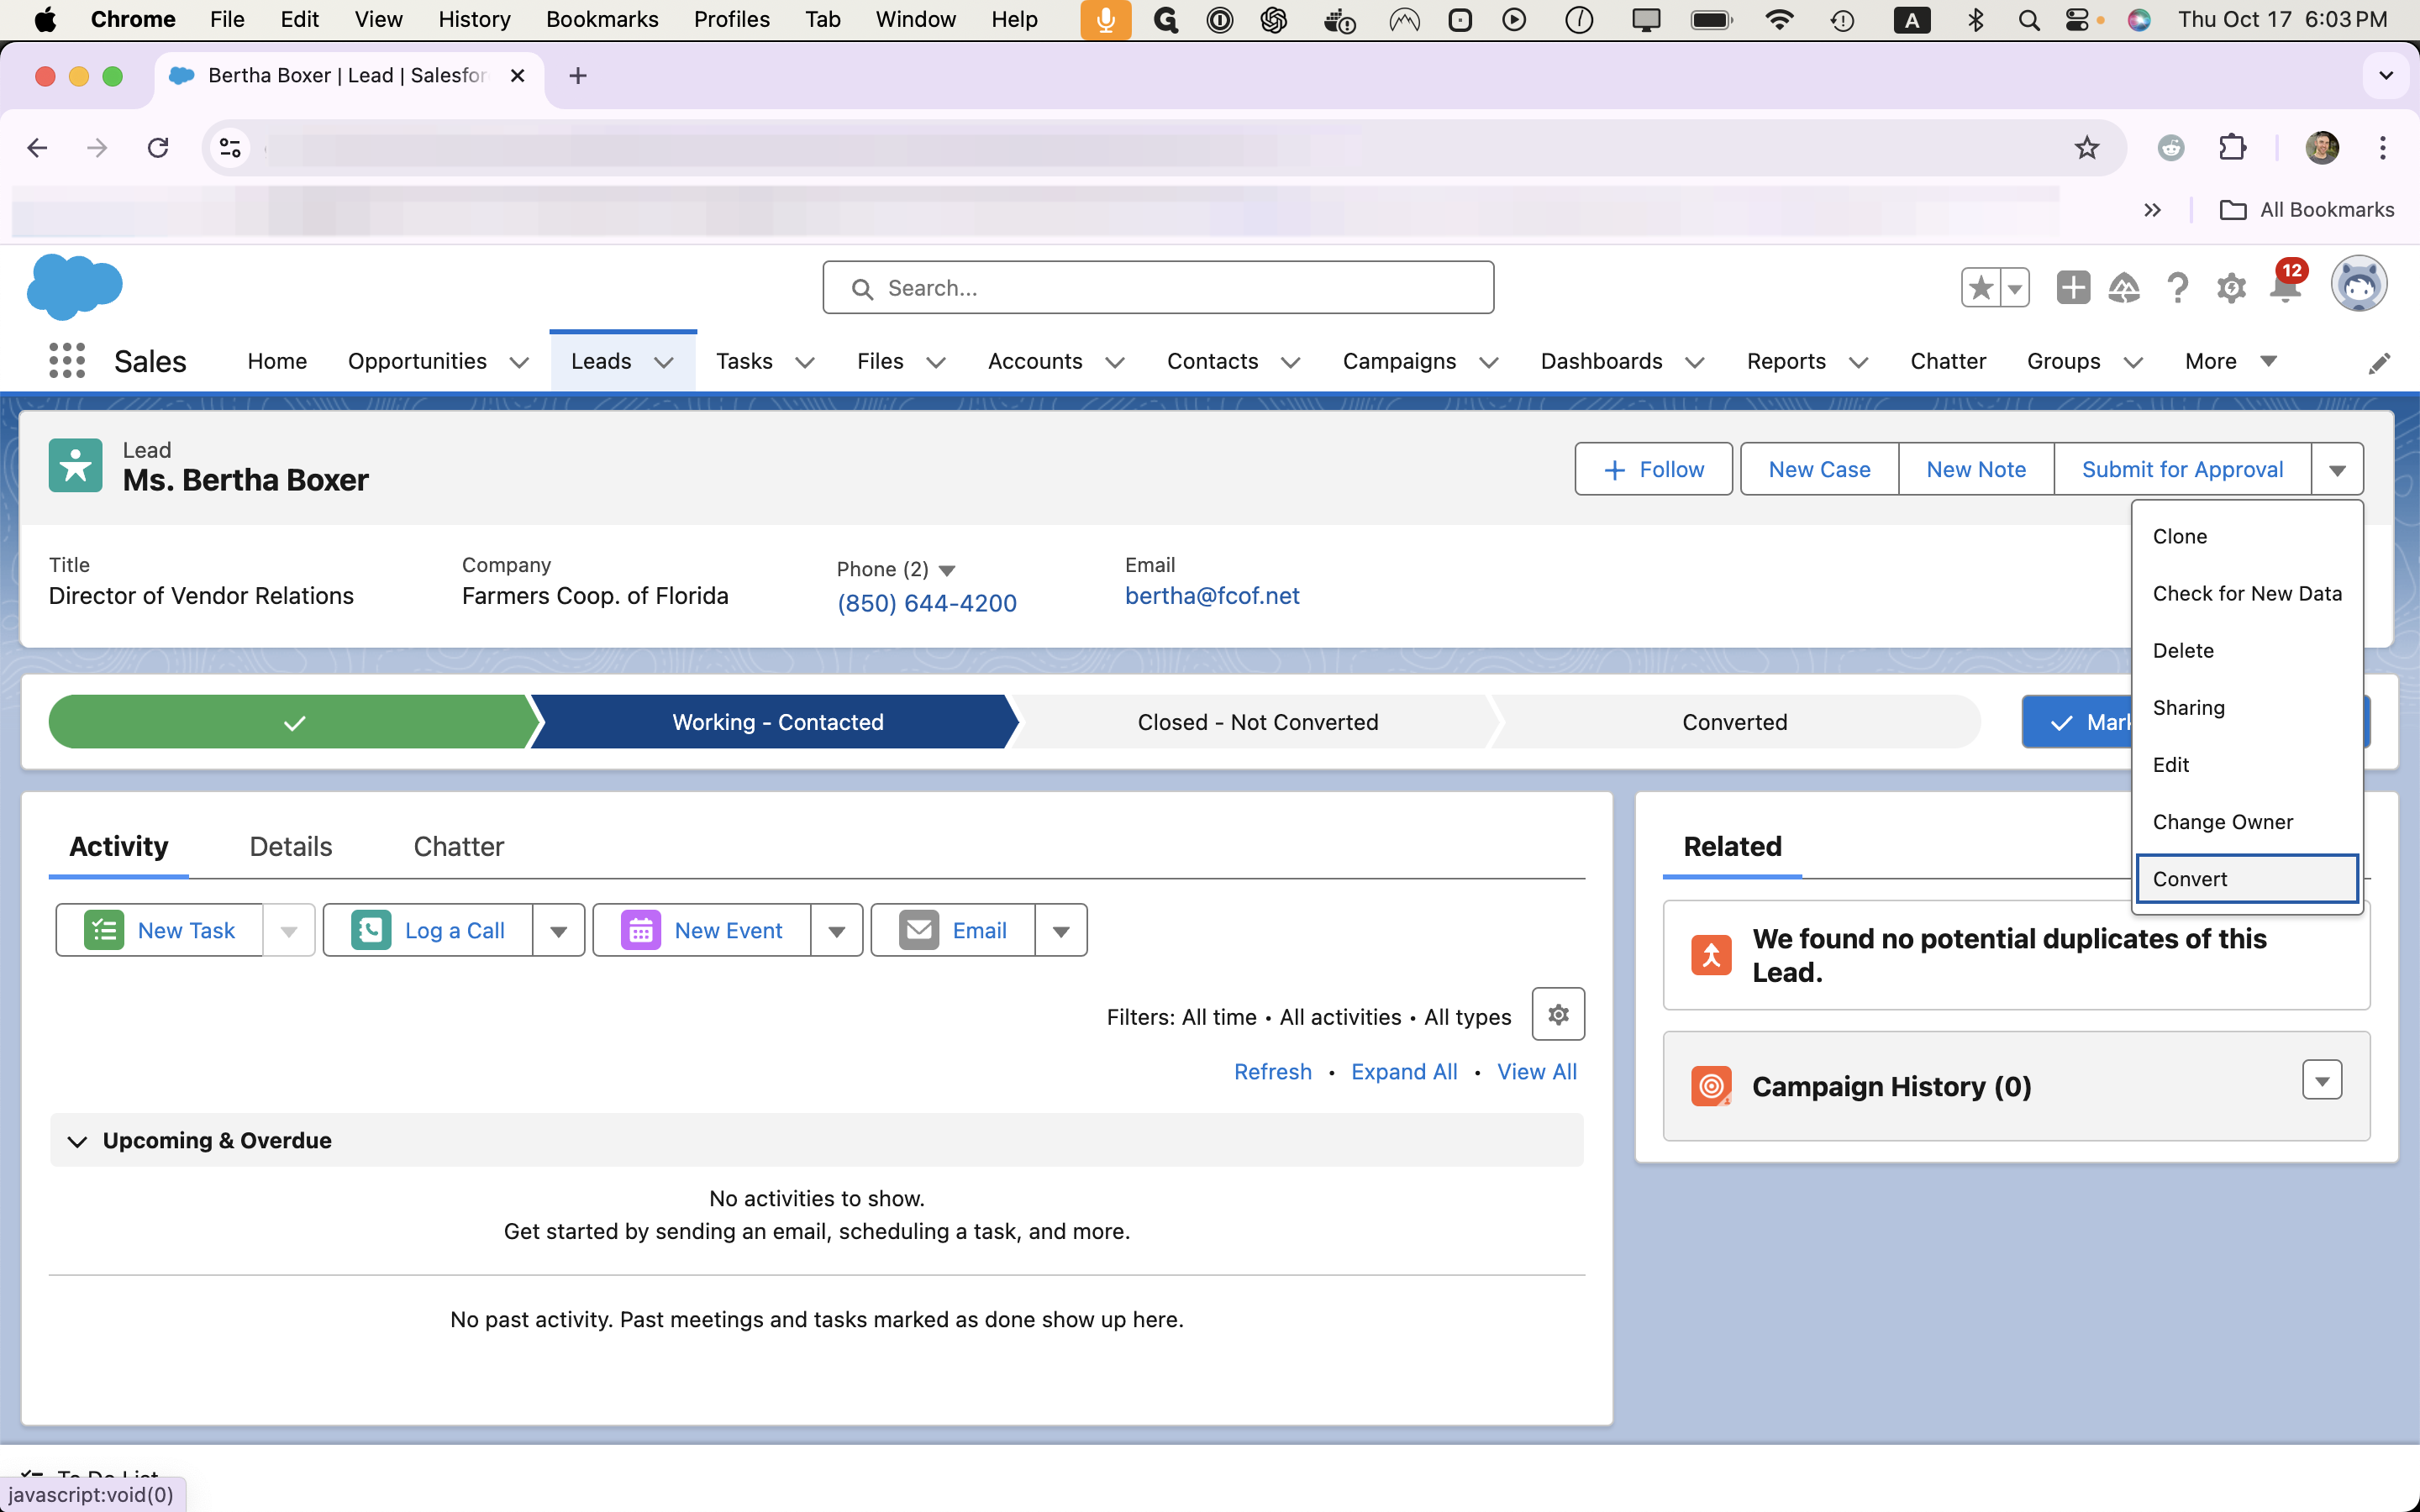
Unless we have an existing account for this lead, leave "Create New Account" we leave "Create New" selected for Account, Contact, and Opportunity.
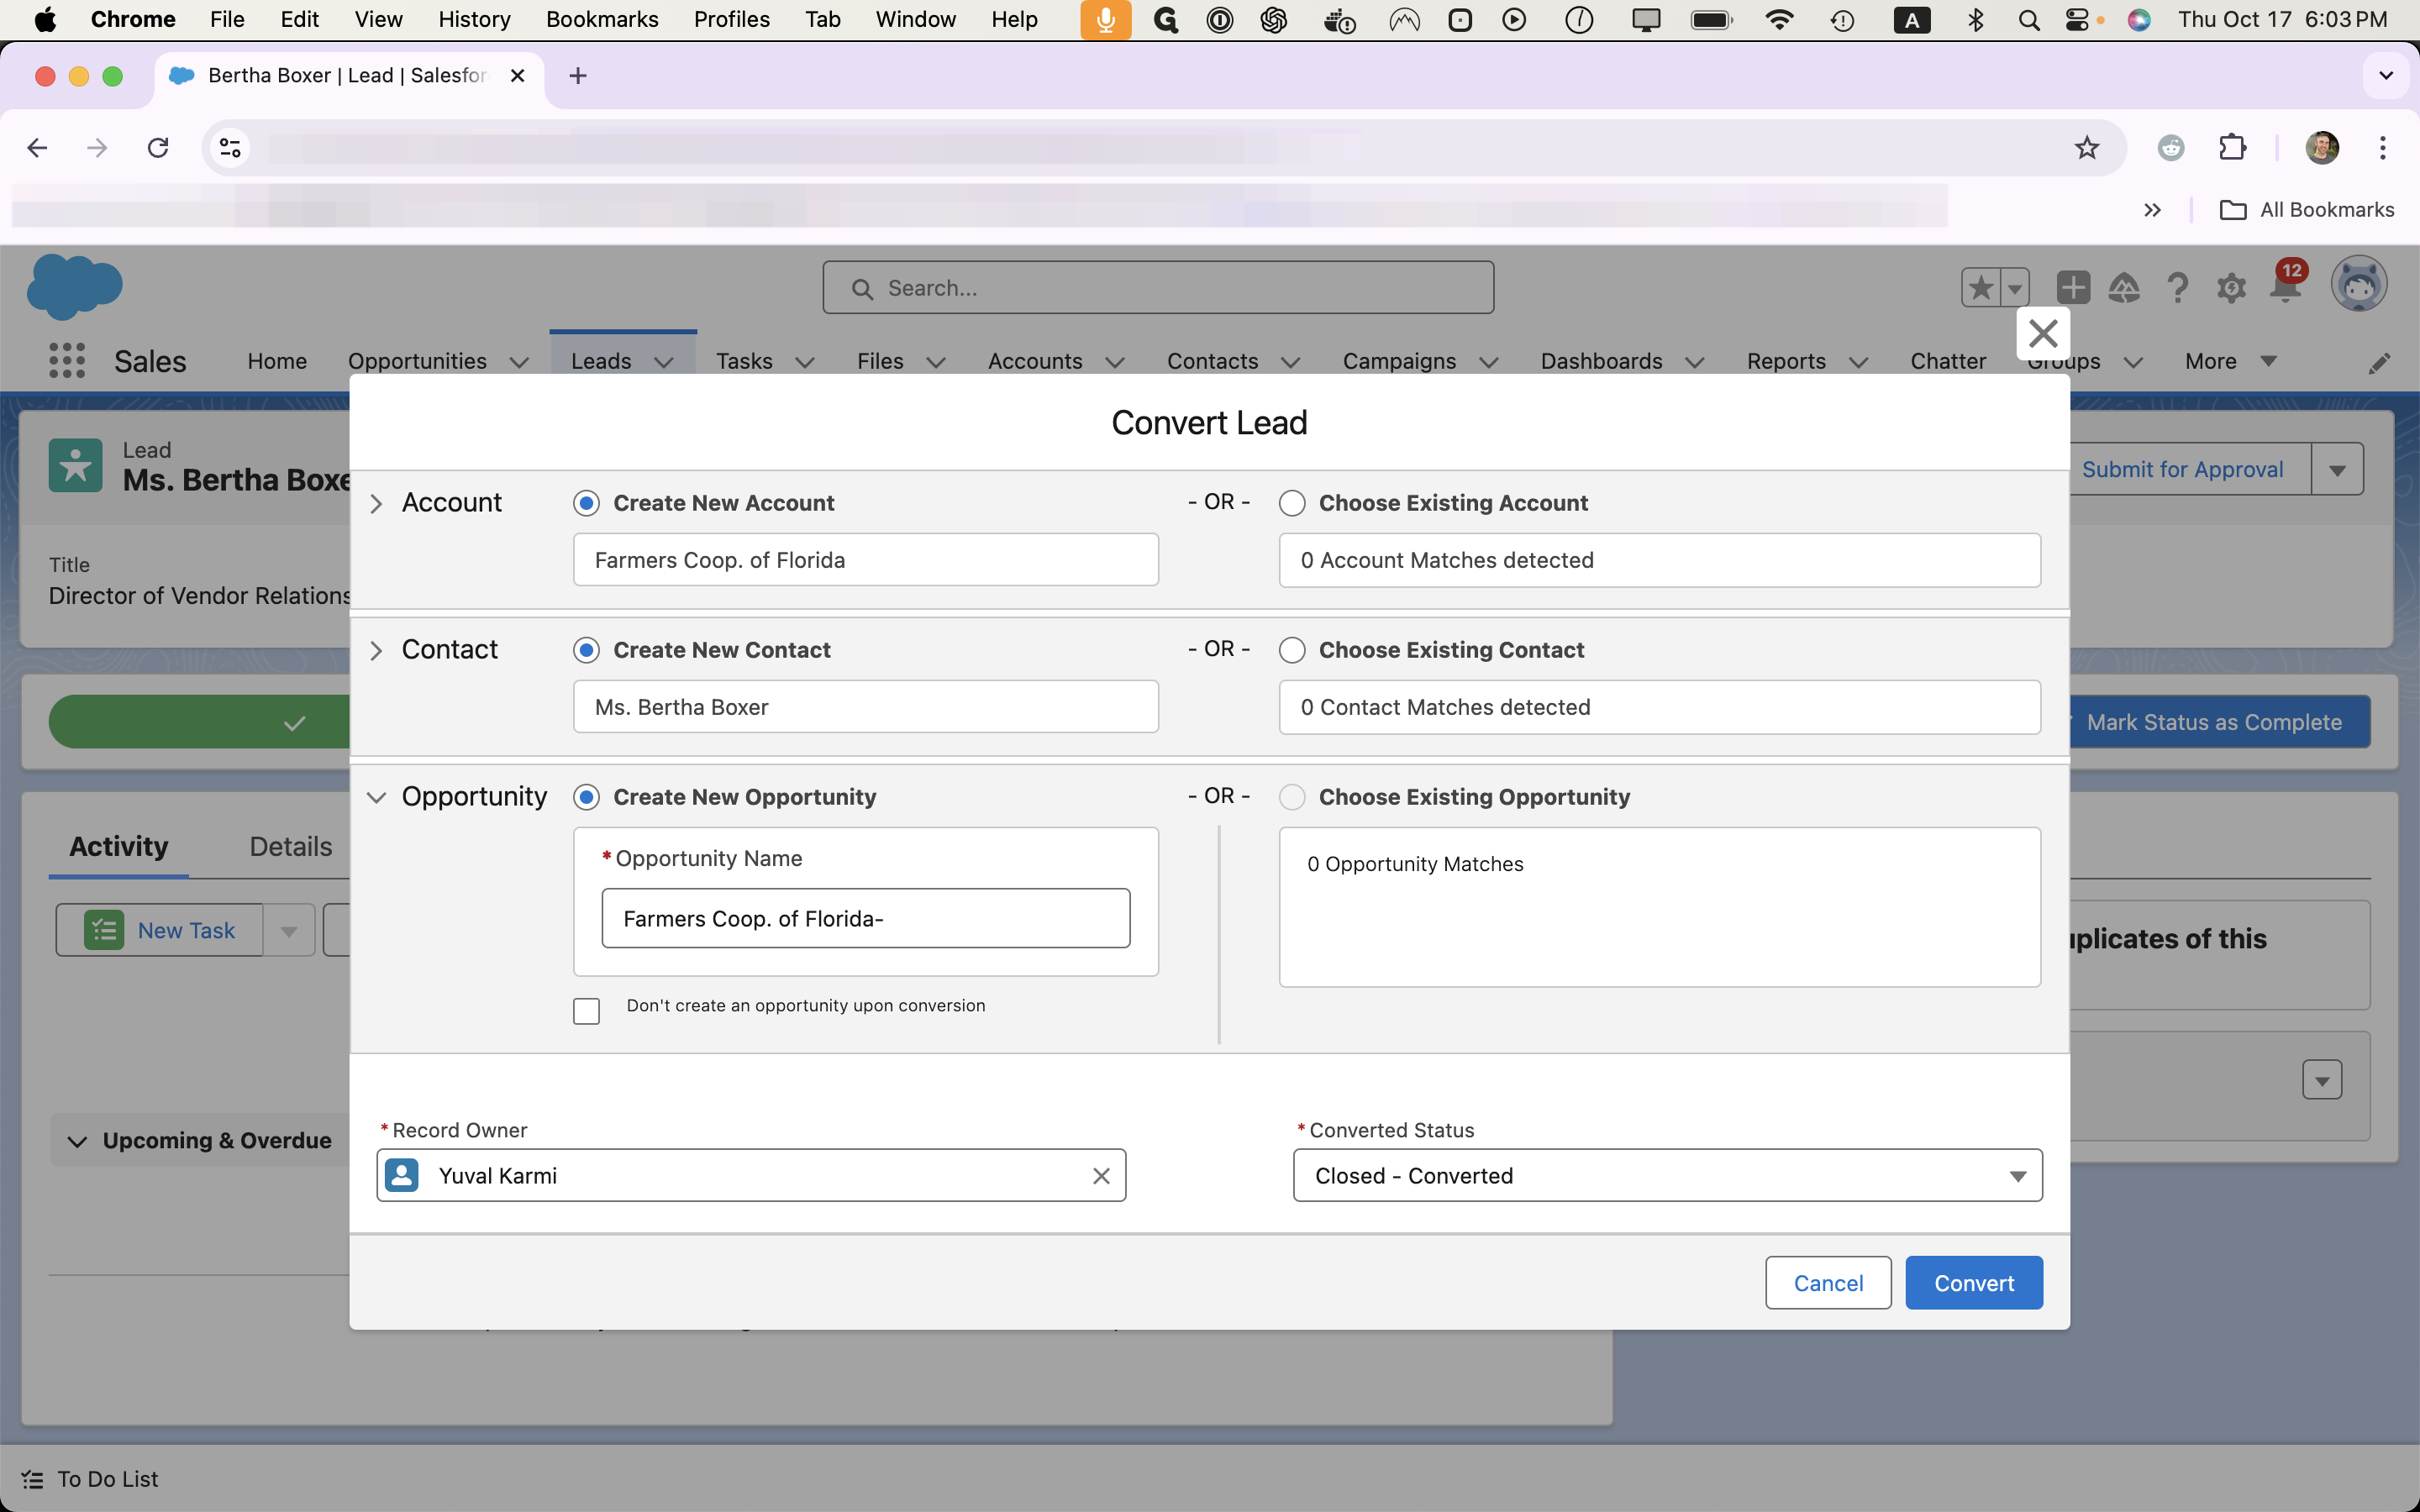
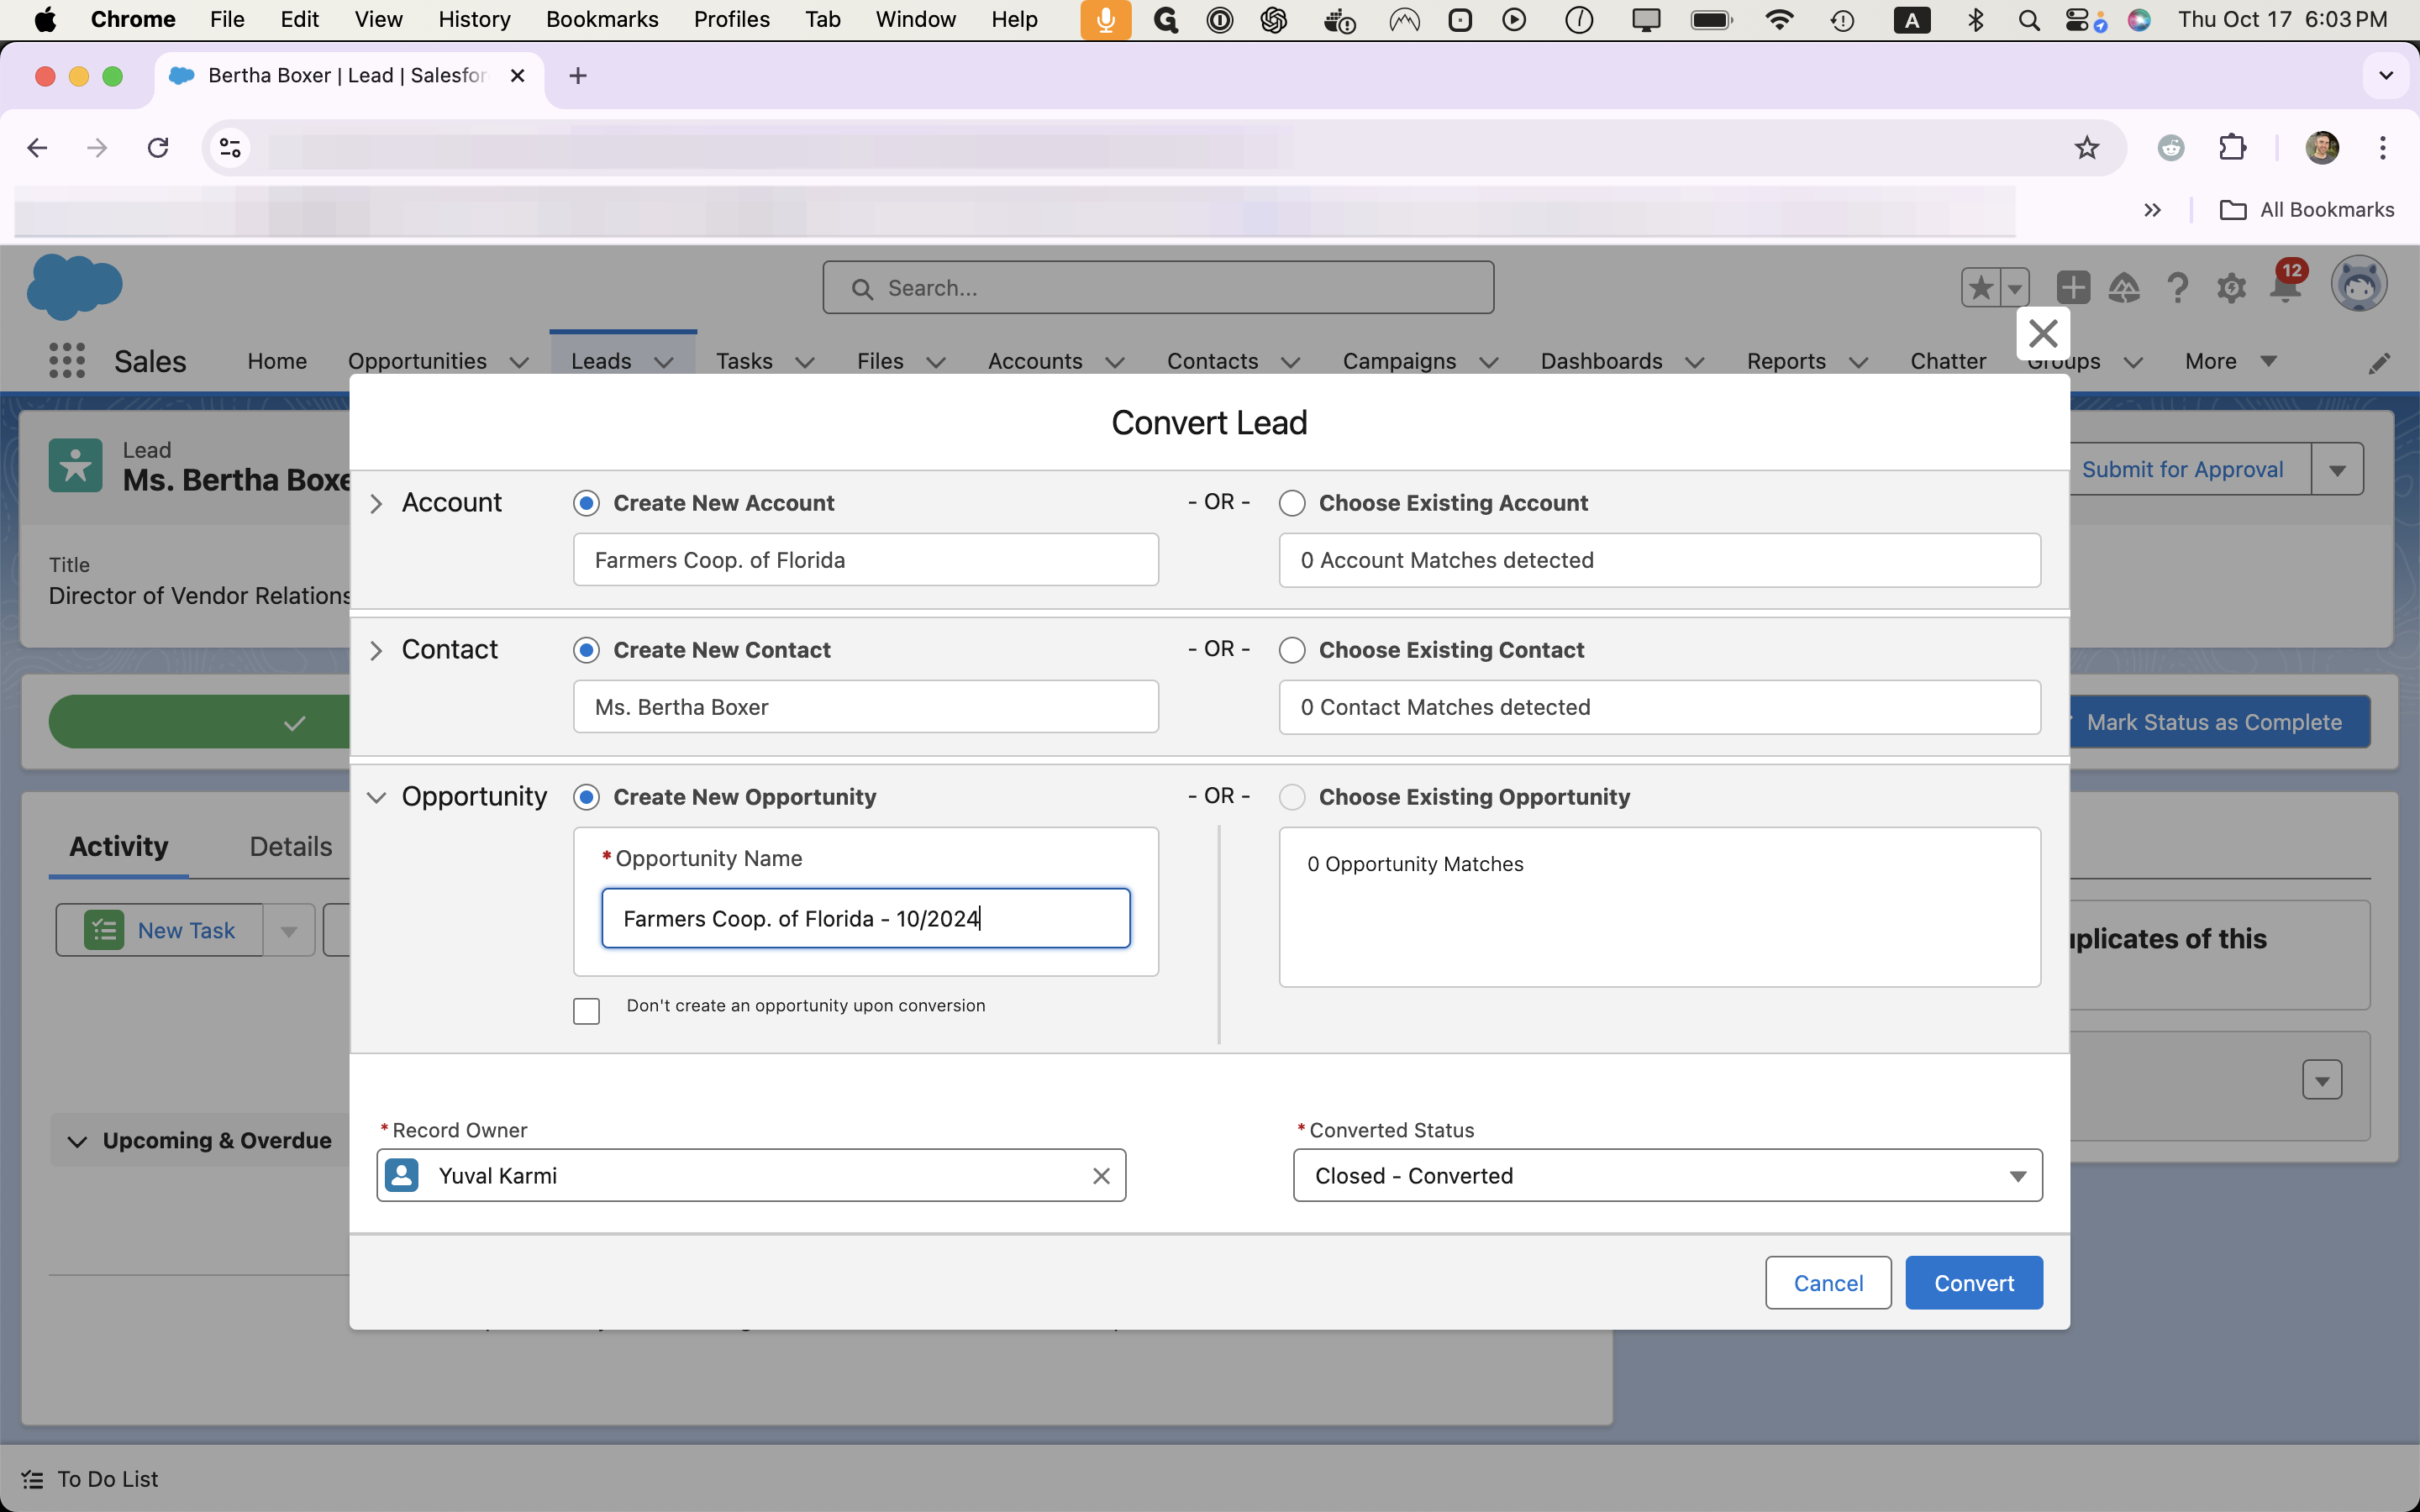
For opportunities, we use the format "Name of Company - Month/Year" It's important we keep this format across the board to make sure we can easily track opportunities when we review them during our weekly standup meeting.
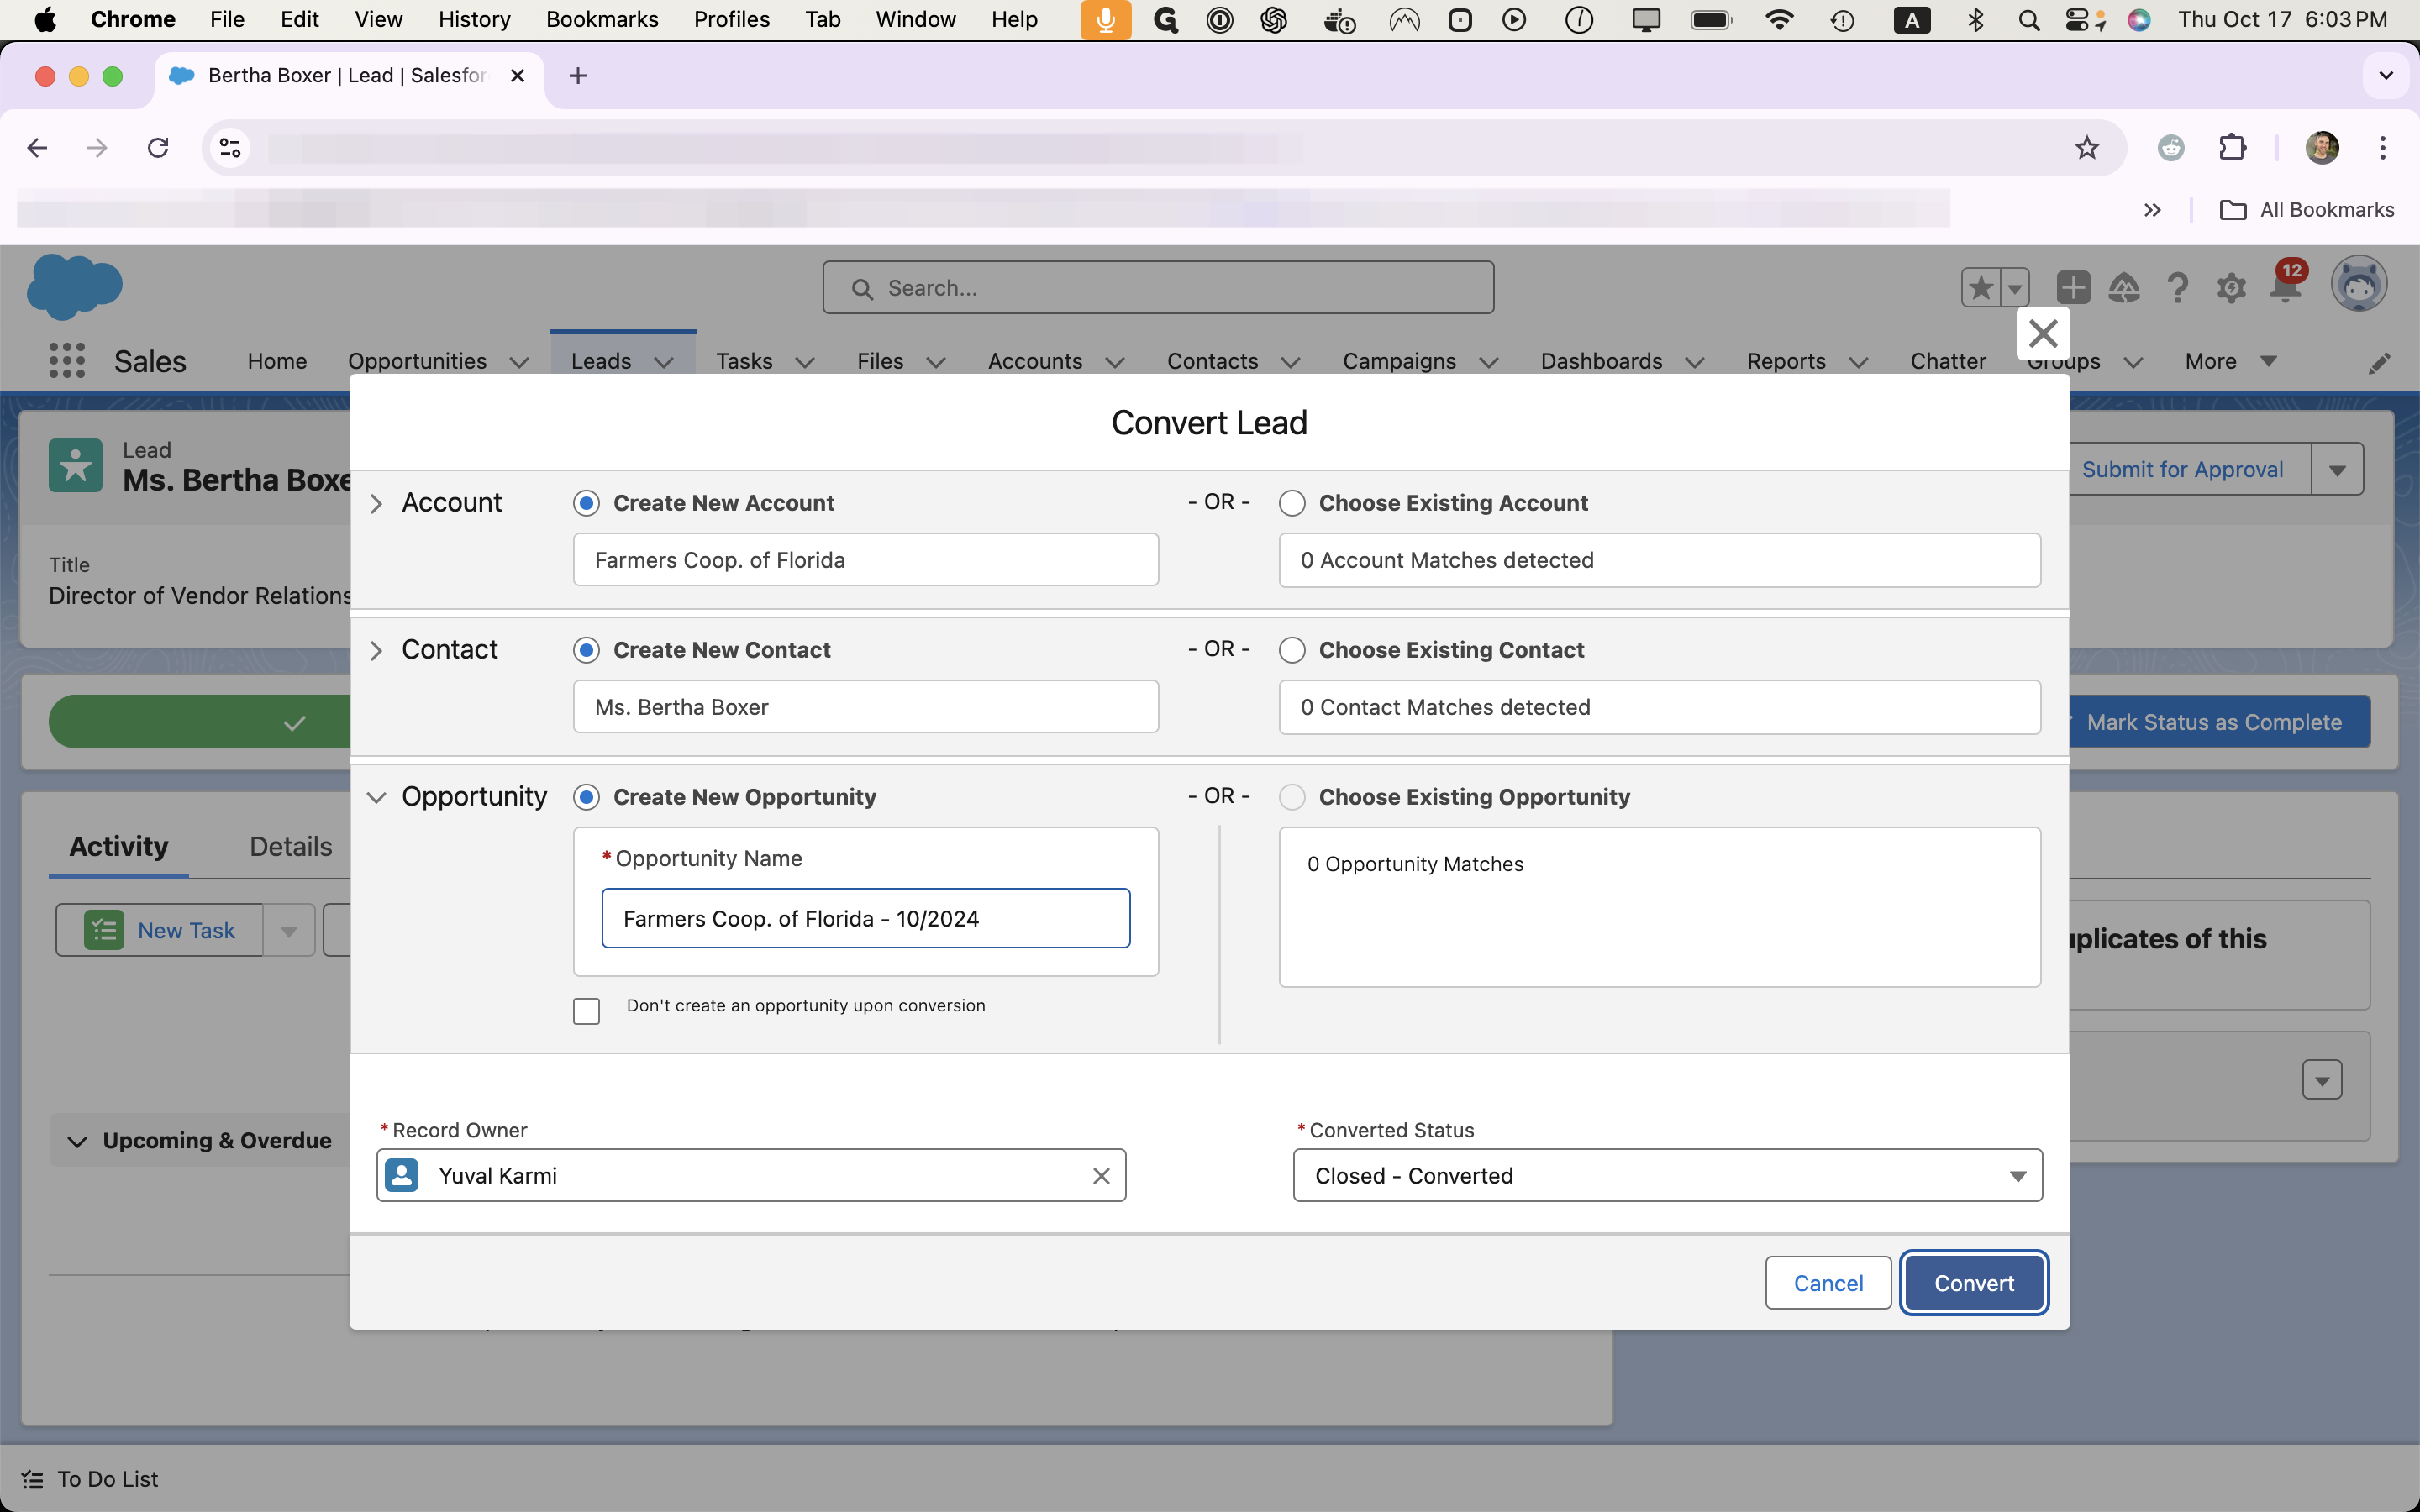
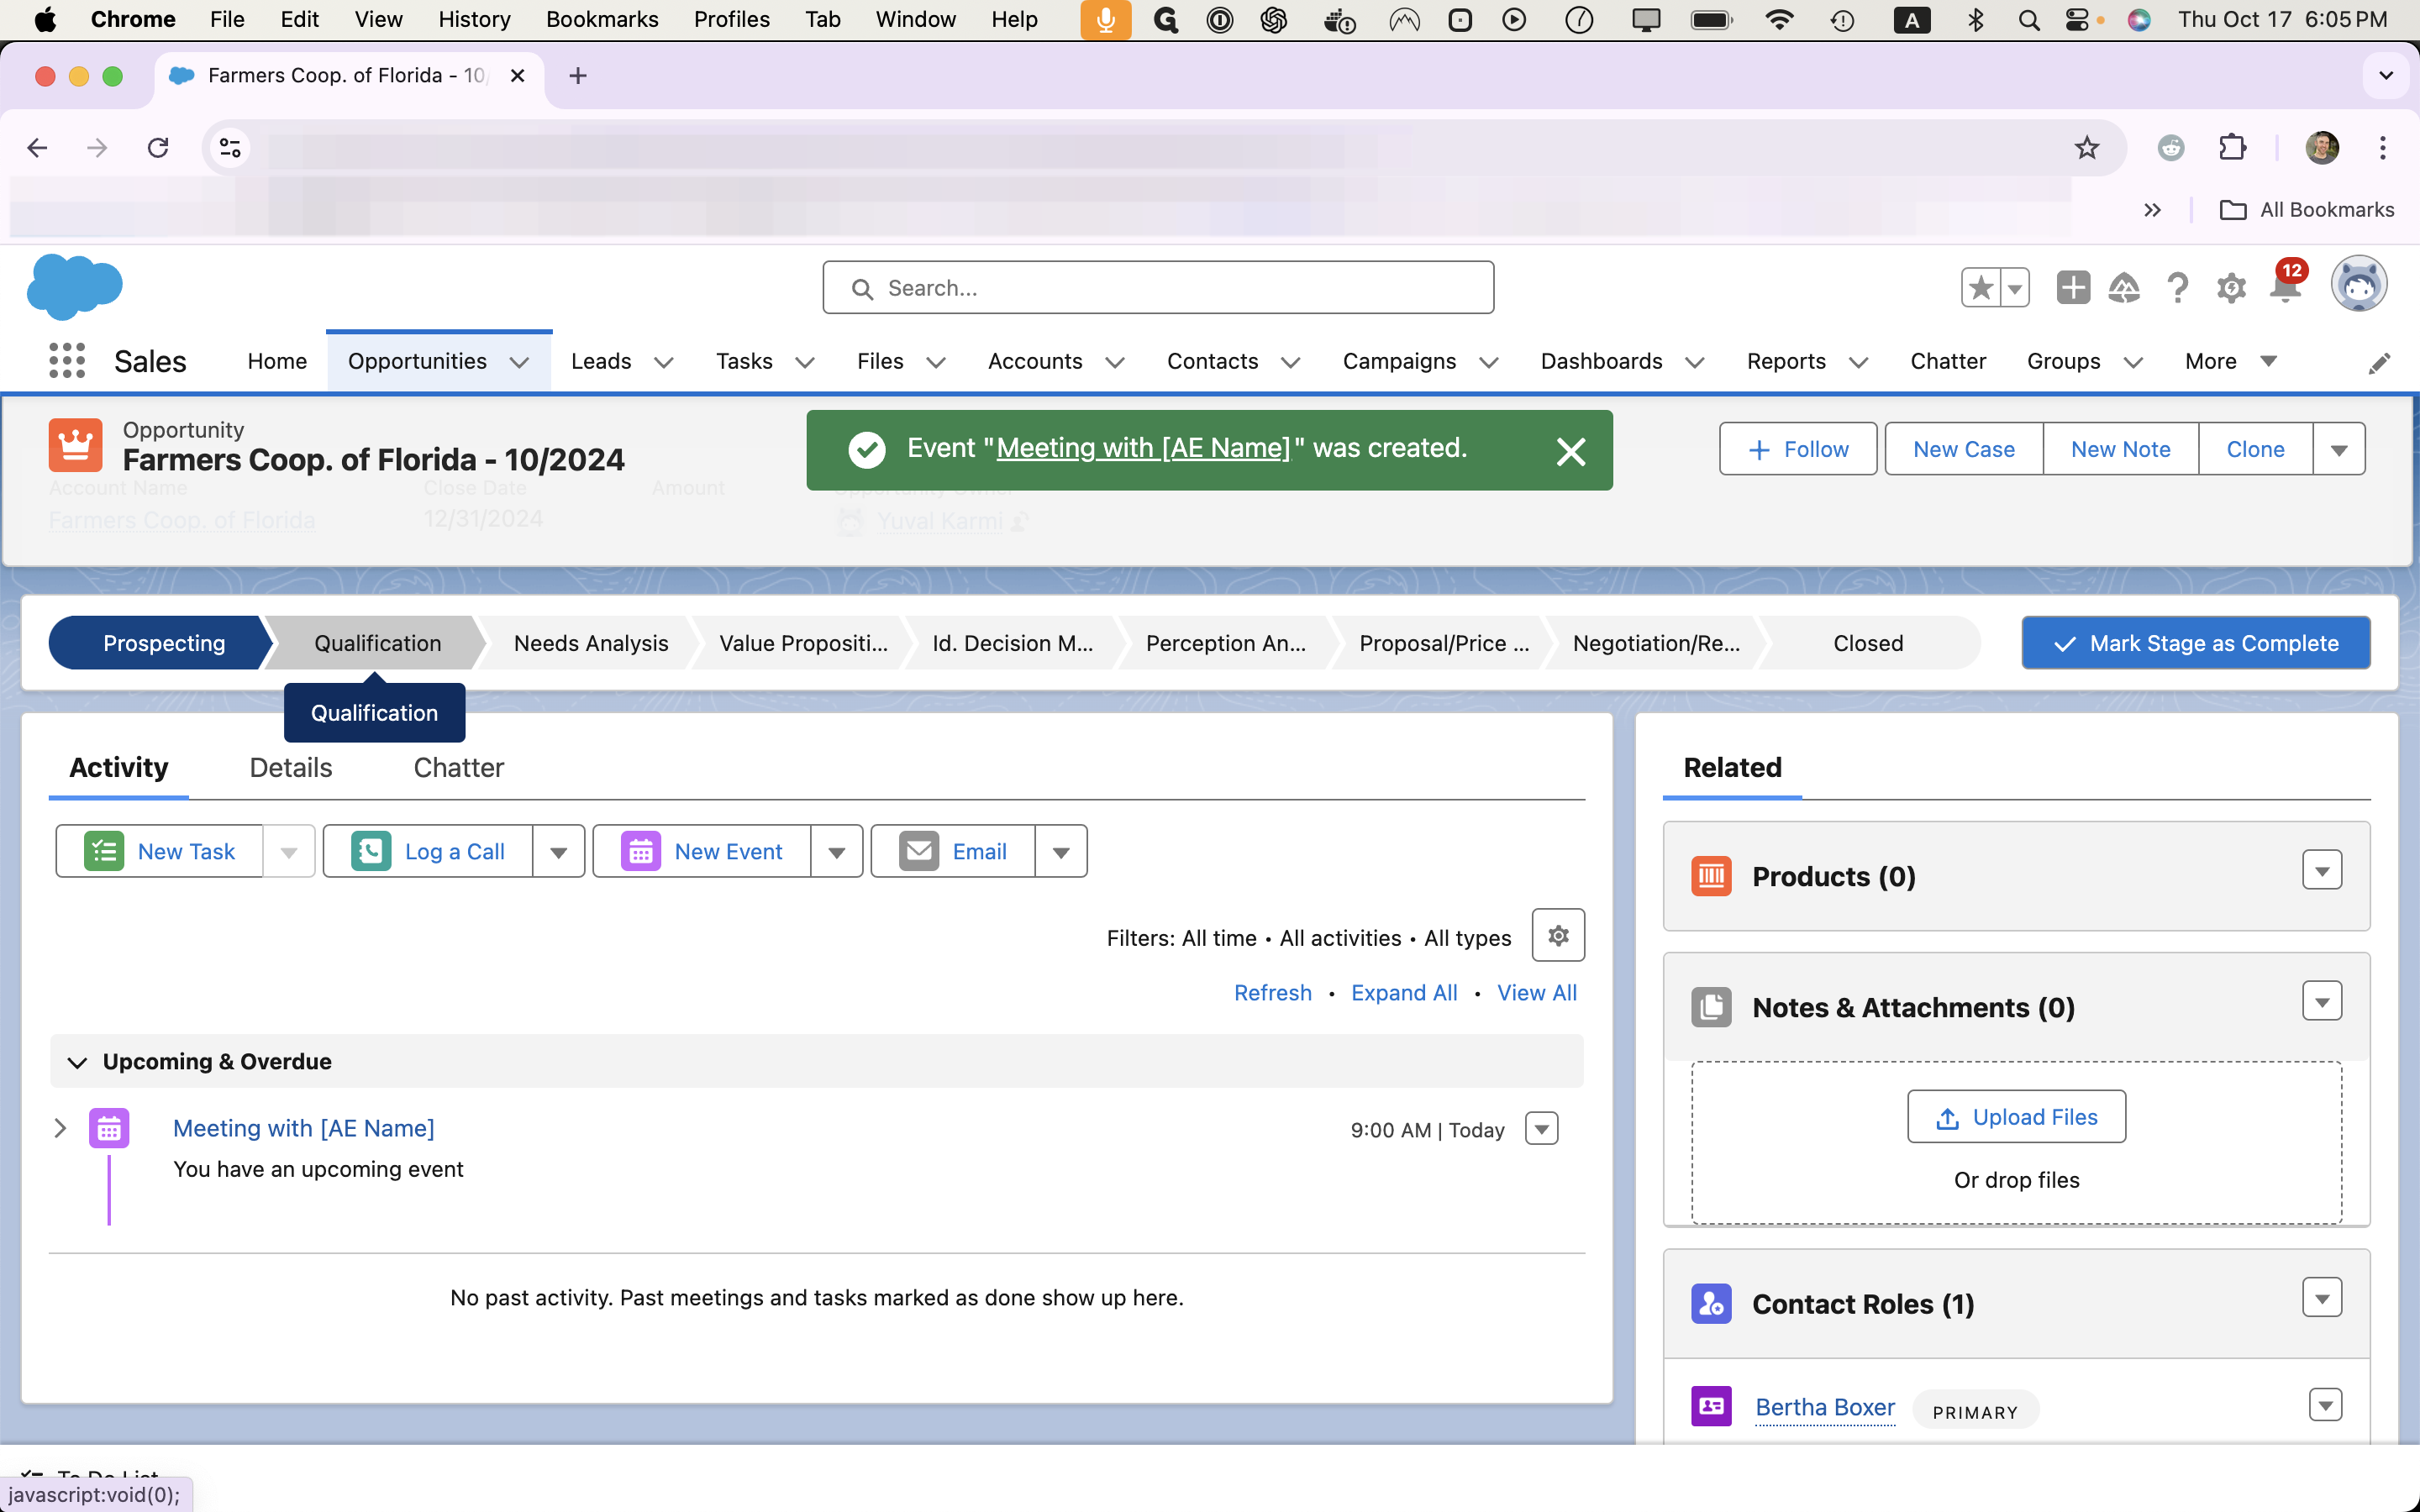
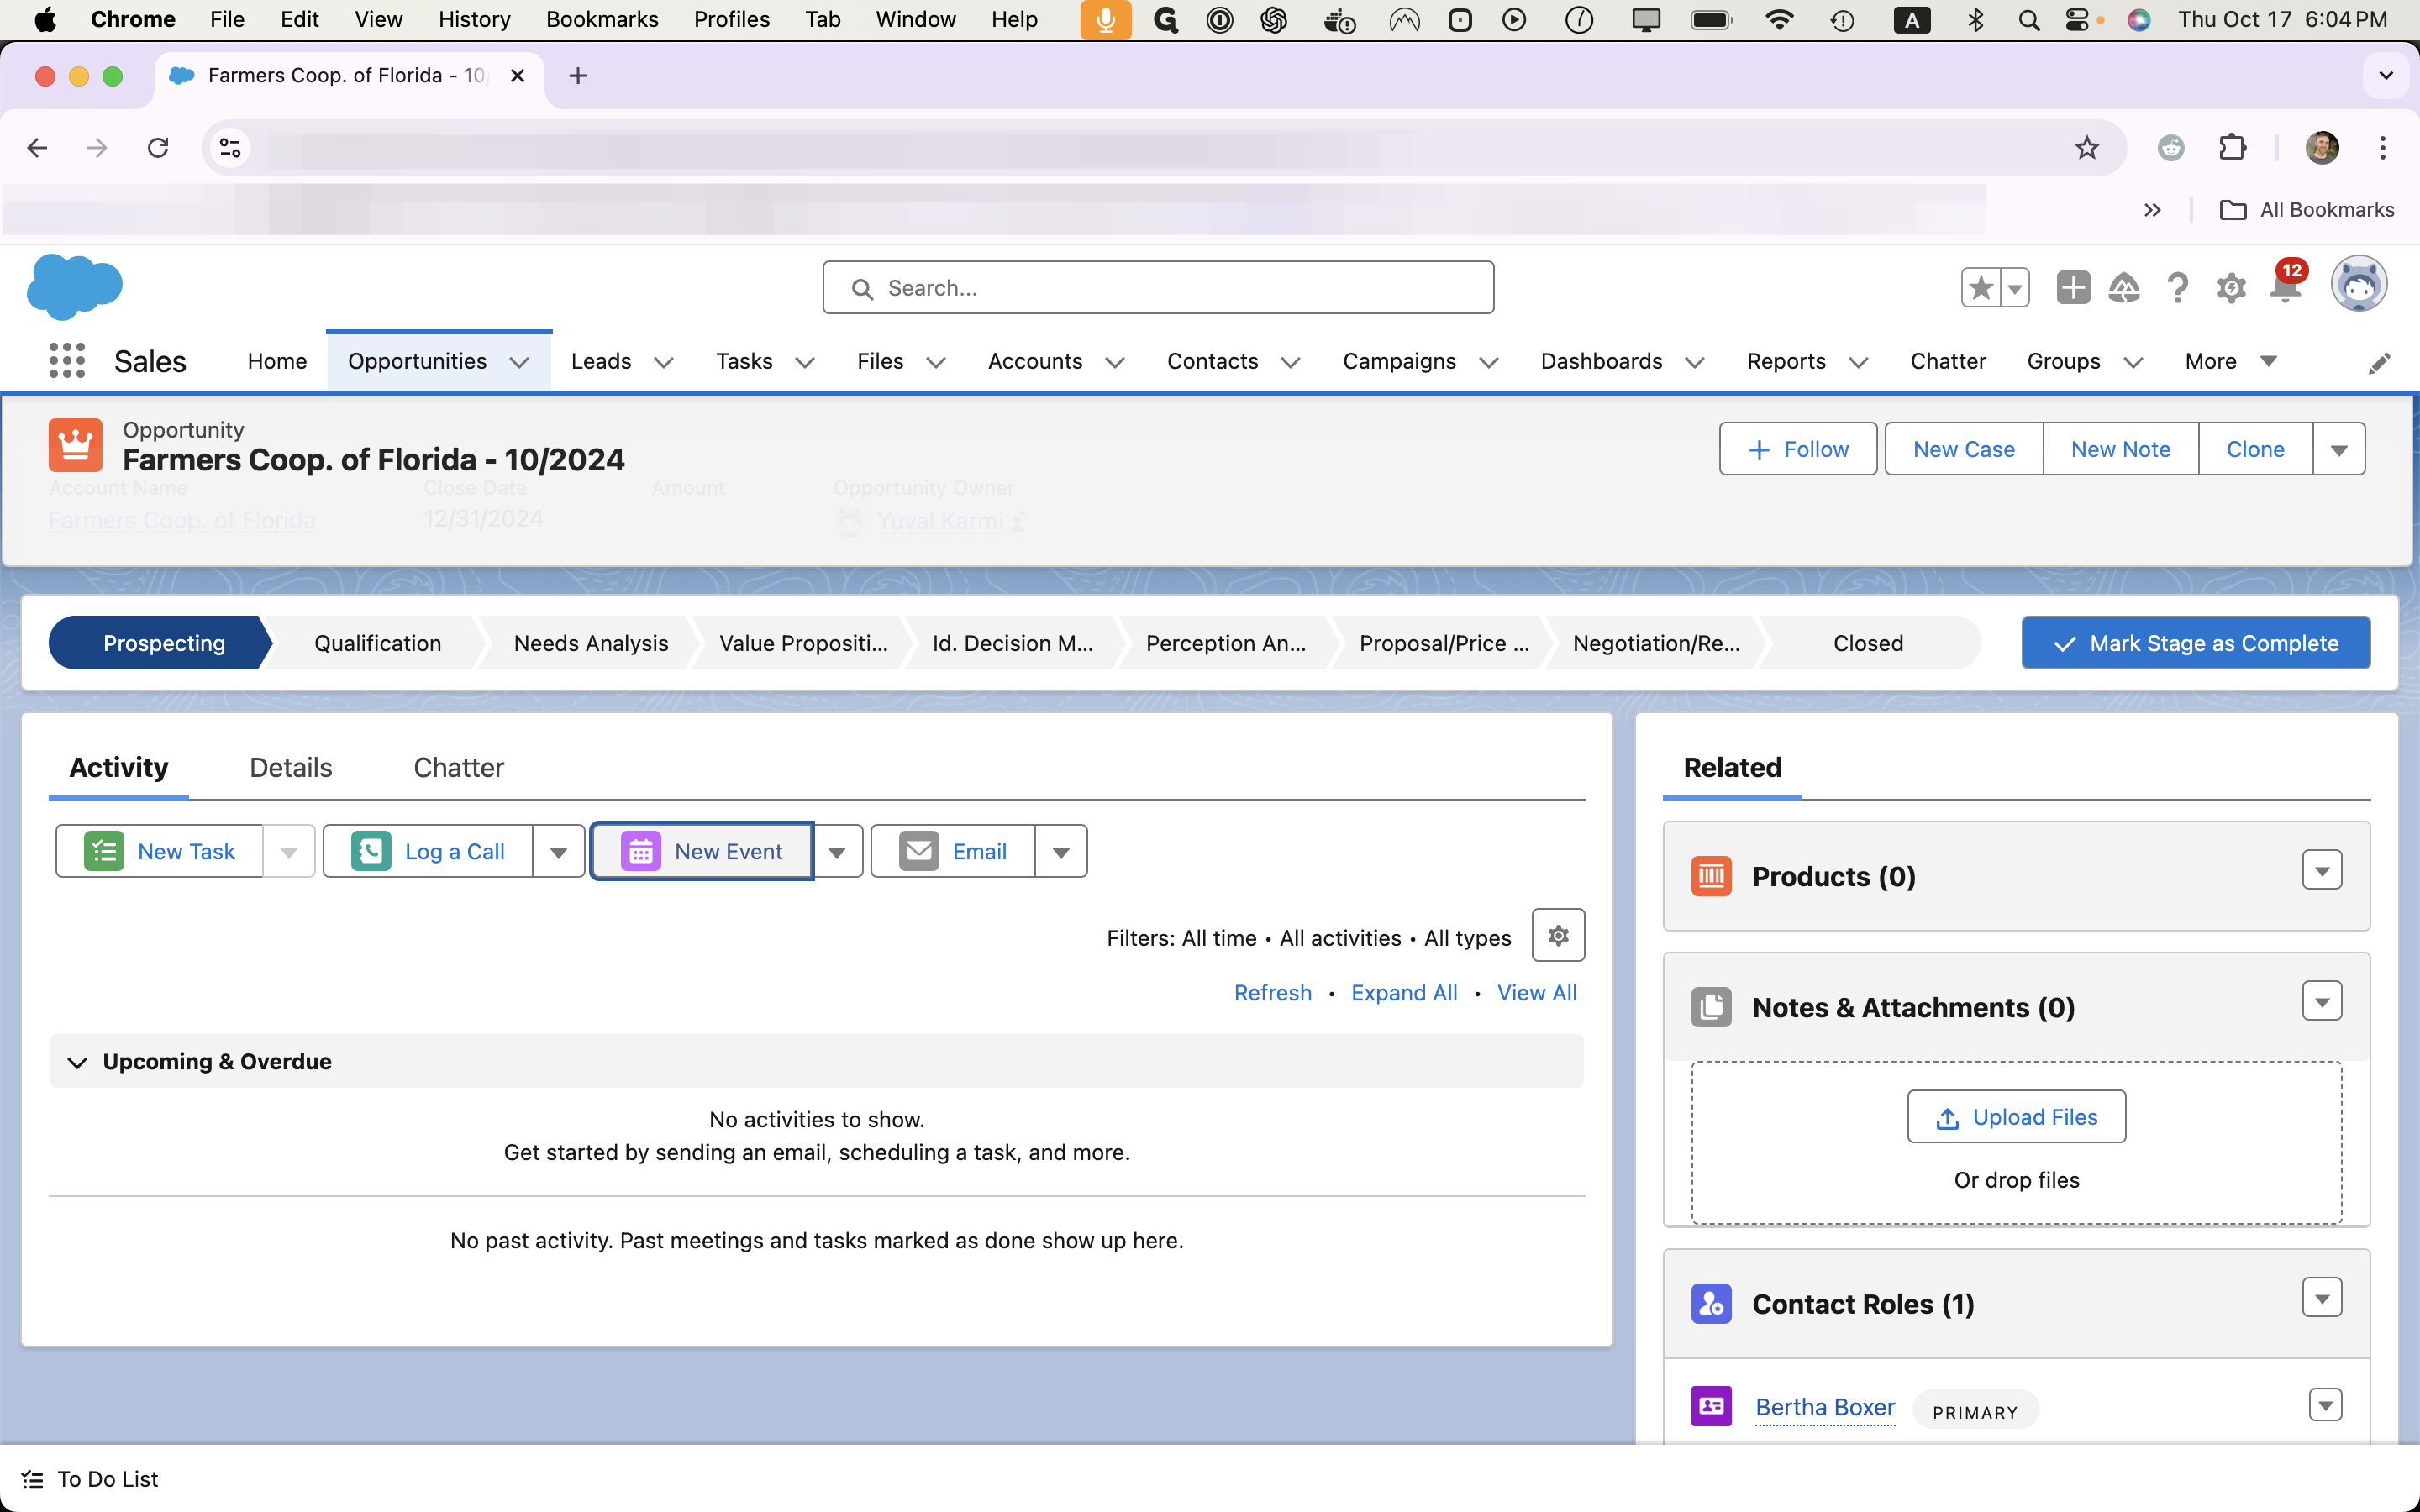
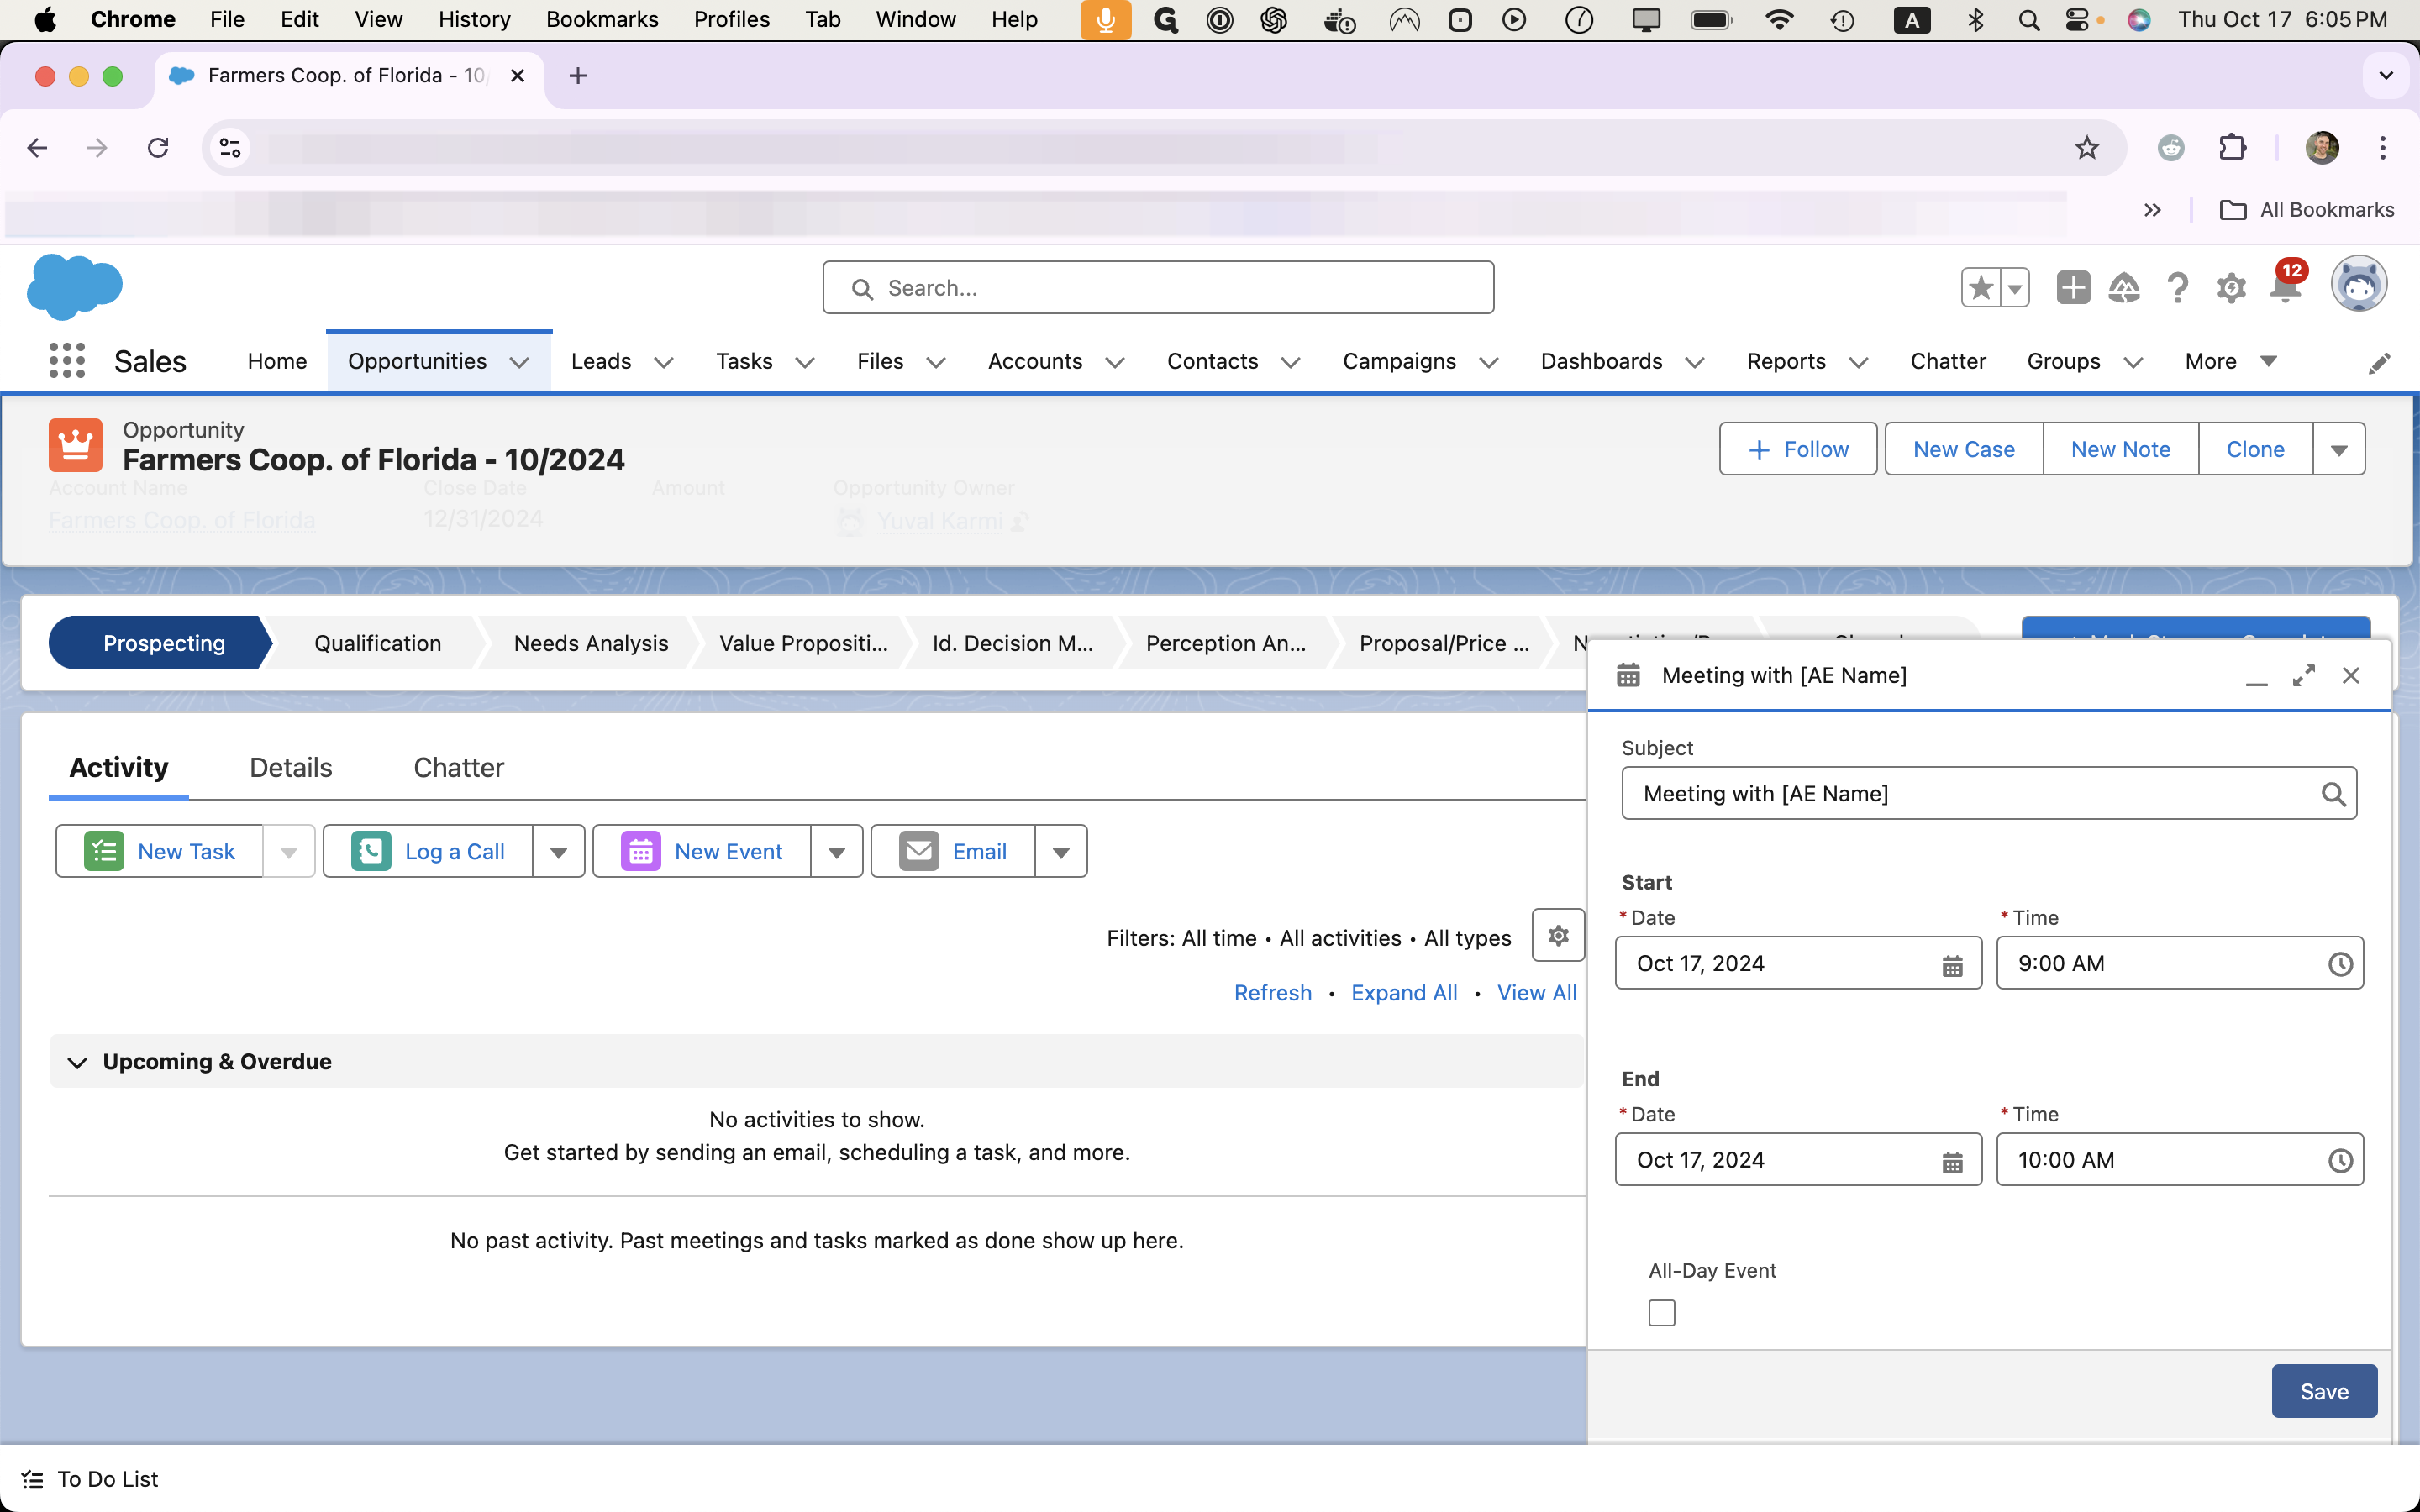
In this case, we spoke with someone one the phone and agreed on a date and time for the meeting with the AE, so we'll create an event in Salesforce.
![Step #9: Type "Meeting with [AE Name]"](https://di8mn0rali2ic.cloudfront.net/uploads/ed5ca969-1b6a-41ff-a8ec-9d0b71205e67/10838f9d-b2ef-48e4-9dcb-0fc24da5613f.png)
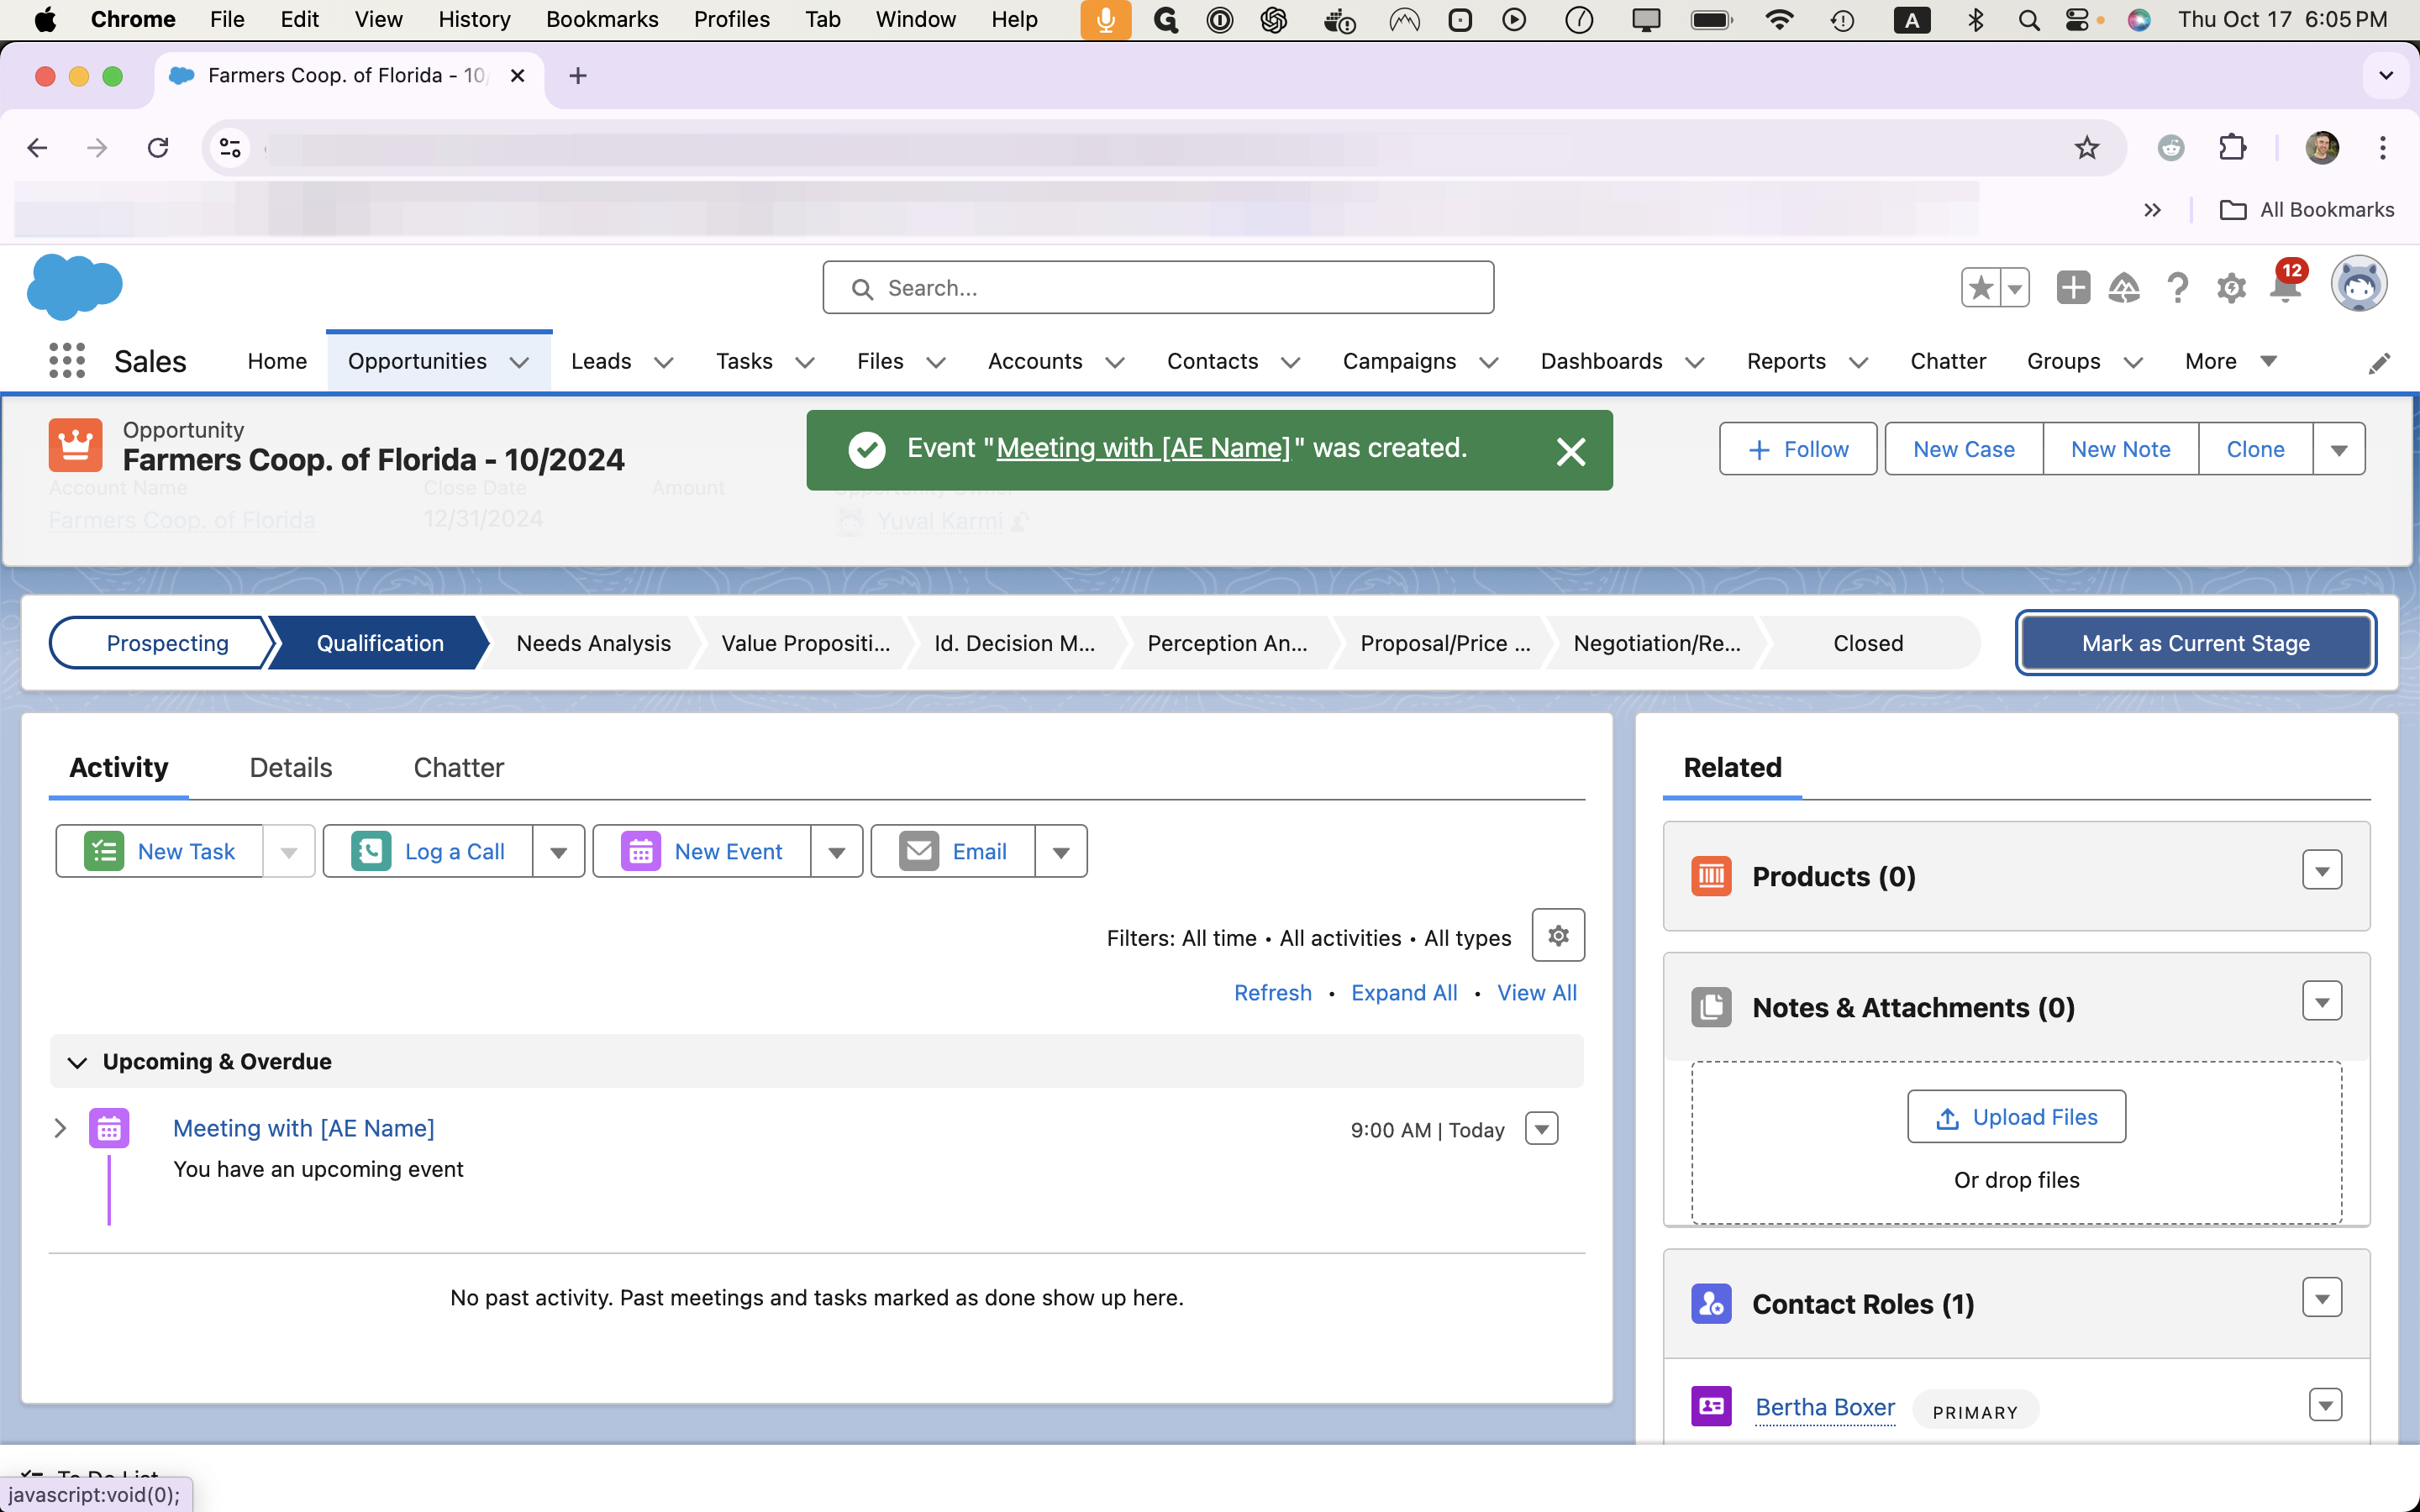
Lastly, move the opportunity to the qualification stage for the AE.
This sets the AE up to fill in in the qualification meeting notes, qualified date, pain, persona, interest, and the discovery meeting date fields.
Keep those fields in mind - you'll learn more about them when you go through AE training yourselves.
