
How to Cancel a Recurring Donation for a Donor
Step-by-step guide on how to cancel a recurring donation for a donor. Learn how to locate the donor, view their subscription details, and confirm the cancellation.
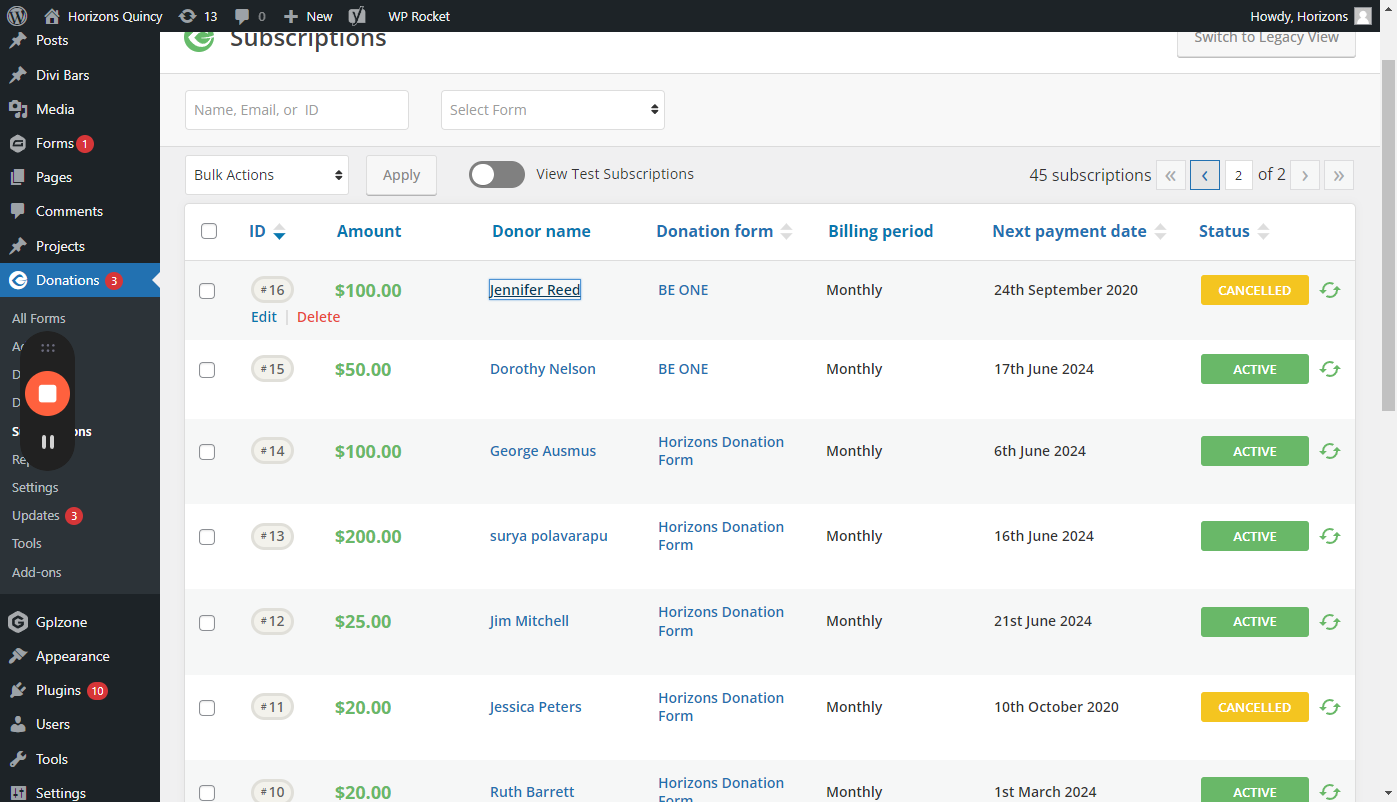
To begin, we'll navigate to the donations section where we can access donor information.
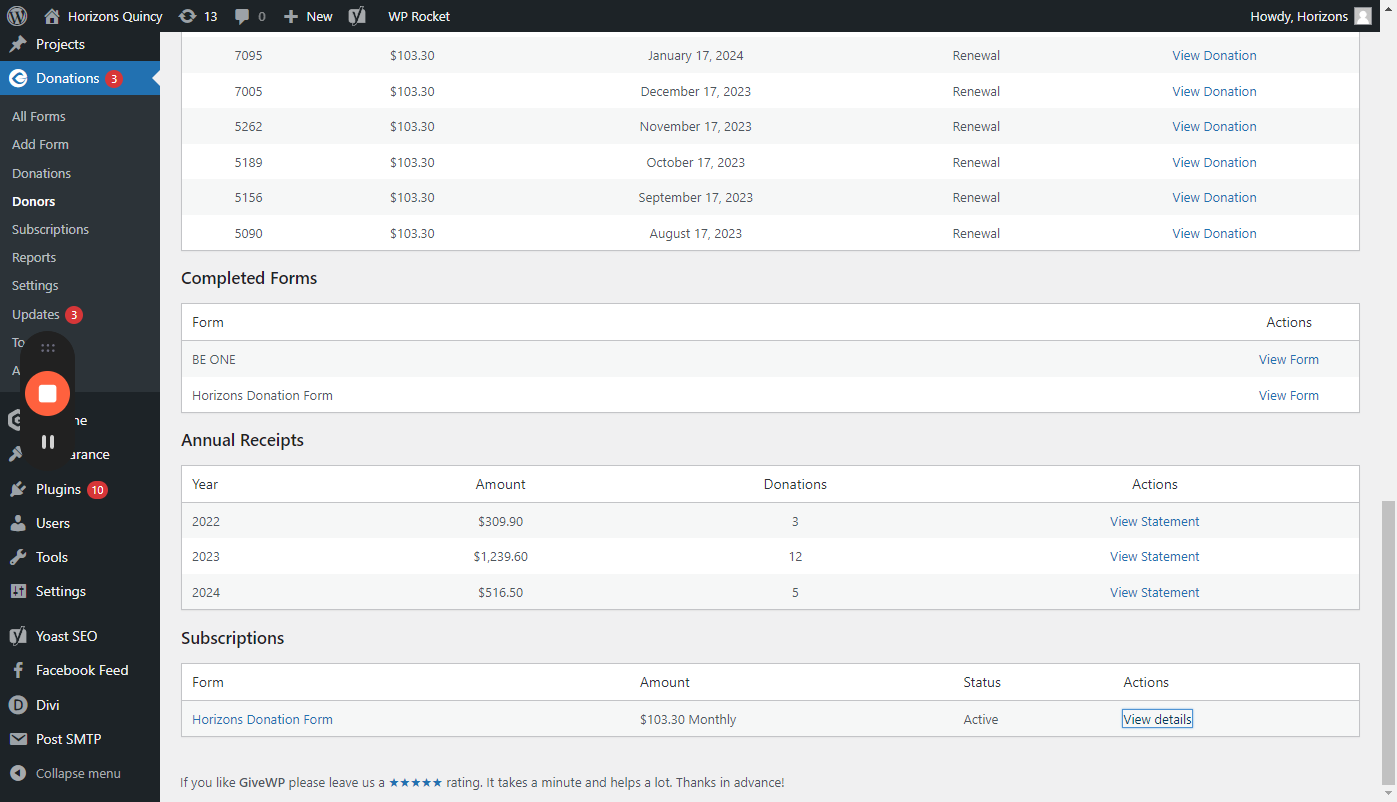
Search by name, email, or ID number. Once identified, we'll proceed by selecting the donor's name and scrolling down to the subscriptions section, representing the recurring donation. Under the 'action' tab, we'll click on 'view details' for the specific recurring donation requiring cancellation.
Cancelling the Recurring Donation
Next, we'll locate the option to cancel the subscription within the details provided. By clicking on the 'cancel subscription' button, we confirm the cancellation request. Upon confirmation, a notification indicating the successful cancellation will be displayed. This action not only informs the donor but also updates the status with the payment processor, ensuring no further renewals occur.
Verifying the Cancellation
To confirm the cancellation, we'll check the renewal date section where the subscription status will now reflect as 'canceled.' This verification step ensures that the recurring donation has been successfully terminated.
Let's get started.
To cancel a recurring donation for a donor, go to the donations section and view all donors. Search for the donor by name, email, or ID number. Once you locate the donor, proceed to assist them.
We will click on their name and scroll down to subscriptions, which is their term for recurring donations. Then, under action, click on view details.
To cancel the specific recurring donation, locate their Stripe ID details. Scroll down to find the "Cancel Subscription" button. Click the button and confirm the cancellation.

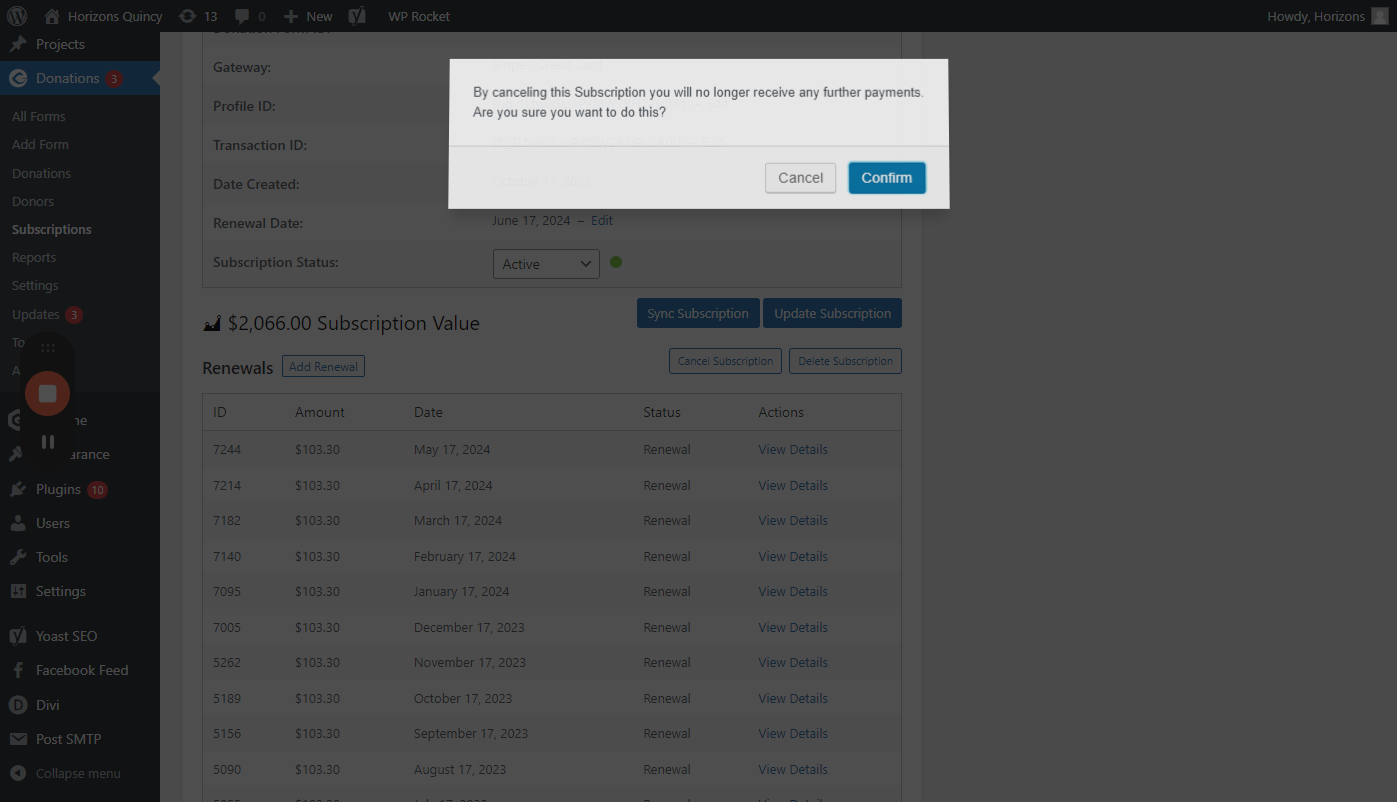
The subscription has been successfully canceled. This action notifies Stripe that there will be no further renewals. Check the status to confirm the cancellation - the subscription status will now show as "canceled." That's all.