How to Manage Collections in Your Momentum Account
Learn how to efficiently manage collections in your Momentum account, including viewing, sorting, and updating collection details.
In this guide, we'll learn how to manage collections to organize your buildings within your Momentum account. You'll discover how to view, sort, and search through your collections, as well as update their names and descriptions.
Let's get started
In this tutorial, I'll show you how to manage collections in your Momentum account.
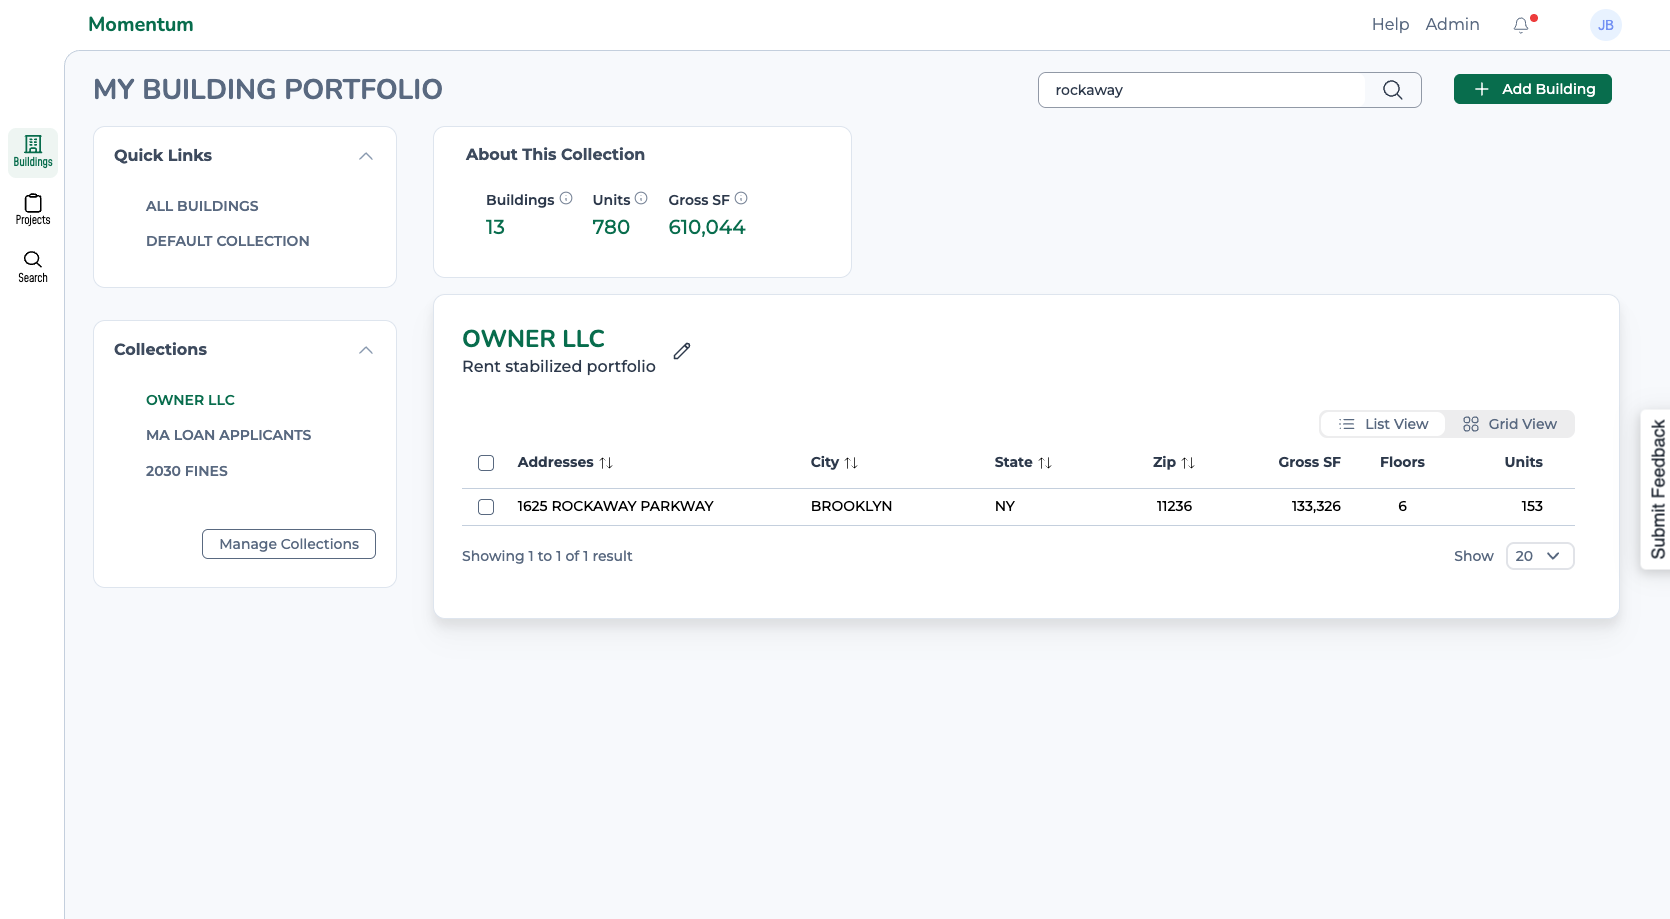
On the left side of your homepage, you'll see a list of your collections. There's also a default collection for buildings not organized into any other collections.
You can view any of your collections by clicking on their name.
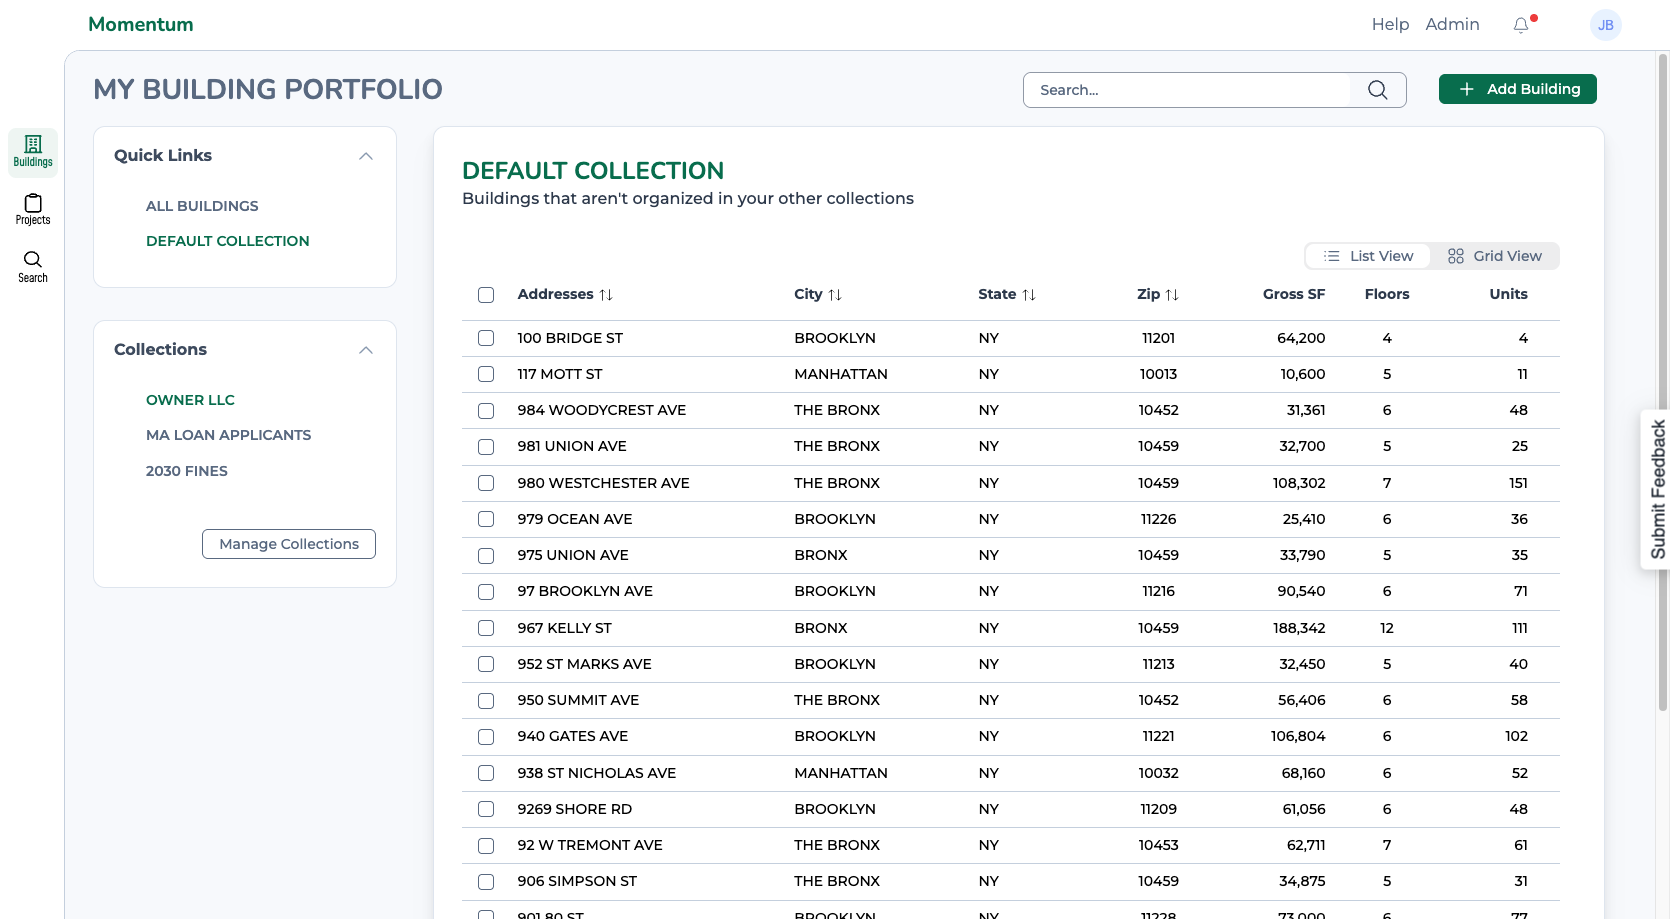
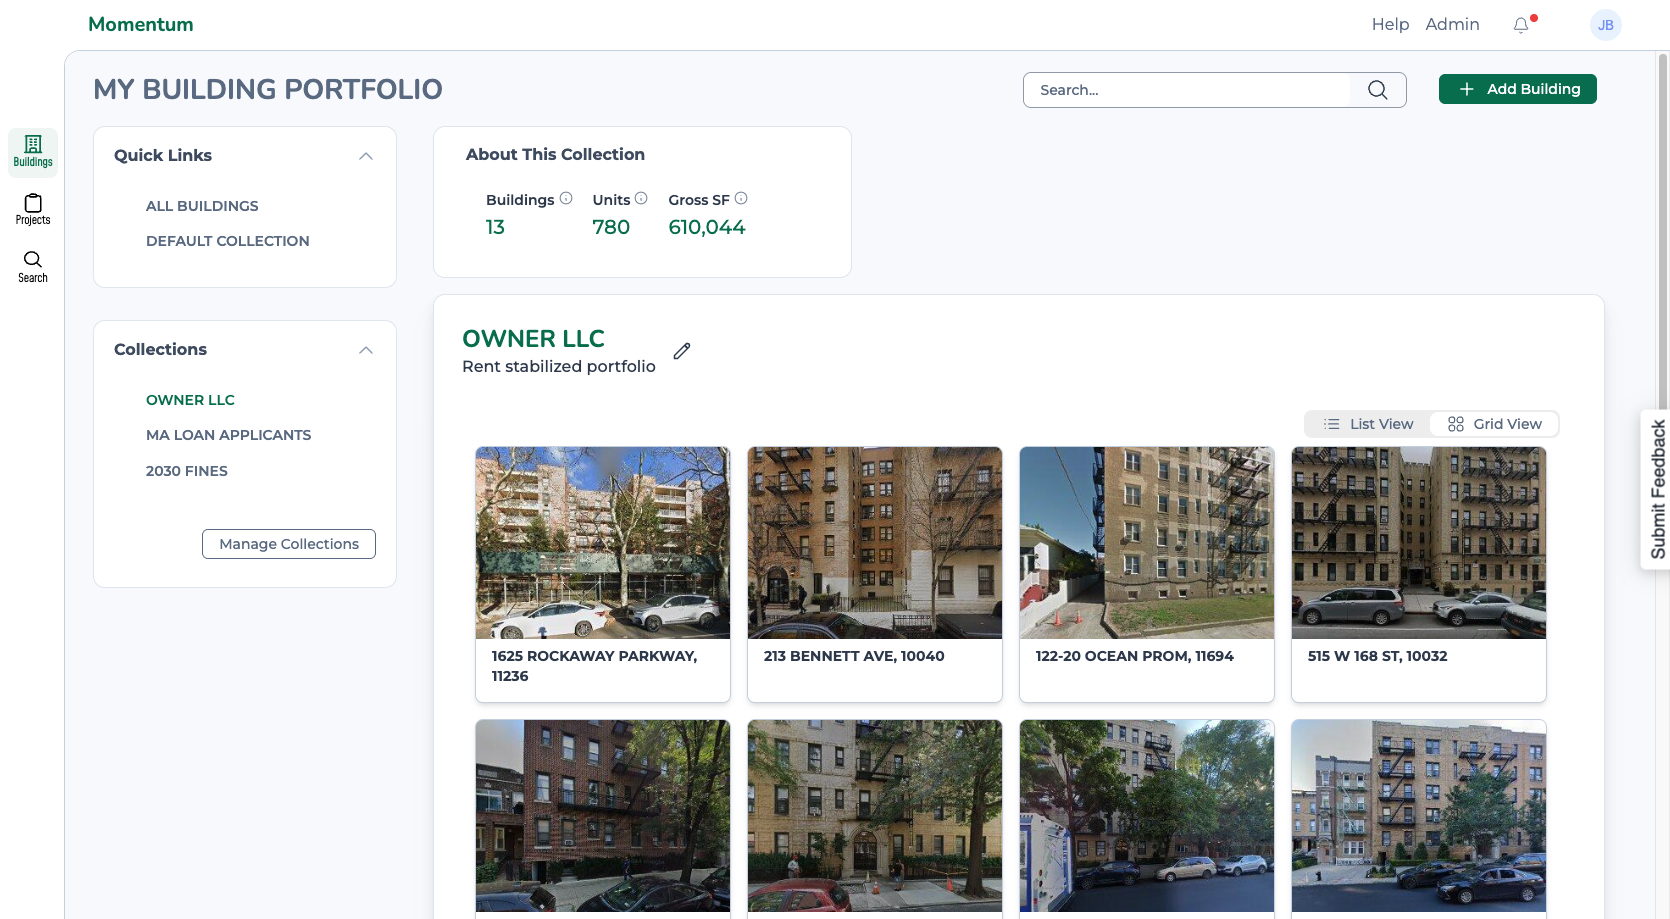
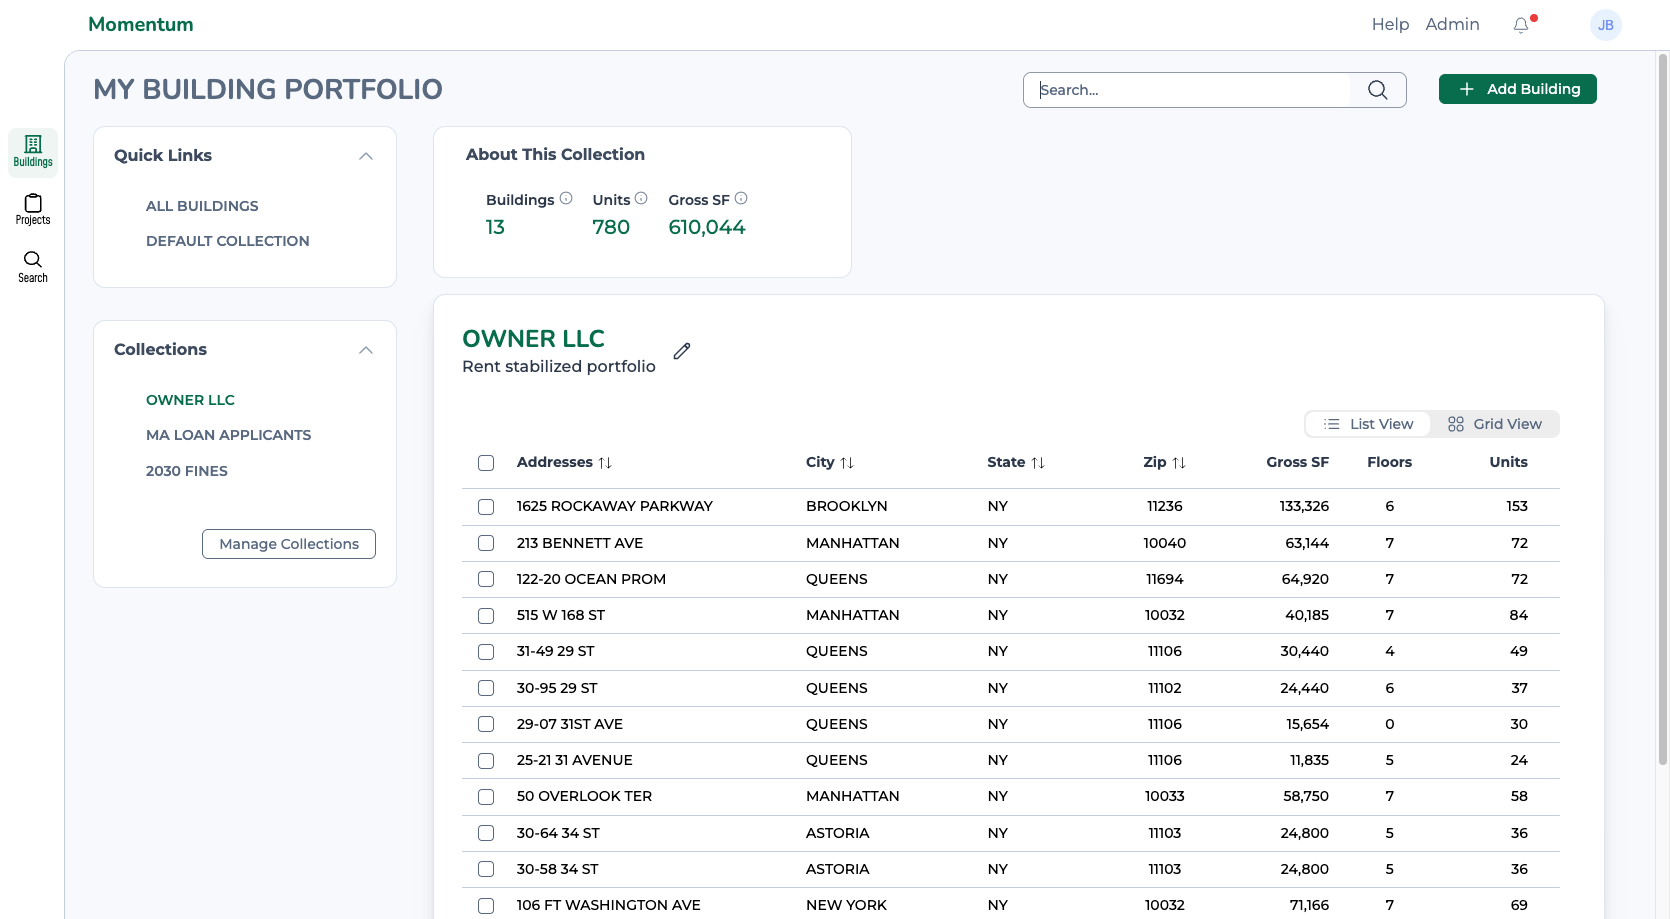
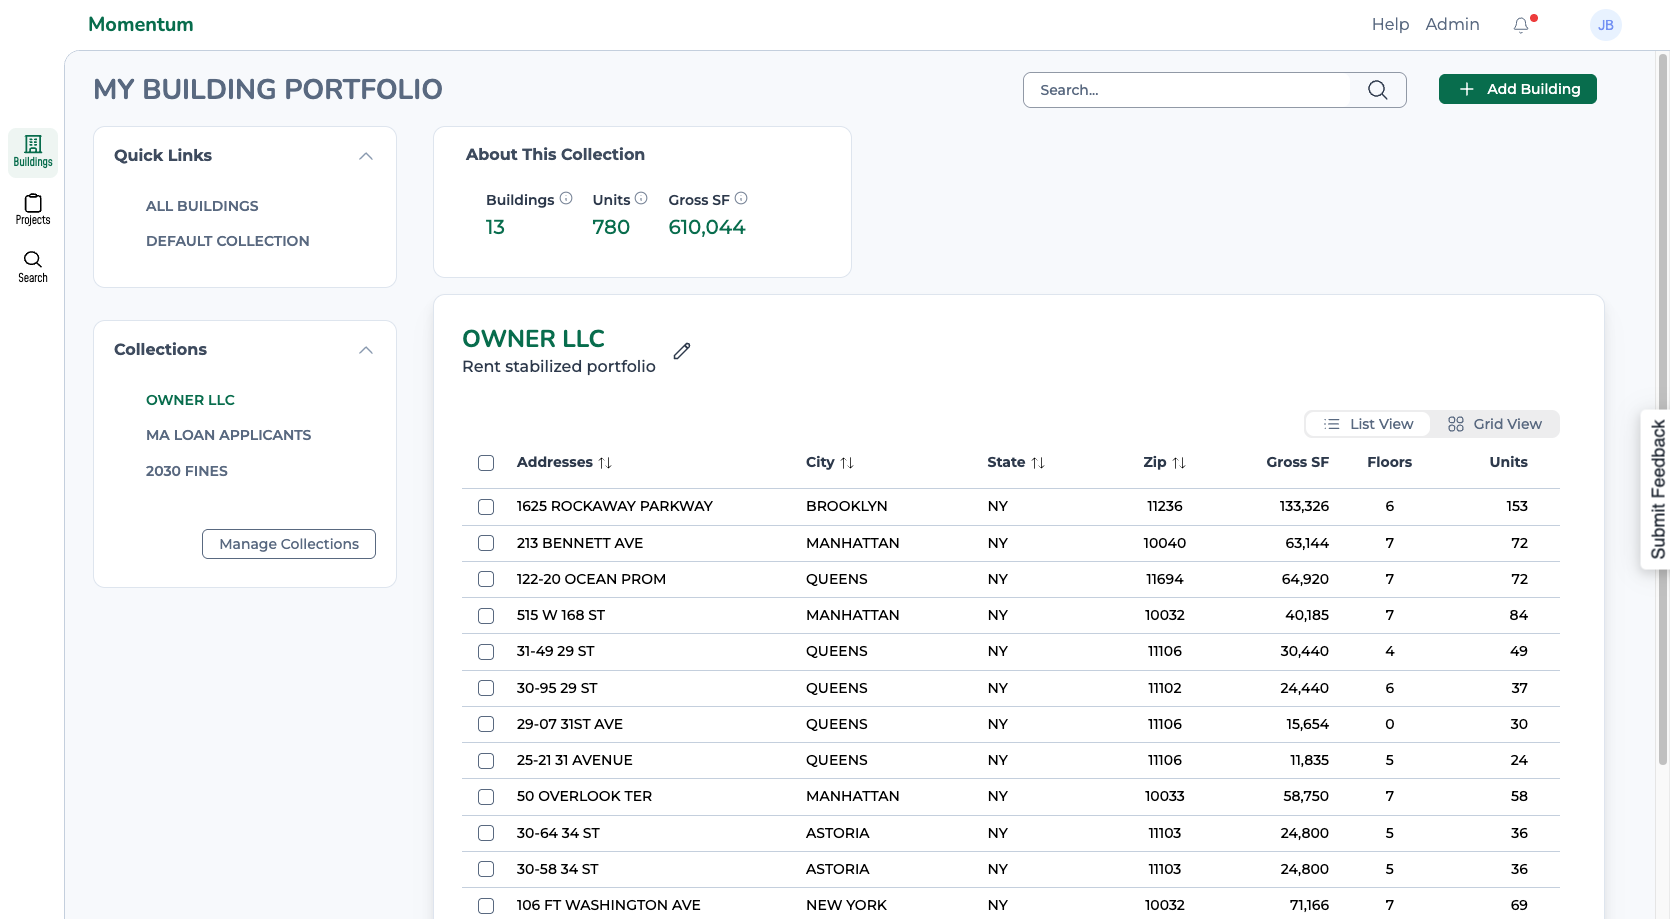
There you'll see a list of the buildings in that collection, along with summary statistics, including the number of buildings, units, and square feet.

You can also switch between list view and grid view.
You can search for buildings within your collection.
Clicking the pencil allows you to update the collection name or description.
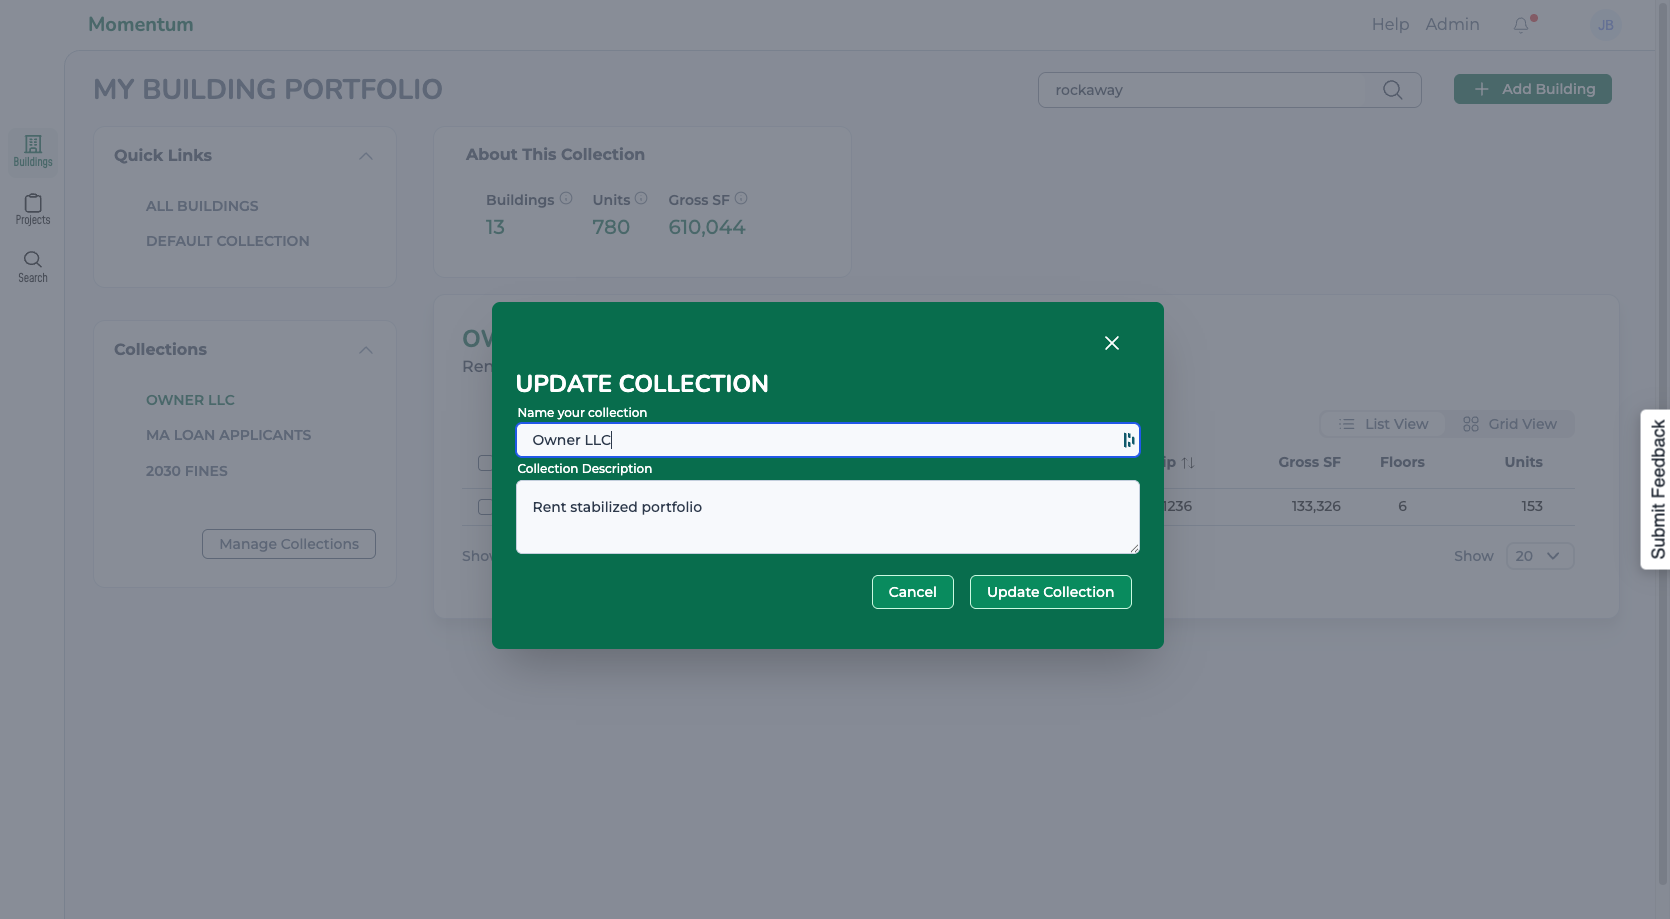
After updating your information, click "Update Collection" to save your changes.

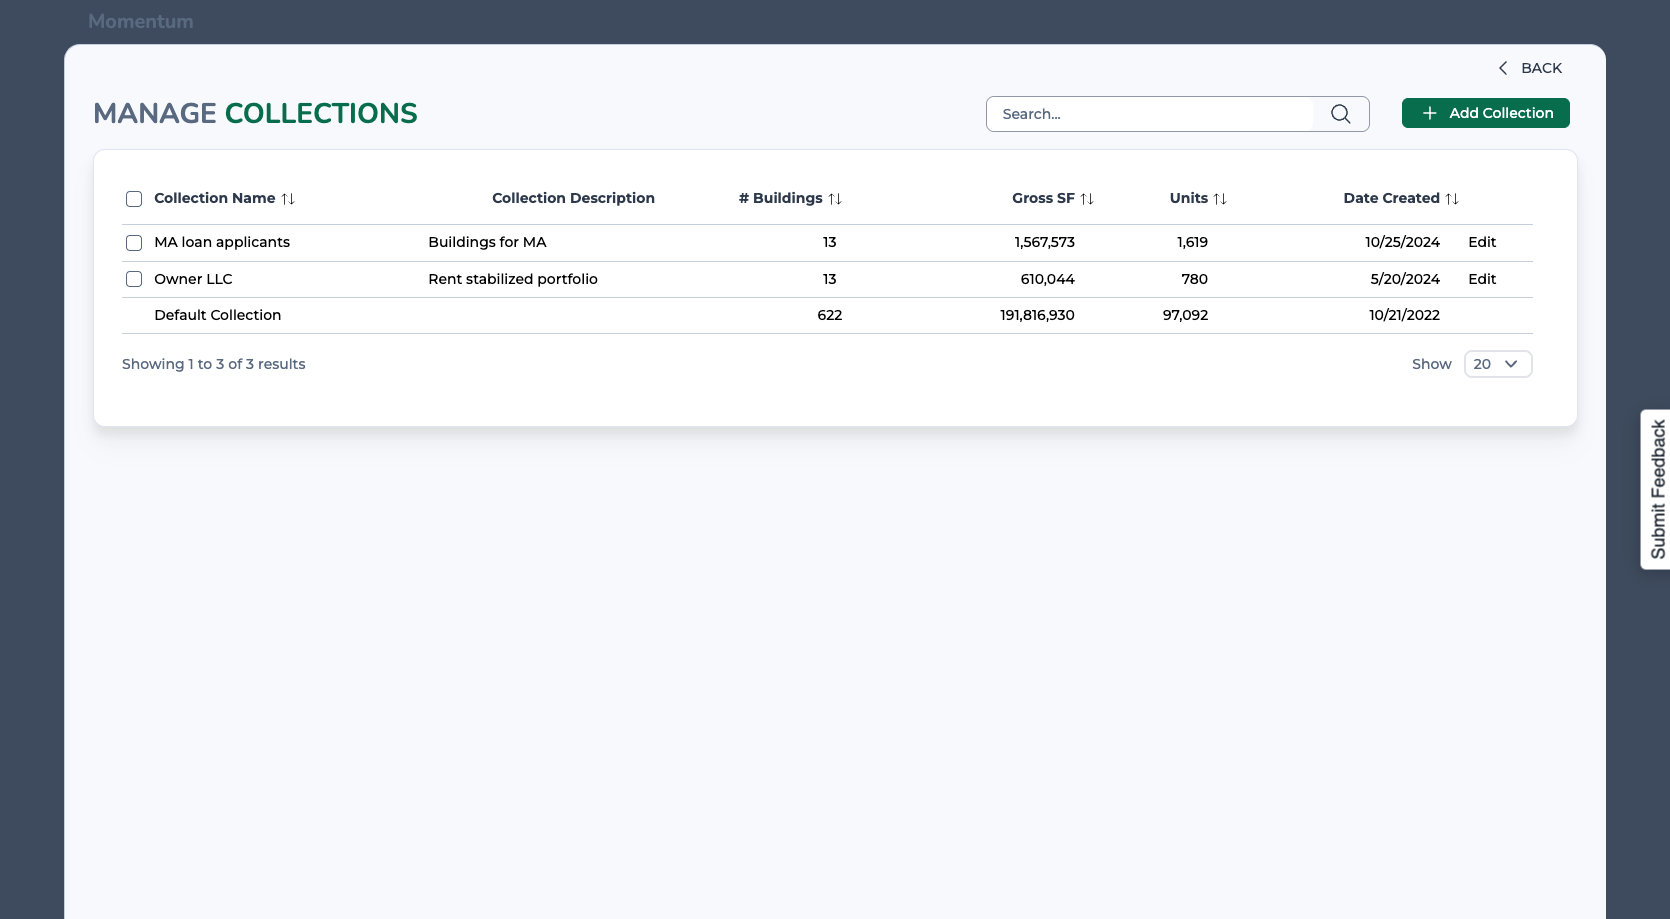
You can also view and manage your collections as a group.
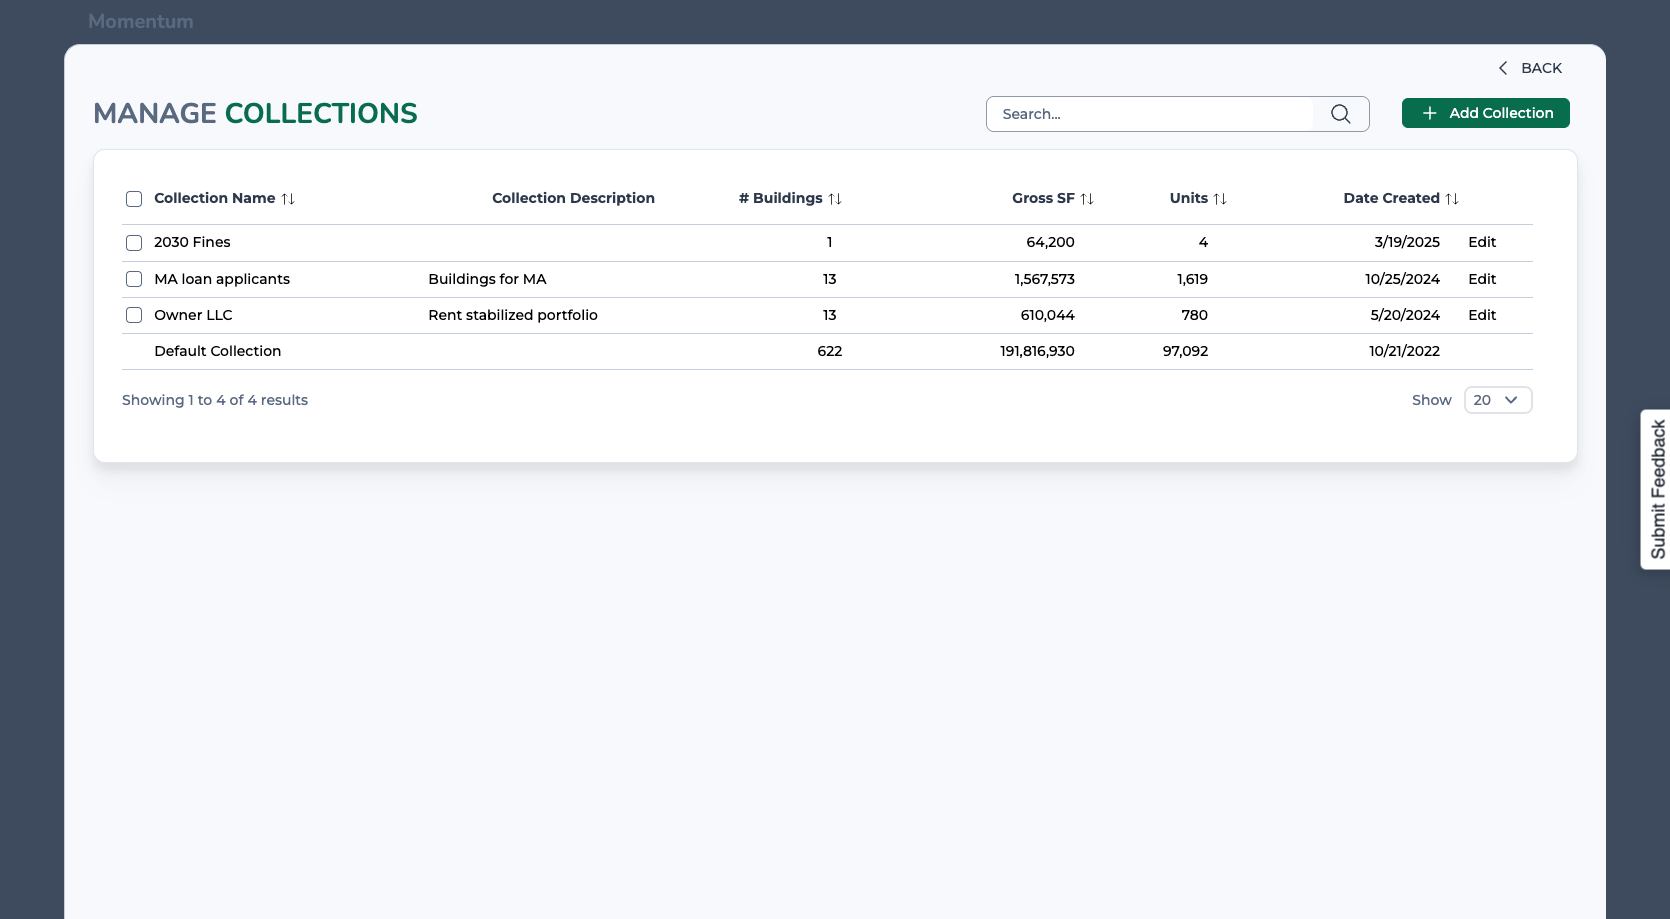
Click the "Manage Collections" button to see a list of all your collections. You can also edit their names and descriptions here.

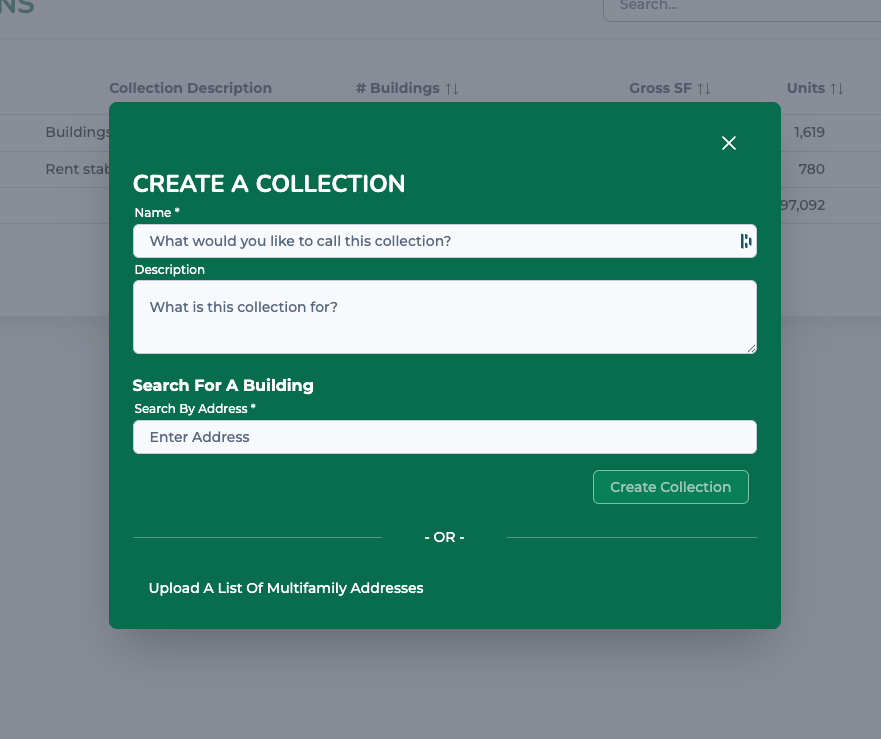
You can add a new collection here.
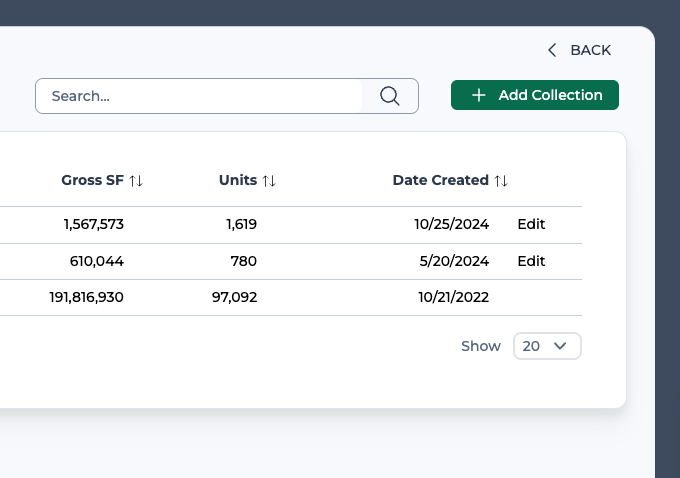
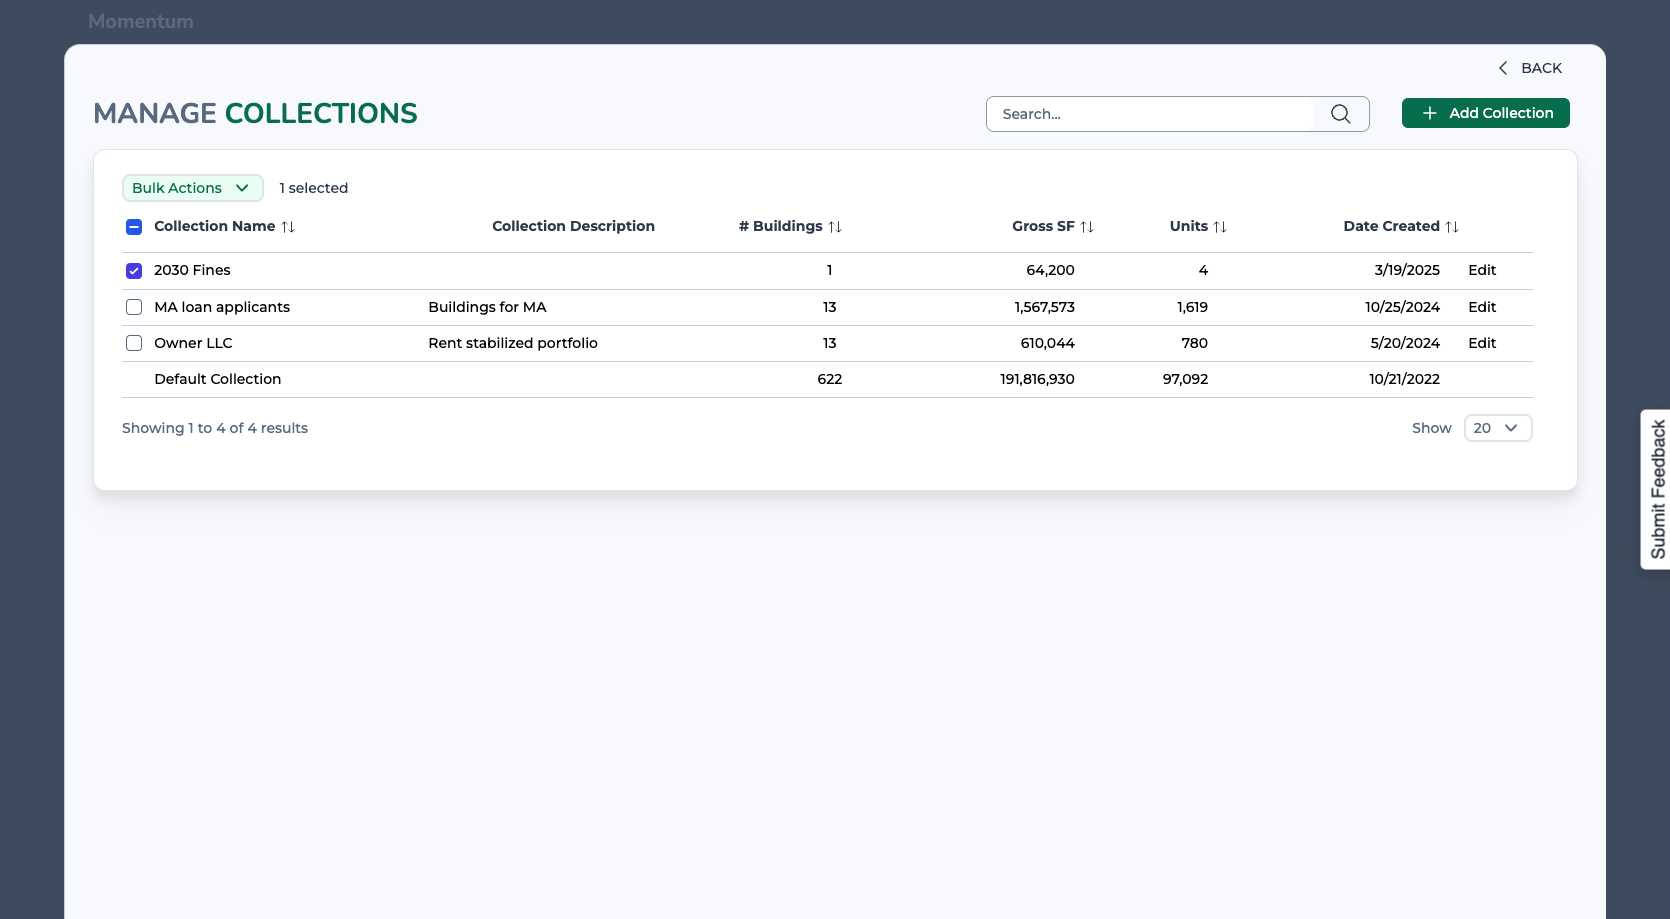
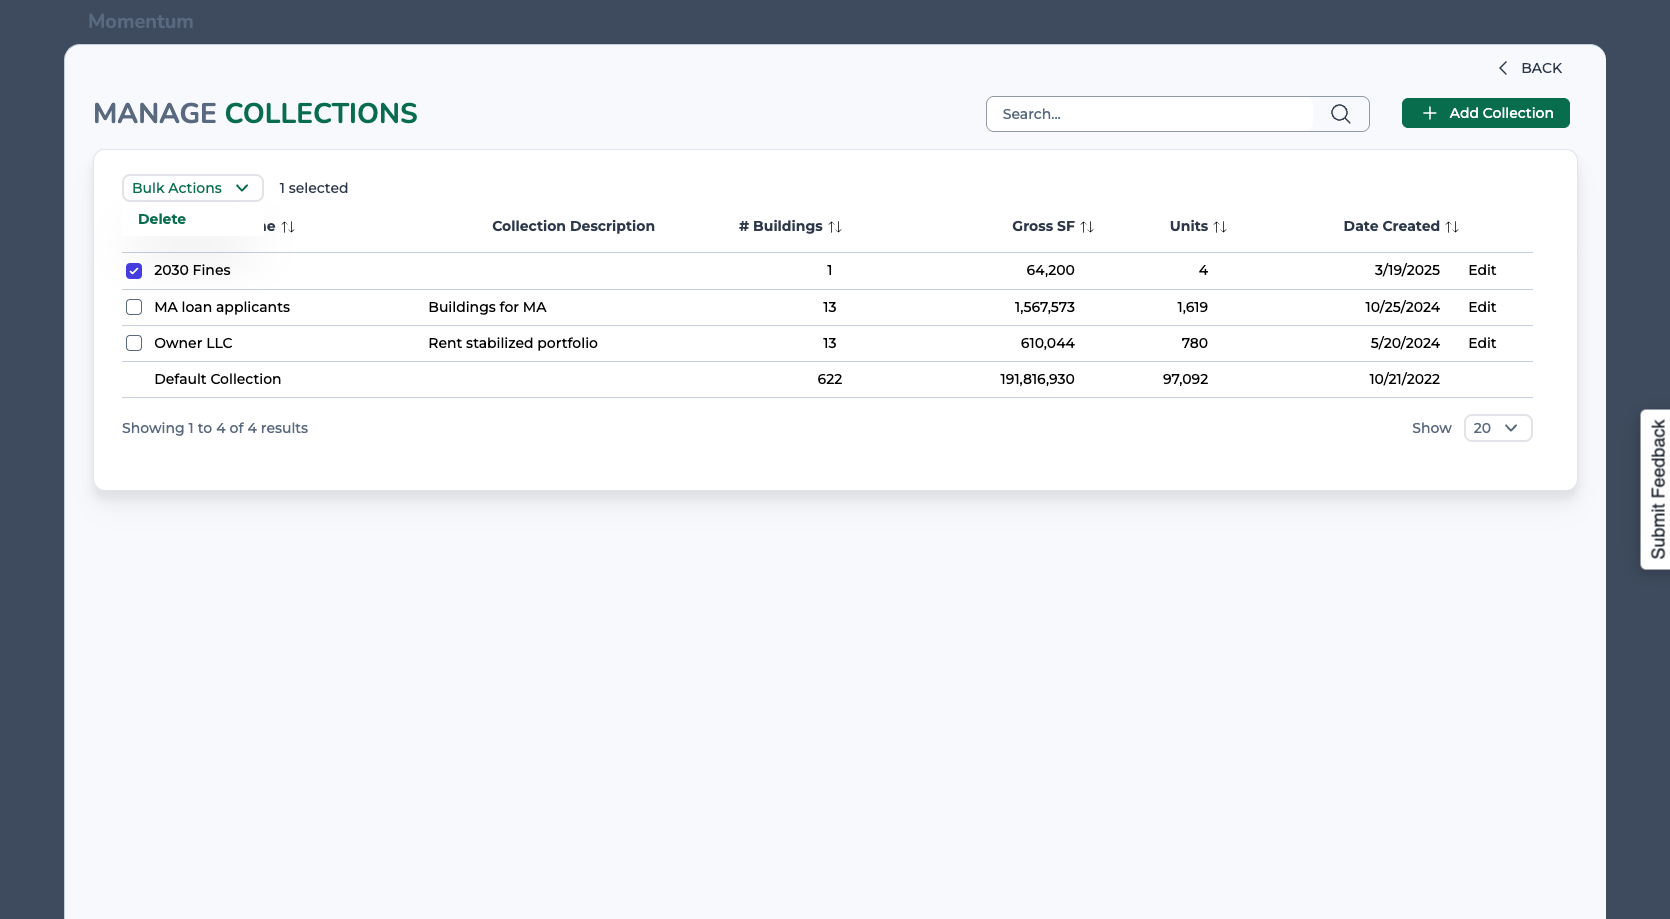
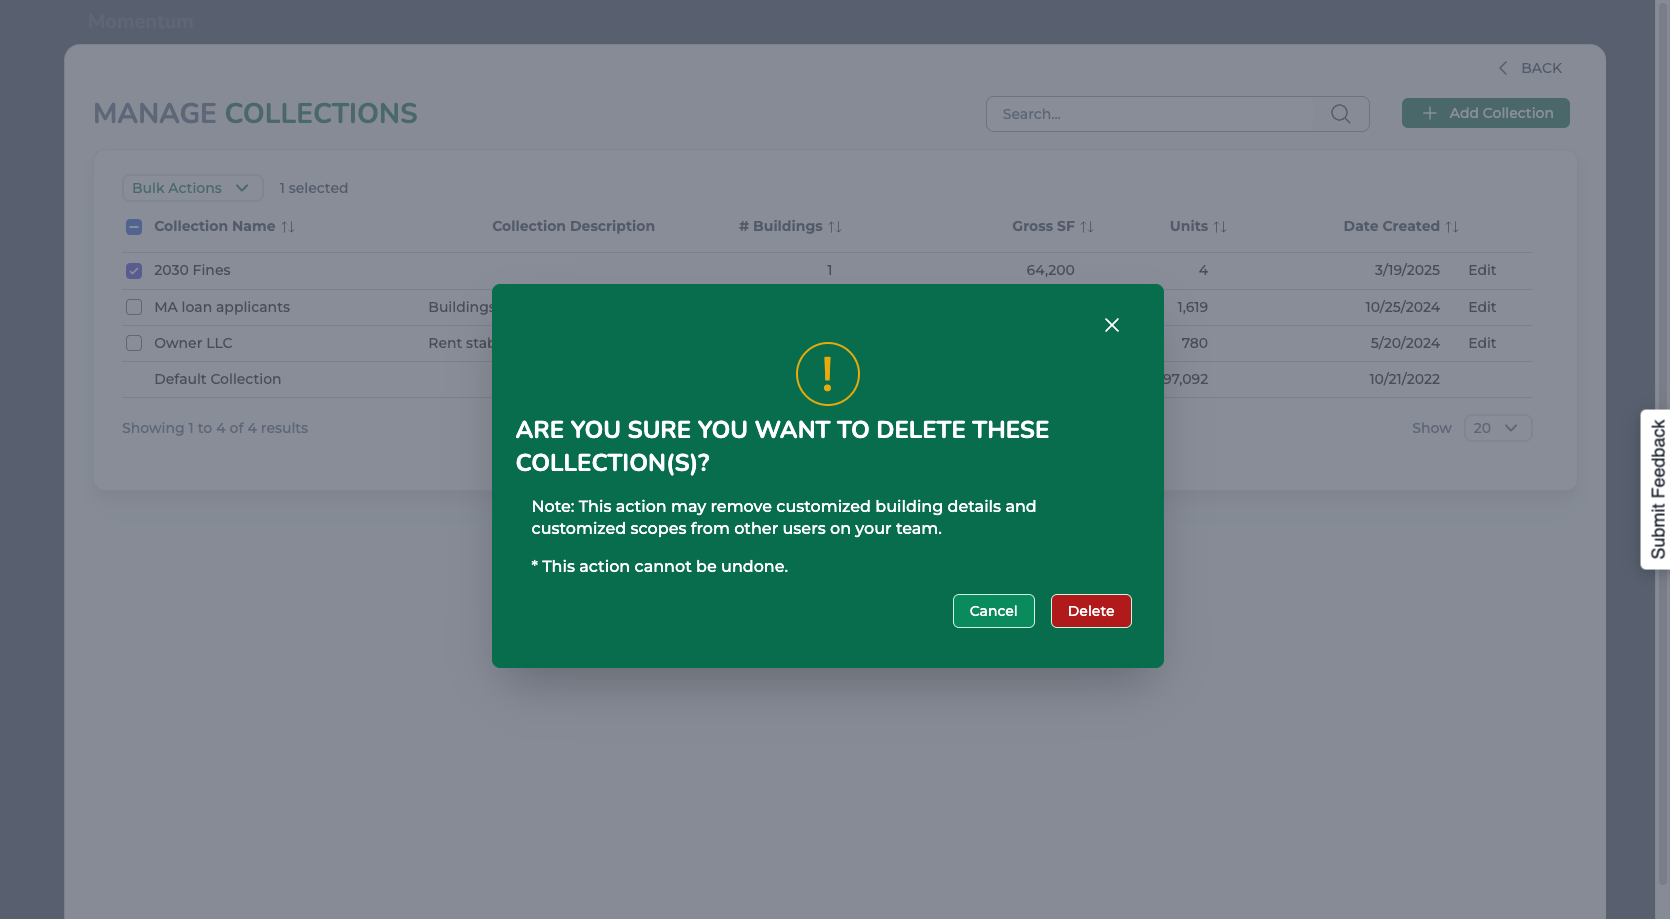
You can also delete your collections by clicking on the box, selecting delete, and confirming your choice.
Once you've finished managing your collections, click "Back" to return to your home page and continue your decarbonization journey.