Icon

How to Update Your Email Signature in Outlook

Learn how to update your email signature in Outlook with this step-by-step guide.

By Aaron Hudkins

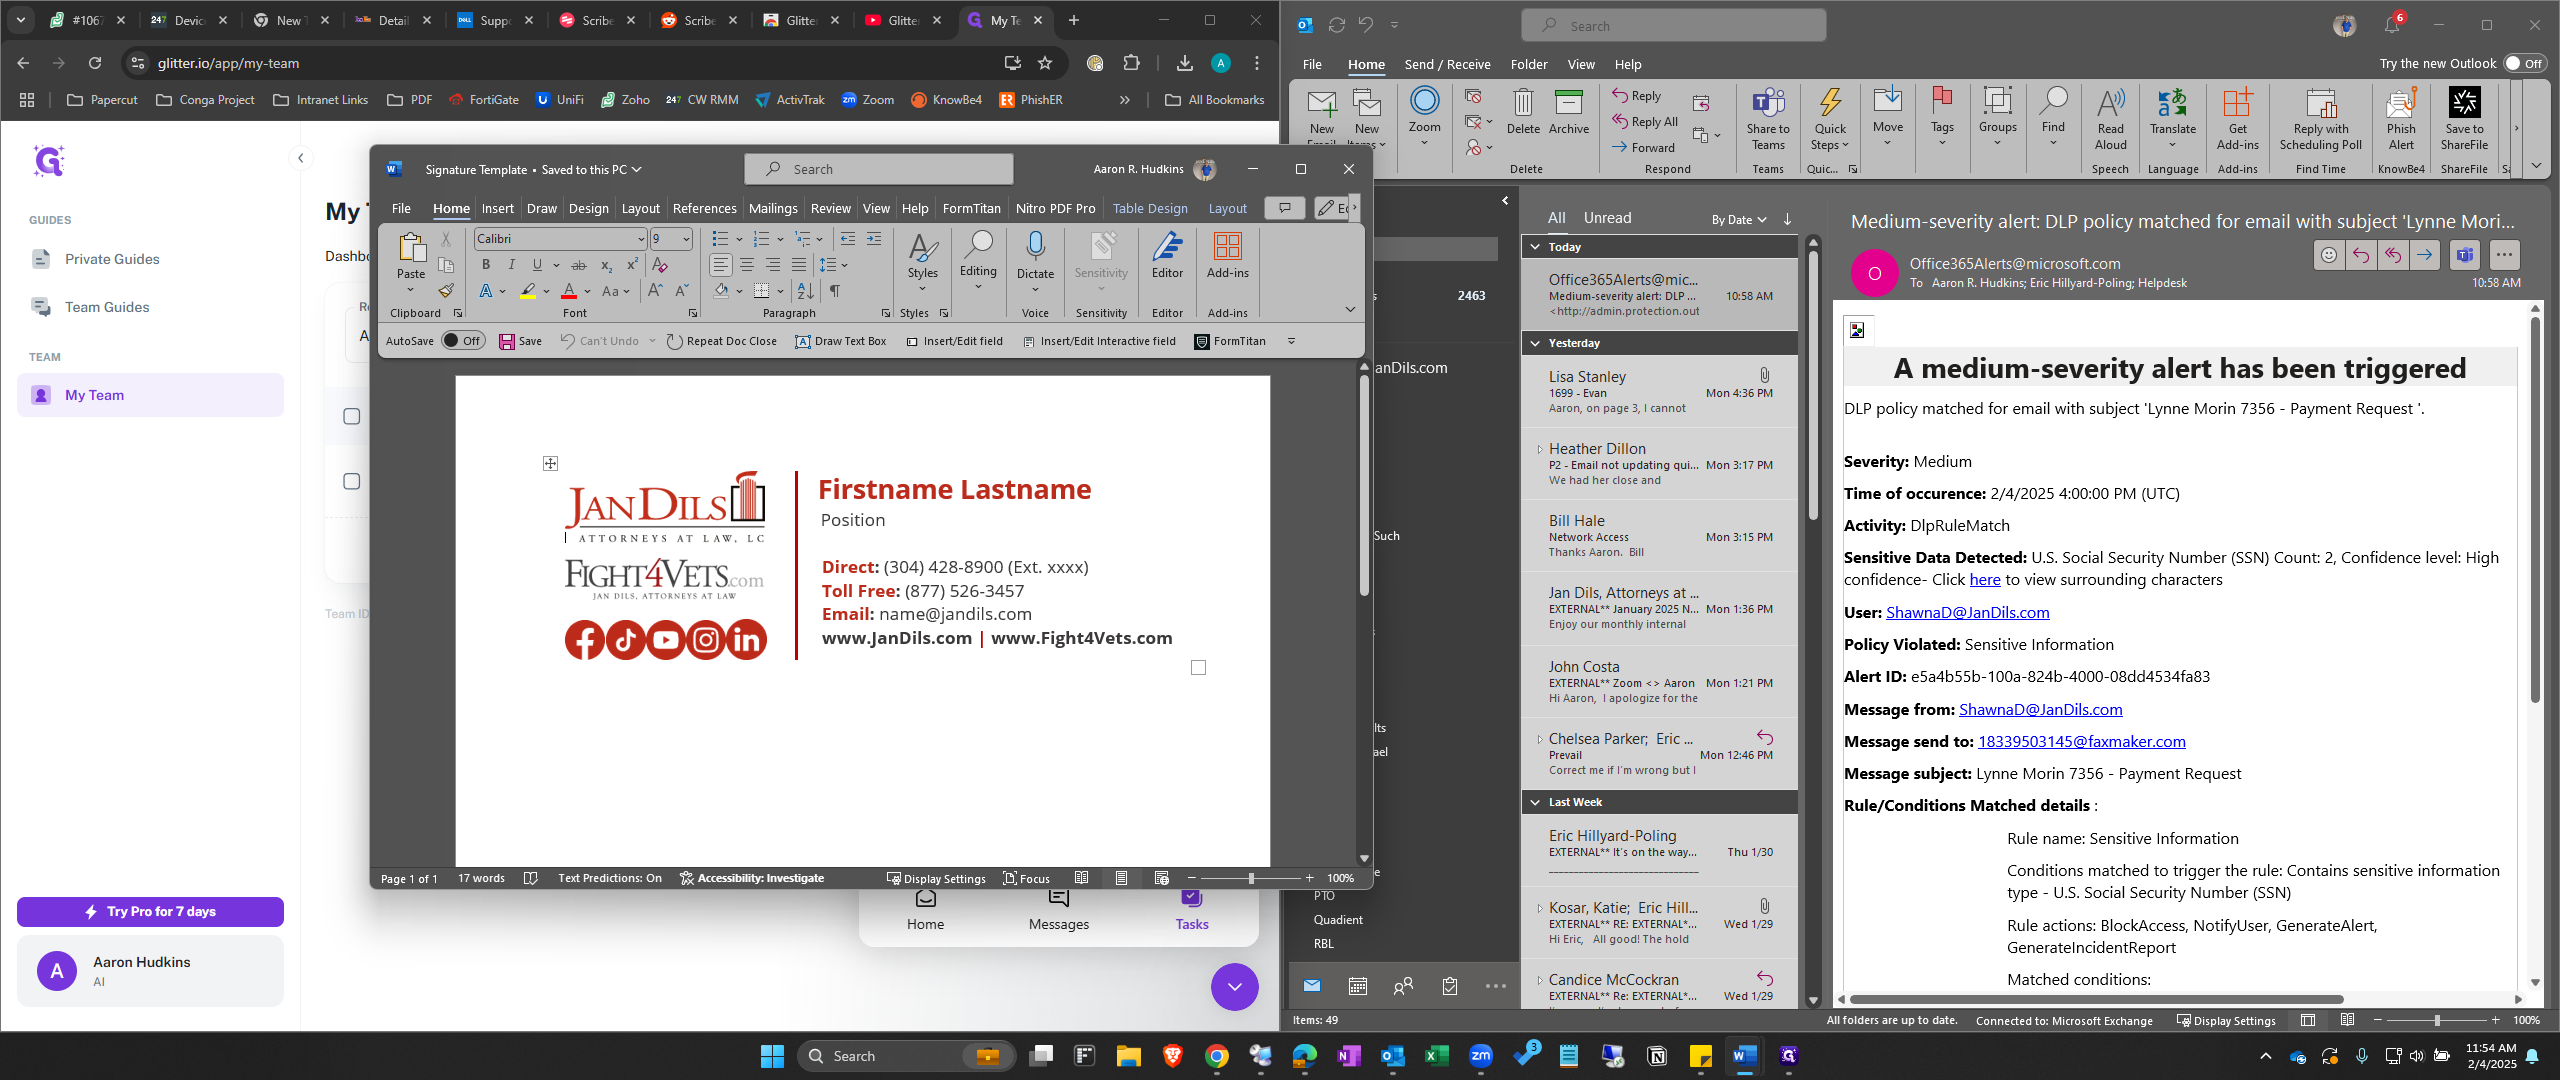
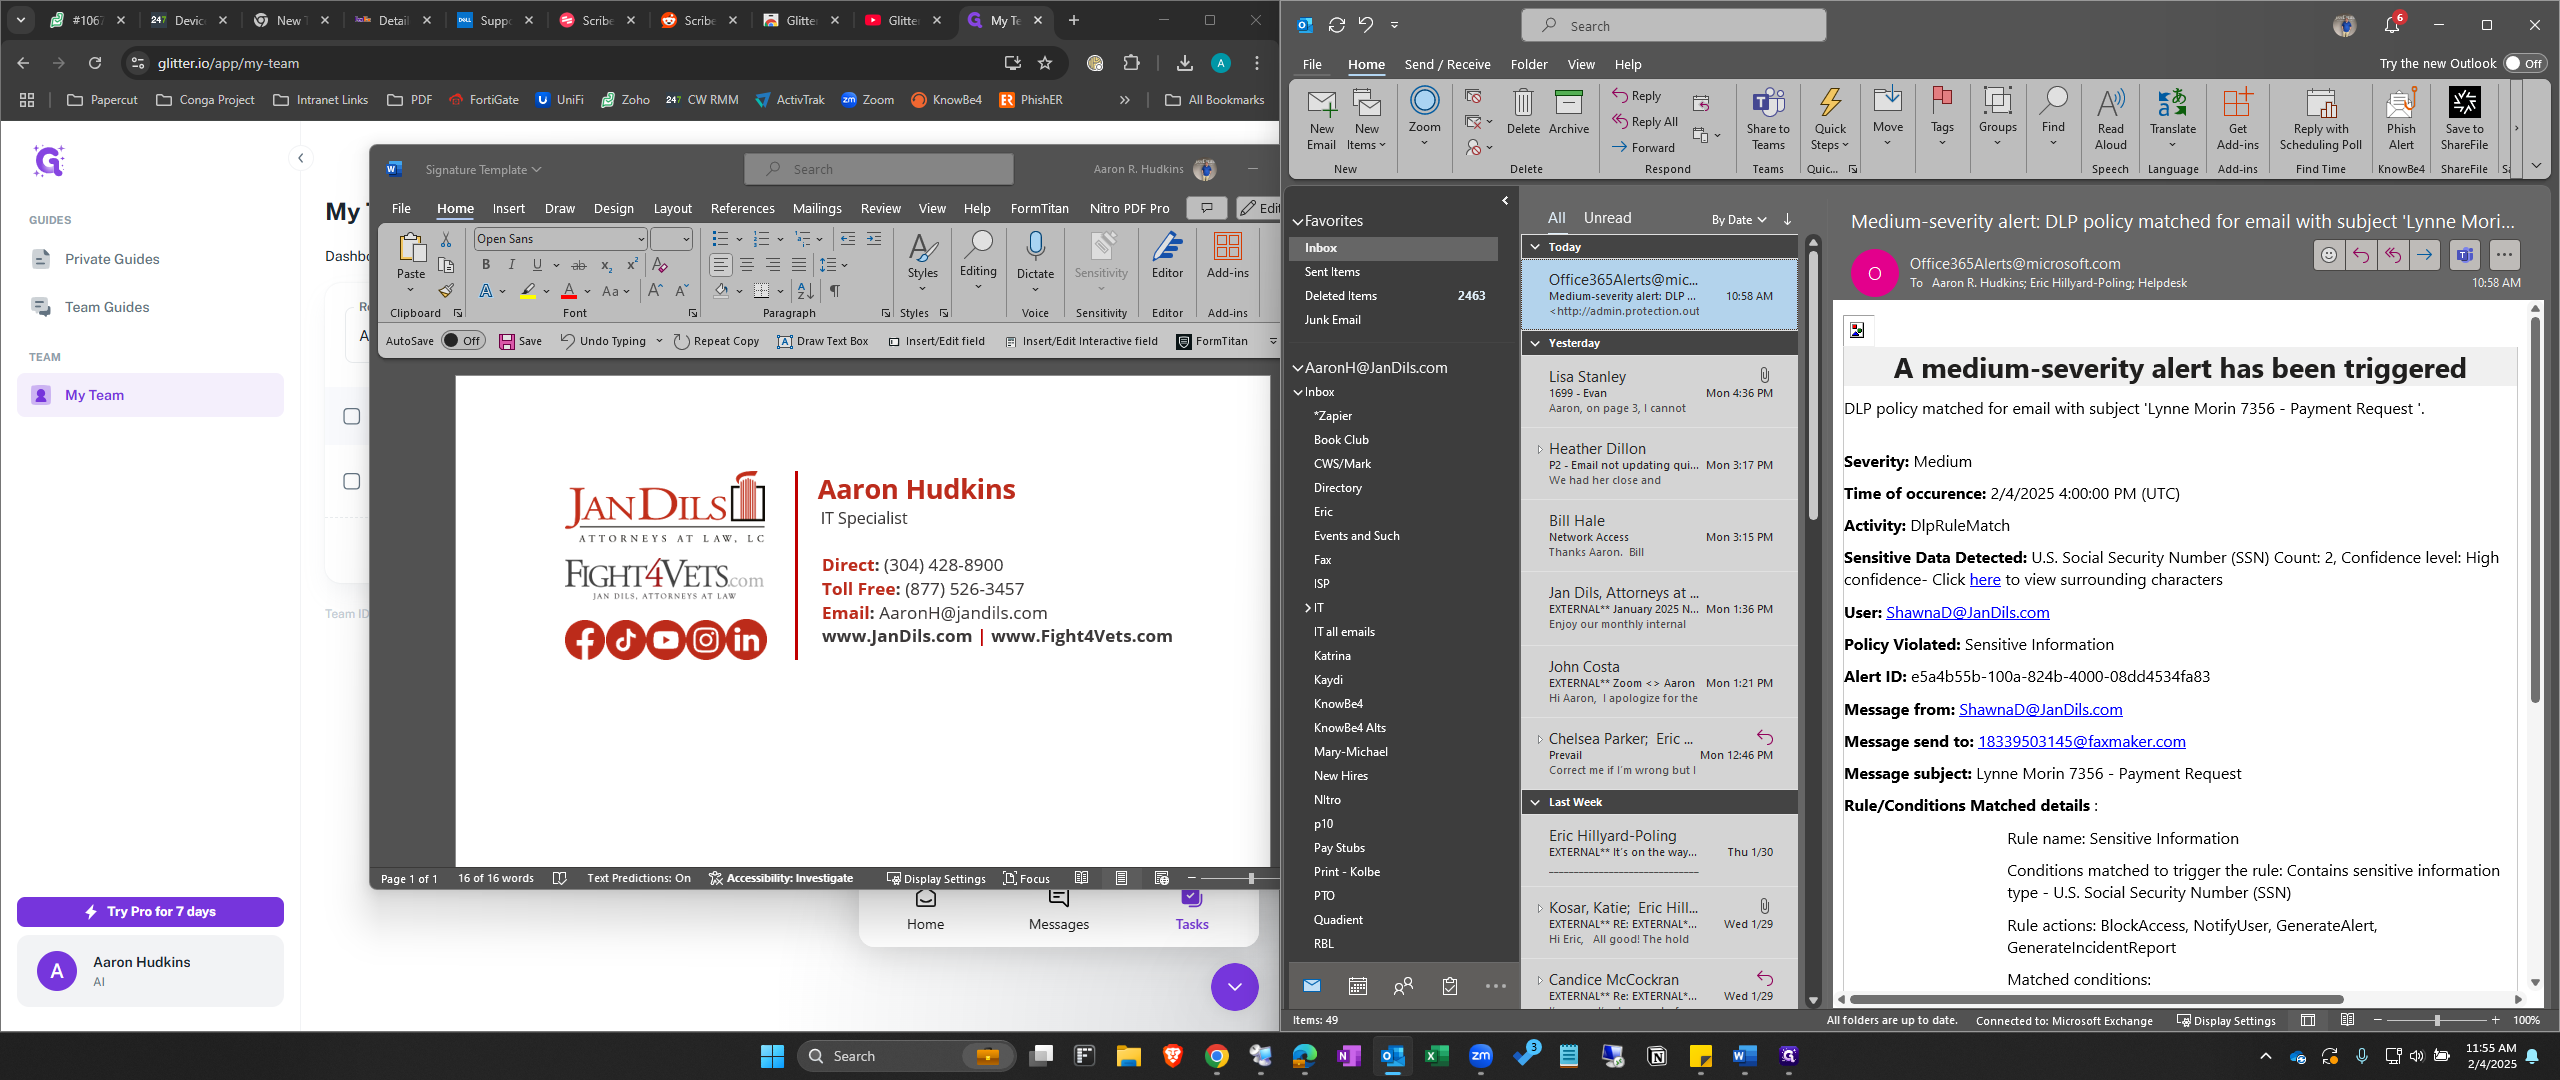
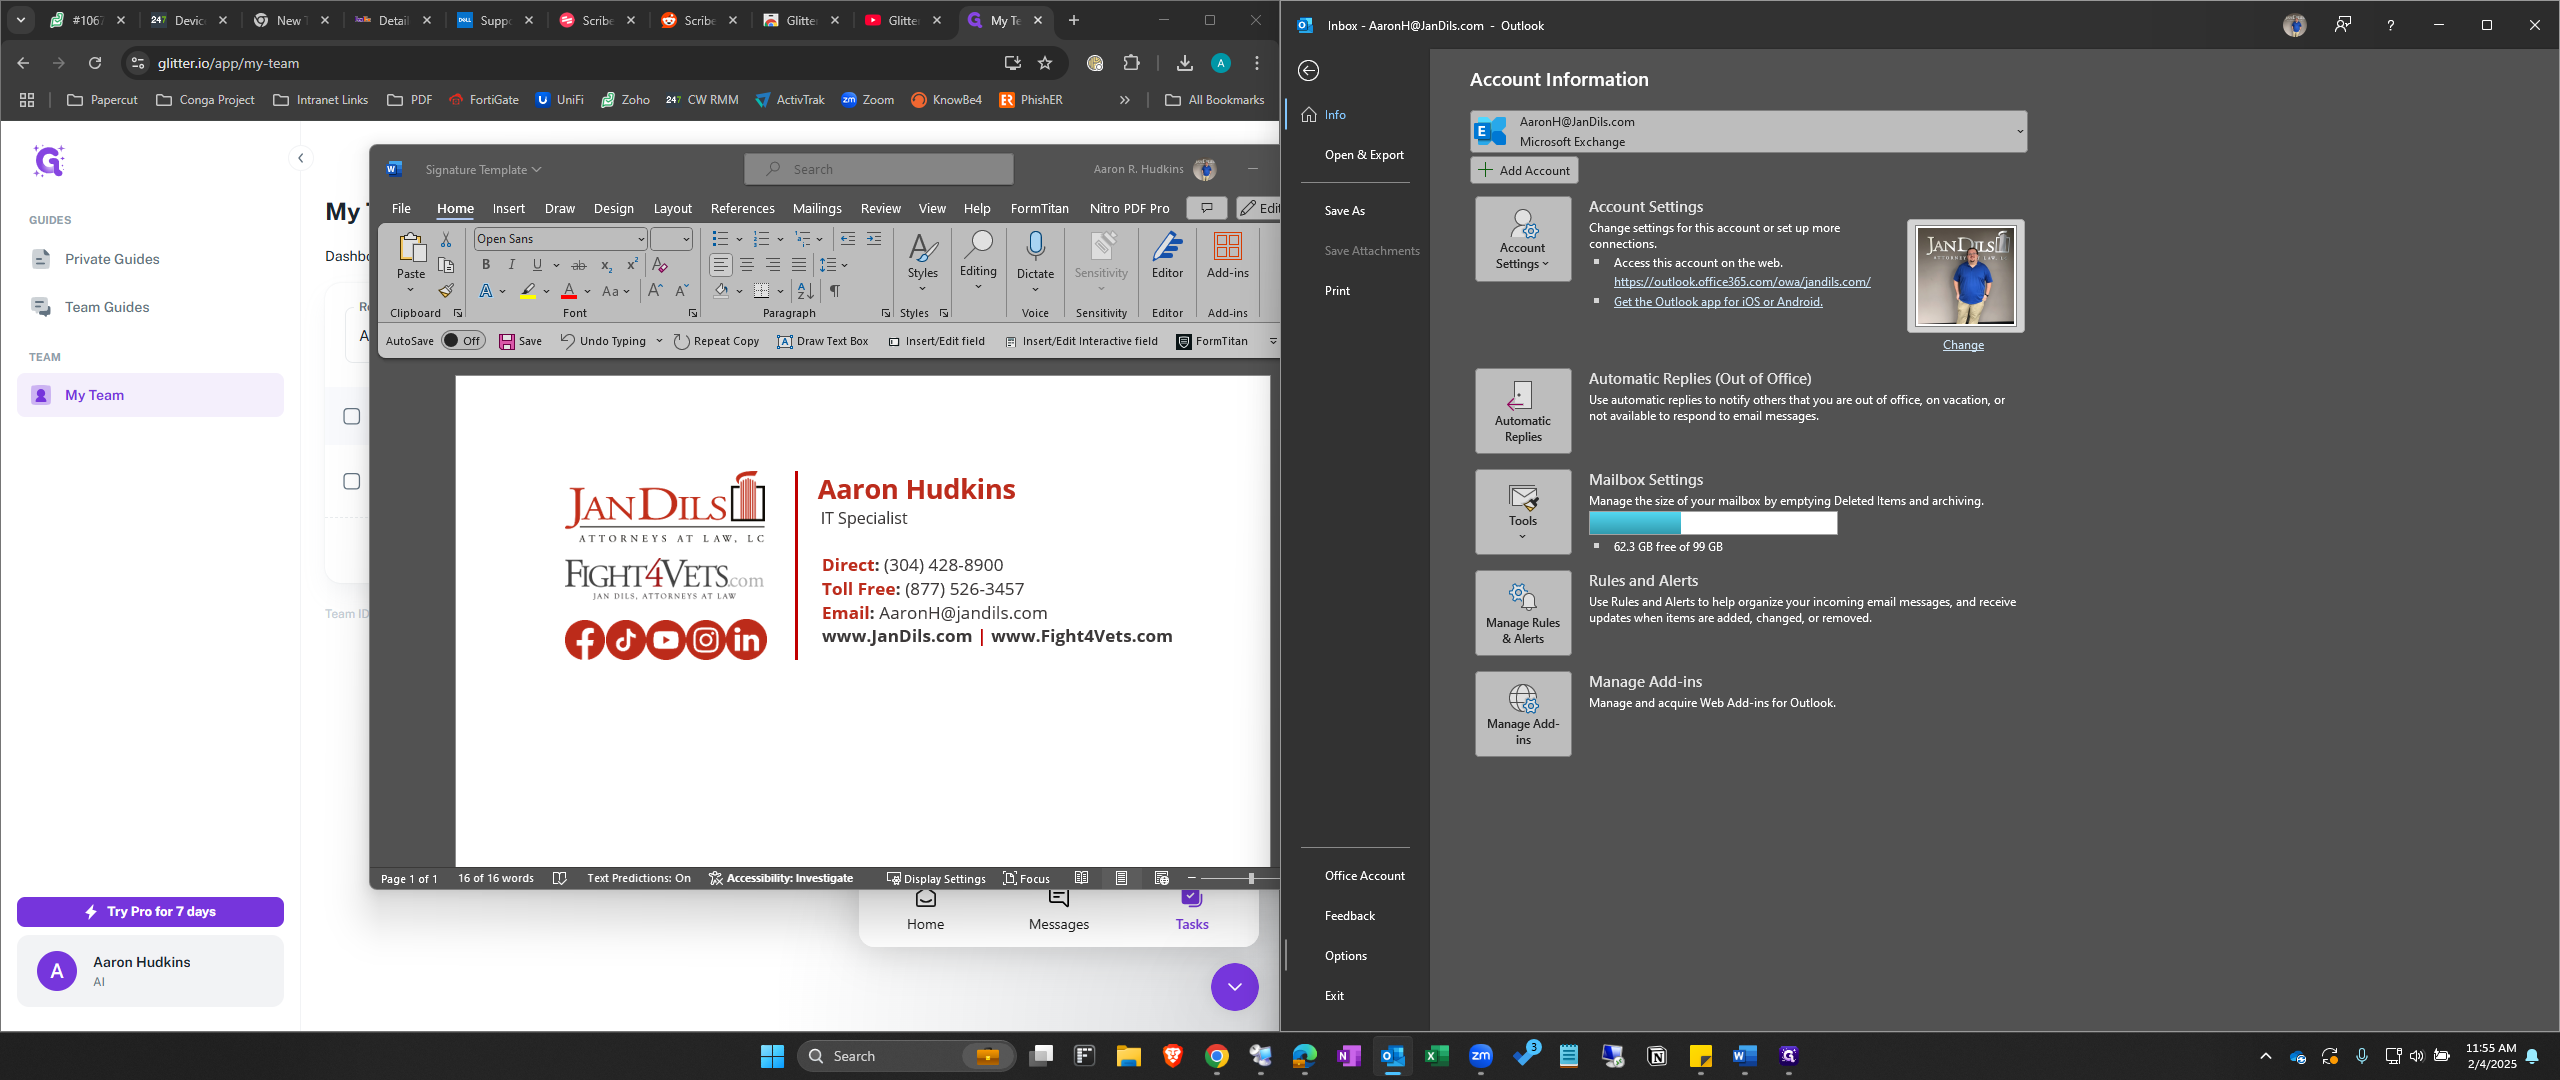
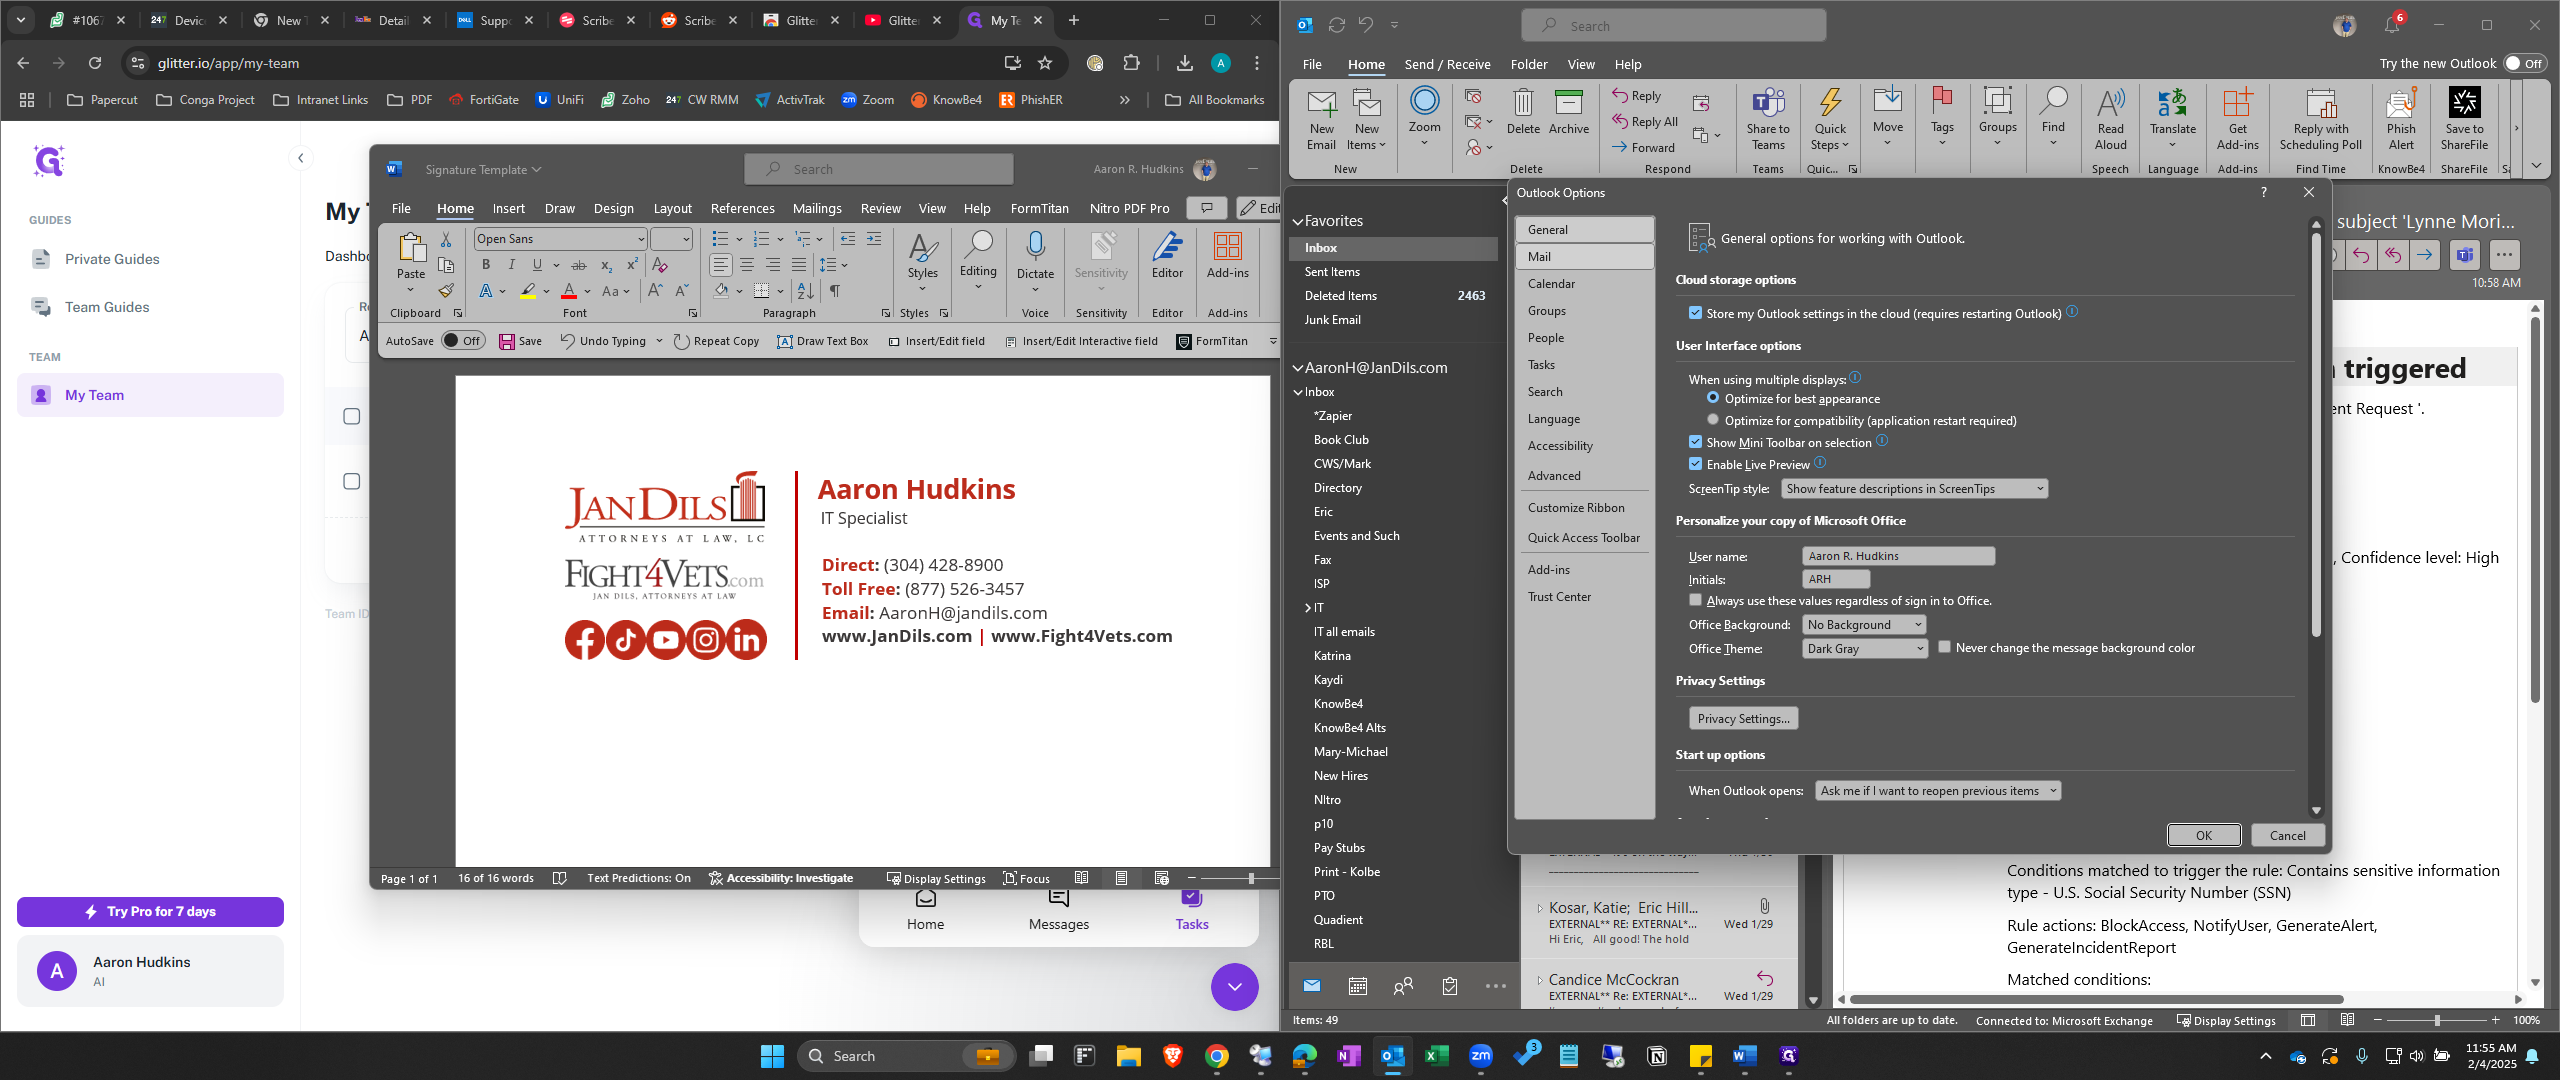
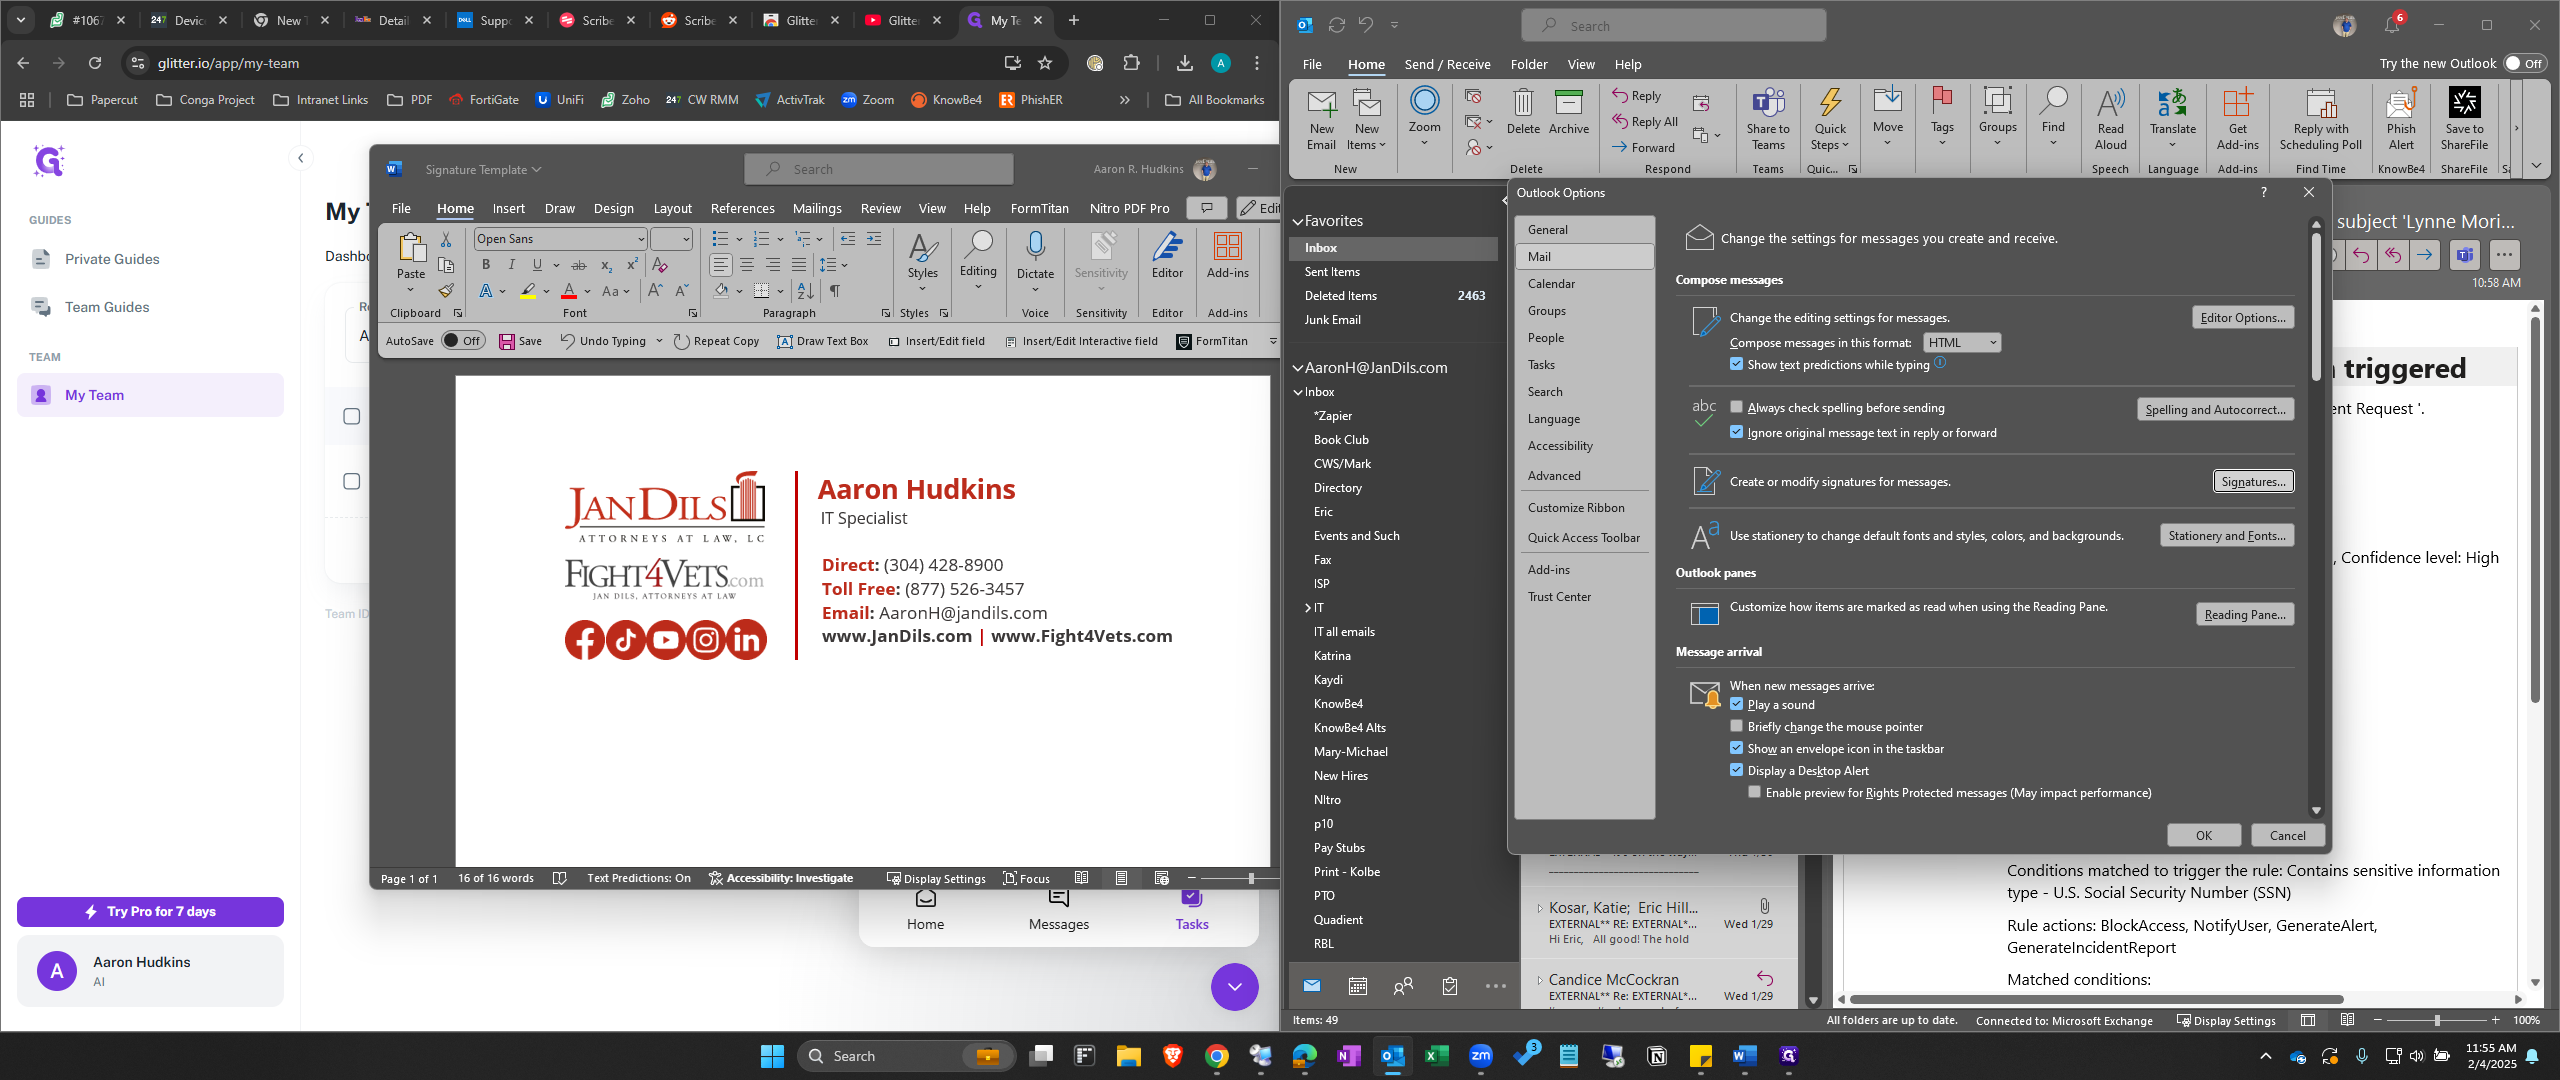
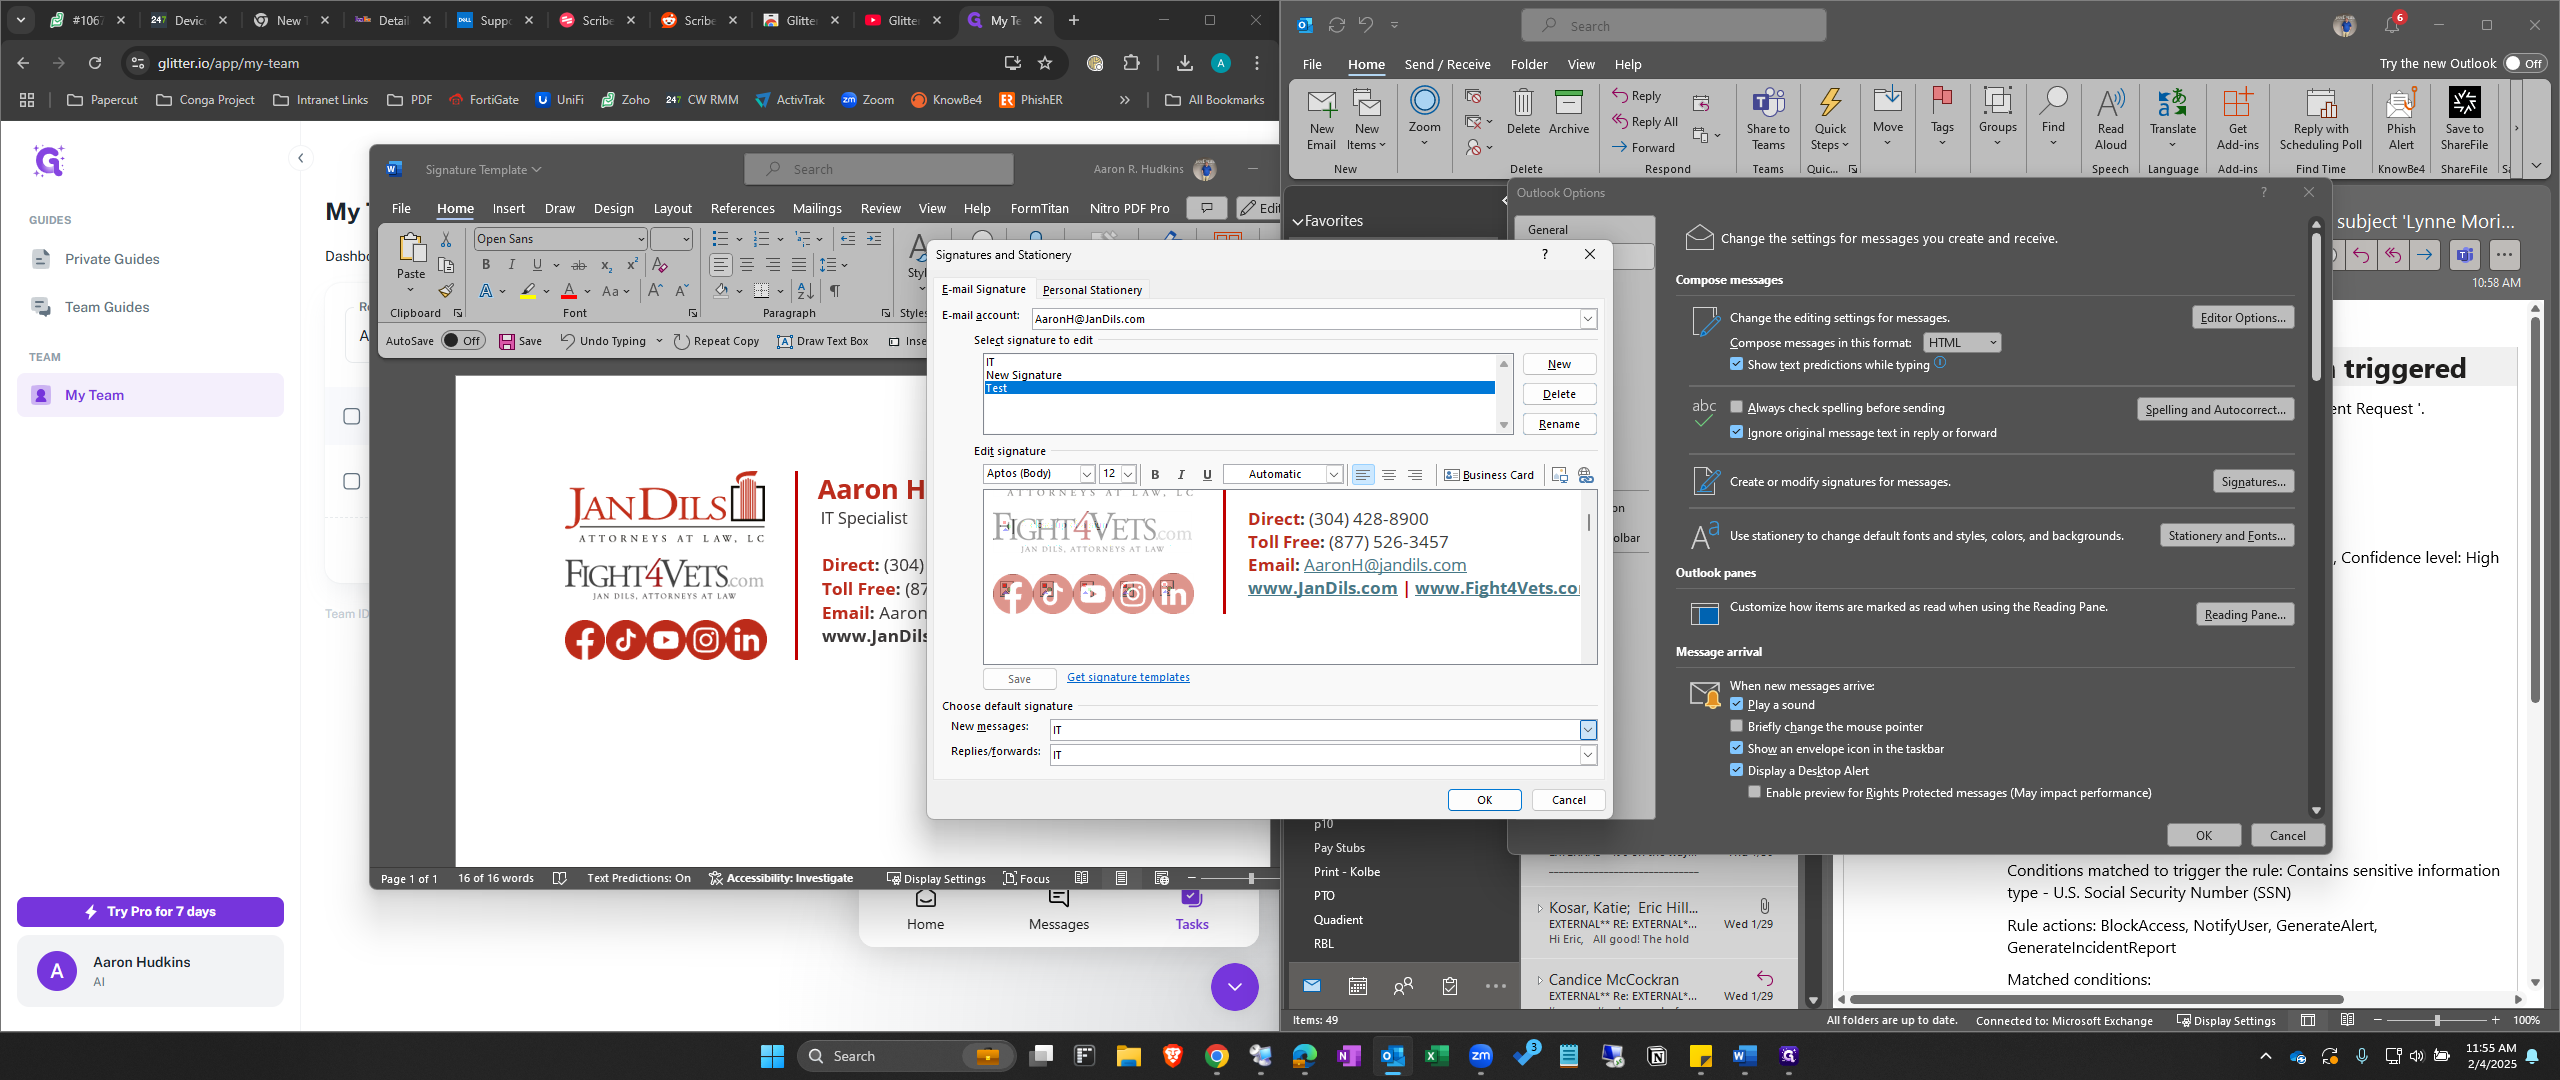
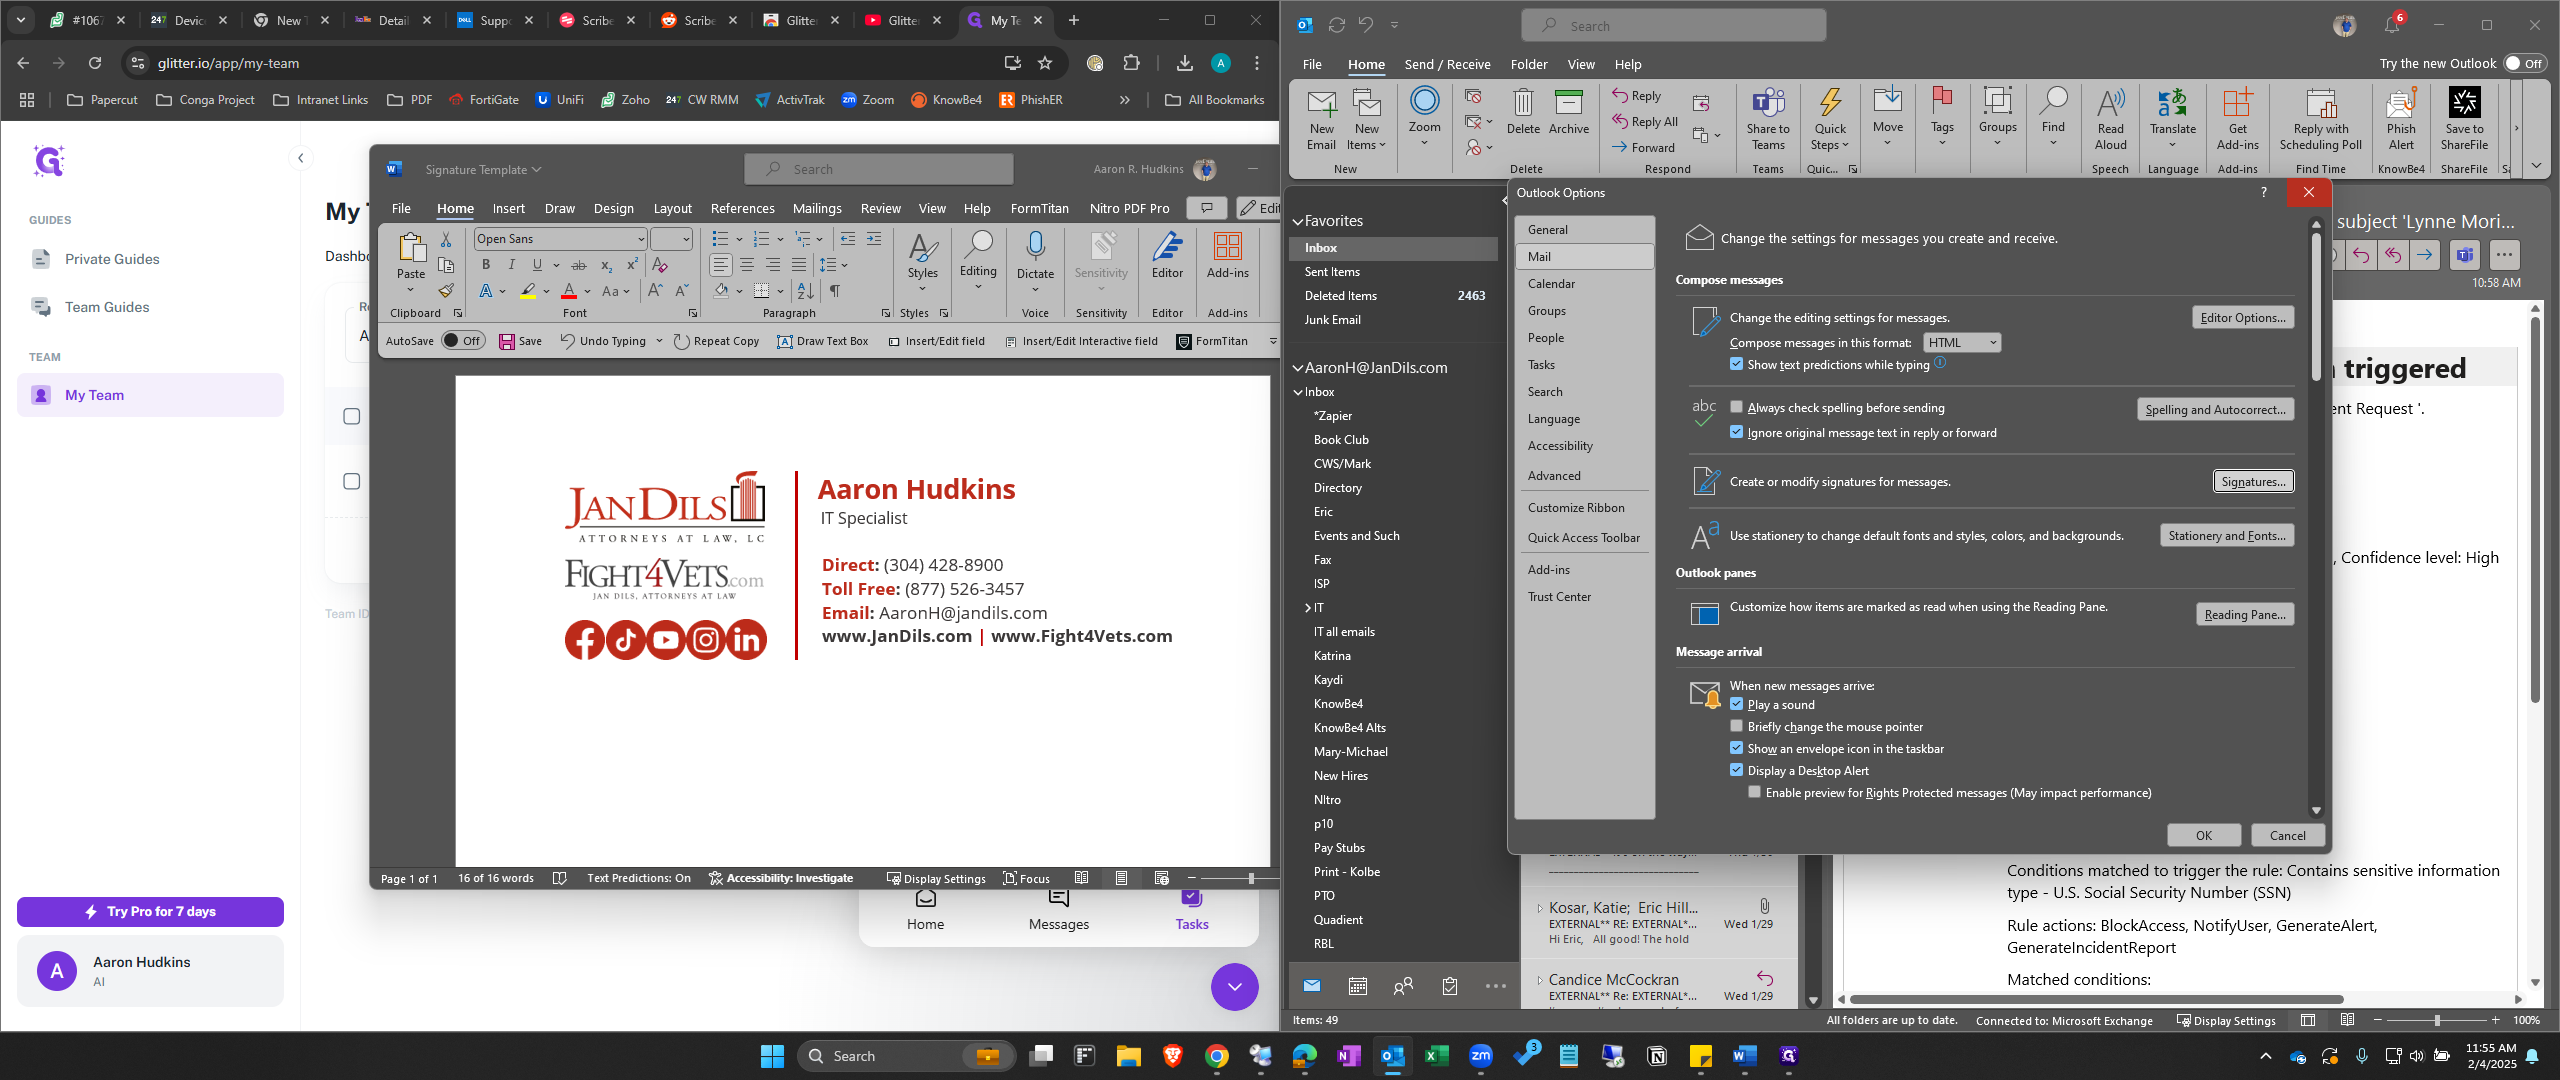
In this guide, we'll learn how to update your email signature using a template. This process involves editing the template in Microsoft Word to reflect your personal information and then transferring it to Microsoft Outlook. By following these steps, you can ensure your email signature is up-to-date and consistent across all your communications.

Let's get started

1
Open The Template Document and Update with your information.
Step #1: Open The Template Document and Update with your information.

2
Highlight the Entire Signature (Ctrl+A) and Copy it (Ctrl+C)
Step #2: Highlight the Entire Signature (Ctrl+A) and Copy it (Ctrl+C)

3
Switch to Outlook
Step #3: Switch to Outlook
4
Click on "File"
Step #4: Click on "File"
5
Click on "Options"
Step #5: Click on "Options"
6
Click on "Mail"
Step #6: Click on "Mail"
7
Click on "Signatures"
Step #7: Click on "Signatures"

8
Click on "New" to create a new signature.
Step #8: Click on "New" to create a new signature.
9
Give it a Name and click OK
Step #9: Give it a Name and click OK
10
Click in the empty box below and Paste (Ctrl+V) your signature into the box.
Step #10: Click in the empty box below and Paste (Ctrl+V) your signature into the box.

11
Click on "Save"
Step #11: Click on "Save"
12
Change your Default Signatures for New and Replies to the new signature you just created.
Step #12: Change your Default Signatures for New and Replies to the new signature you just created.

13
Click on "OK"
Step #13: Click on "OK"
14
Close out of the Options Window
Step #14: Close out of the Options Window

15
Click on "New Email" to verify that your signature has updated.
Step #15: Click on "New Email" to verify that your signature has updated.

How to Update Your Email Signature in Outlook