Icon

Task Manager: Recurring Tasks in Todoist

Discover how recurring tasks work in our task management system, ensuring you never miss important deadlines. Learn through a practical example with QuickBooks backup tasks.

By Tim Moody

In this guide, we'll learn how to effectively manage recurring tasks within a task management system. Recurring tasks are designed to automatically reappear at specified intervals, ensuring that important tasks are not forgotten. We'll explore how to set up a recurring task, using the example of backing up a QuickBooks file on the last day of each month. This process ensures that once a task is completed, the next occurrence is automatically scheduled. Understanding this feature can enhance productivity and organization by providing timely reminders and reducing manual task management.

Let's get started

Here's a quick demonstration and teaser on how recurring tasks work in our task management system.

1
I'll use the March 31st task for backing up the QuickBooks file as an example.
Step #1: I'll use the March 31st task for backing up the QuickBooks file as an example.

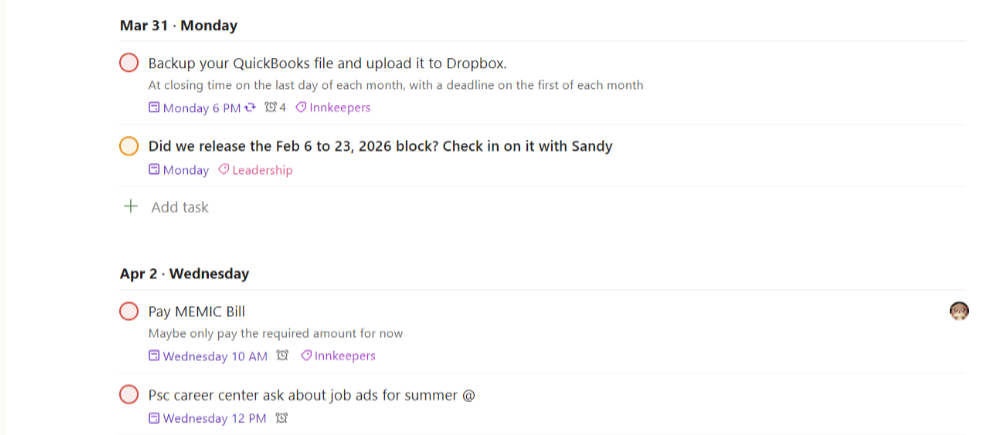
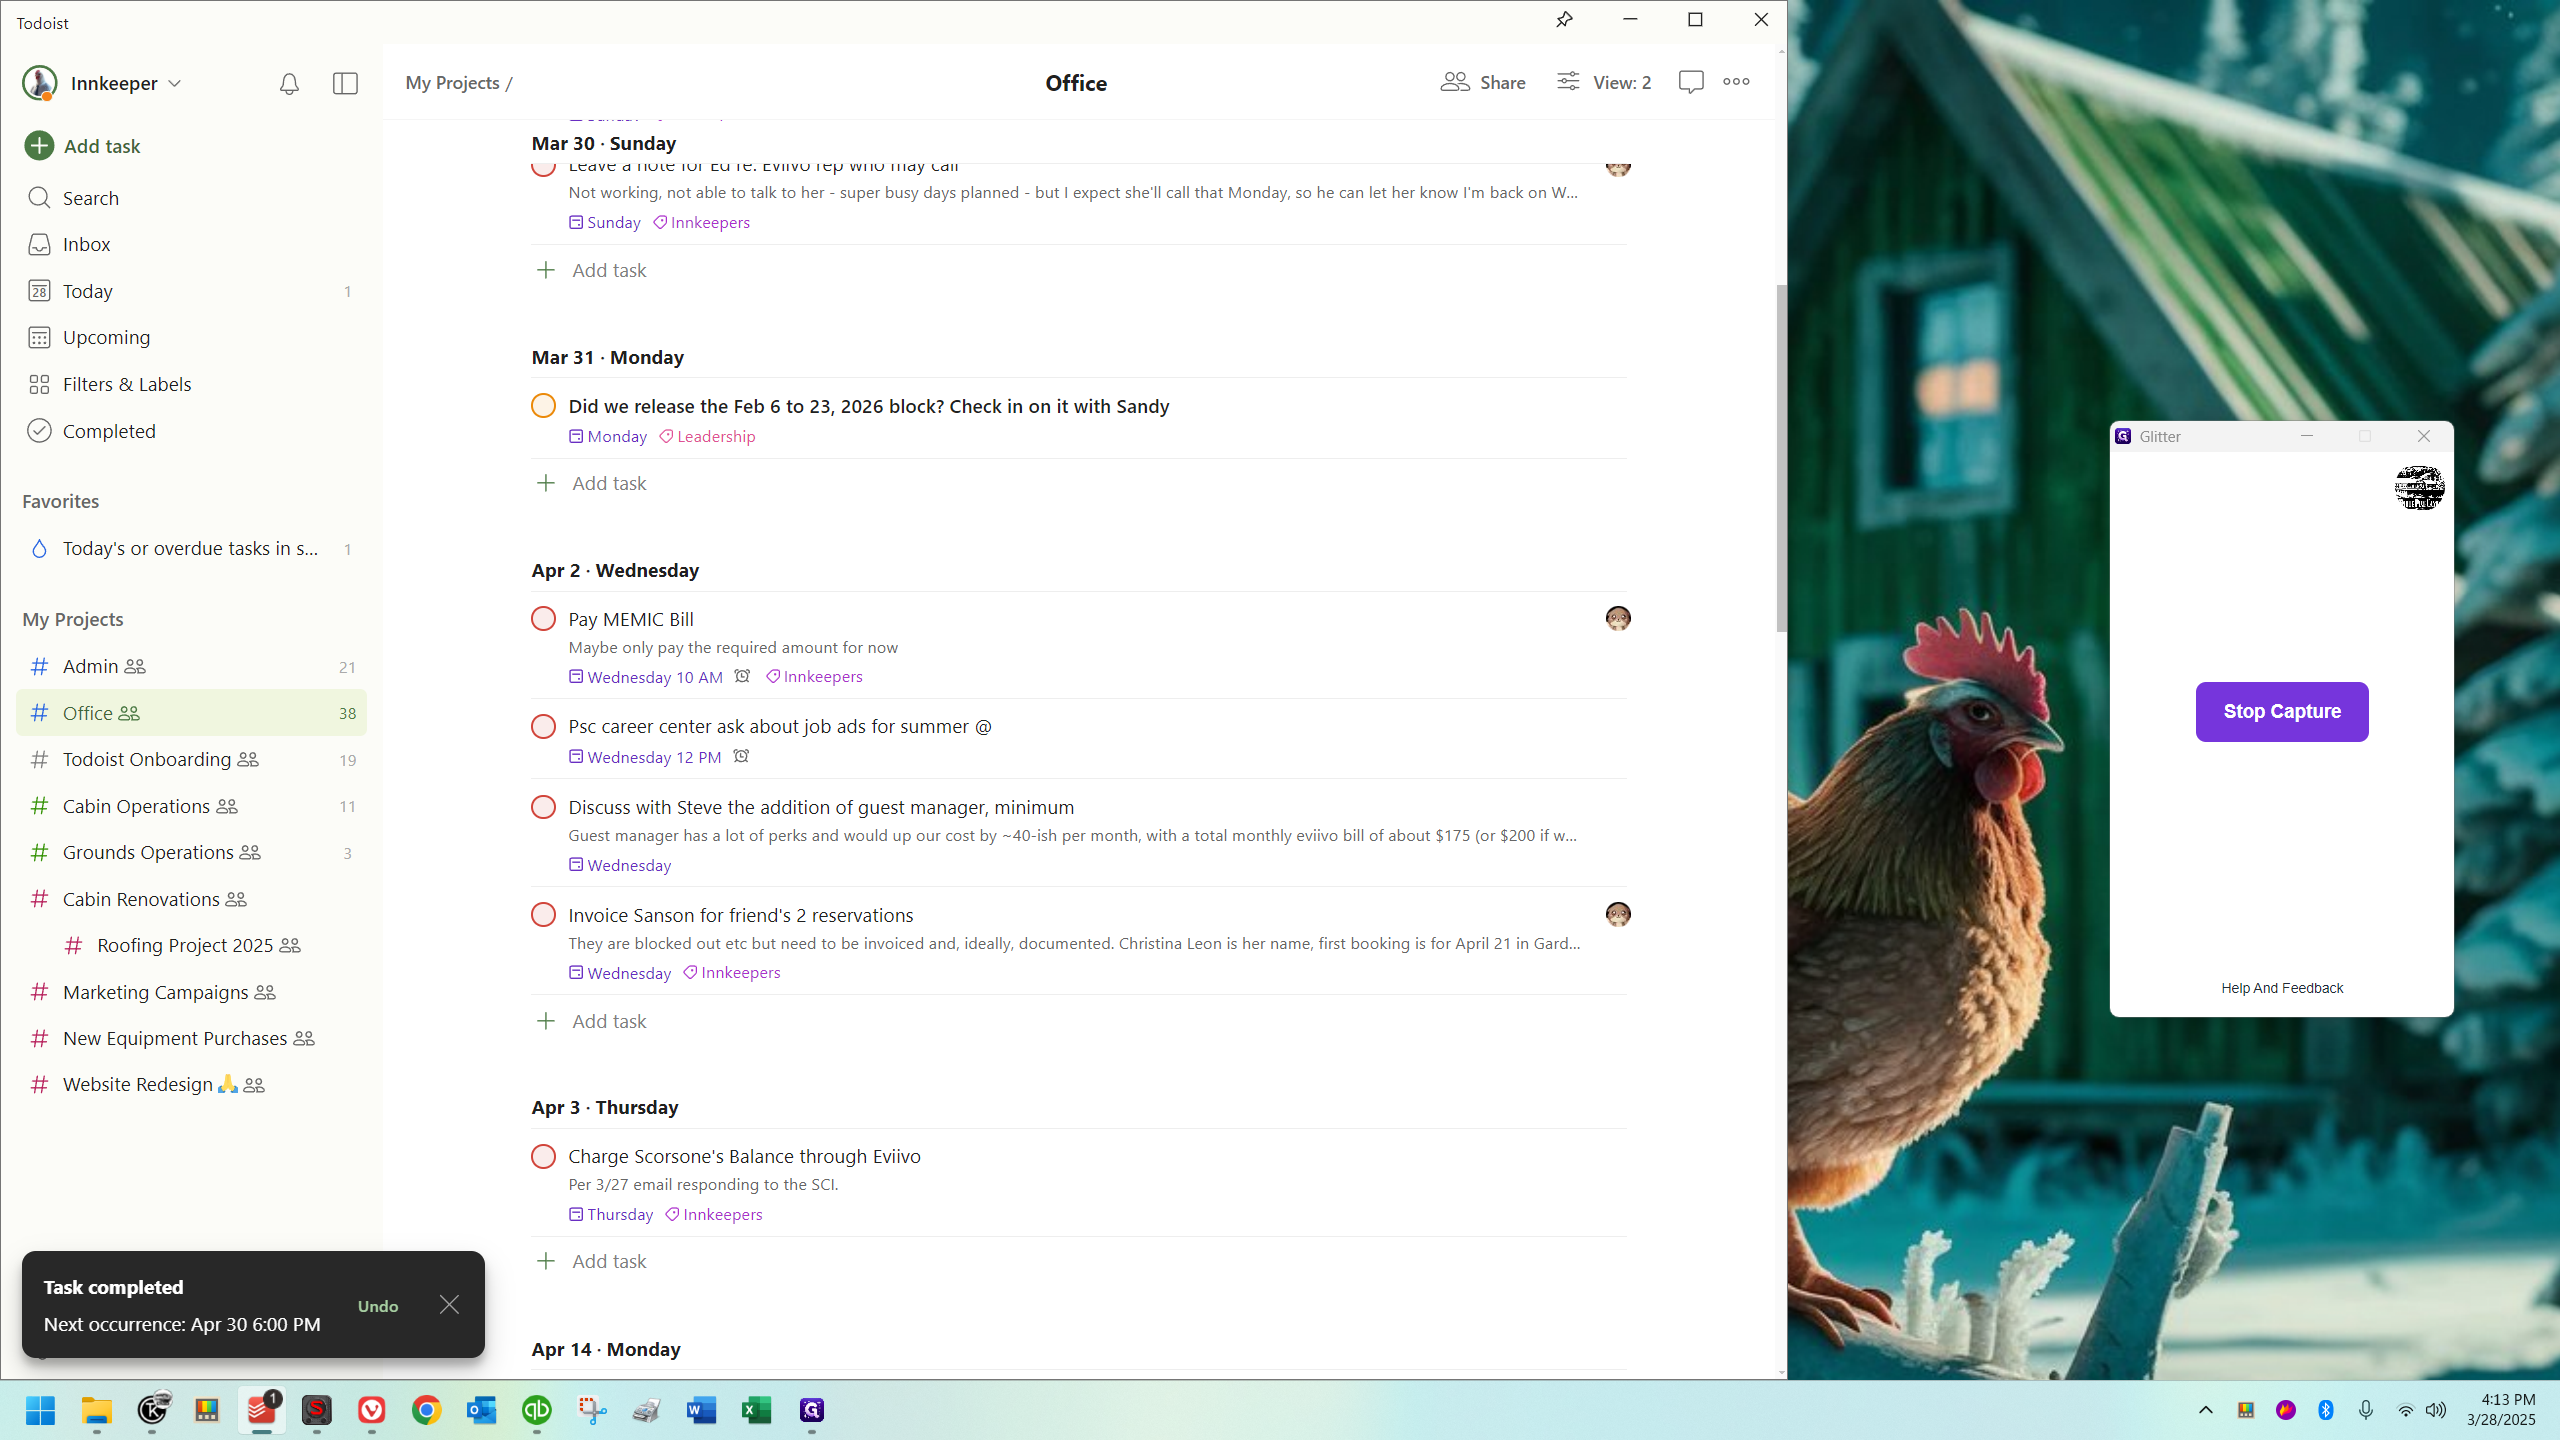
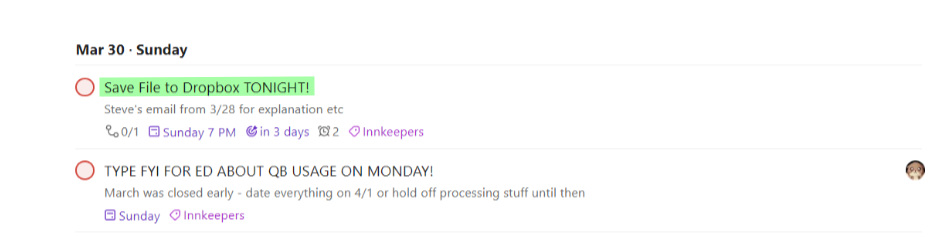
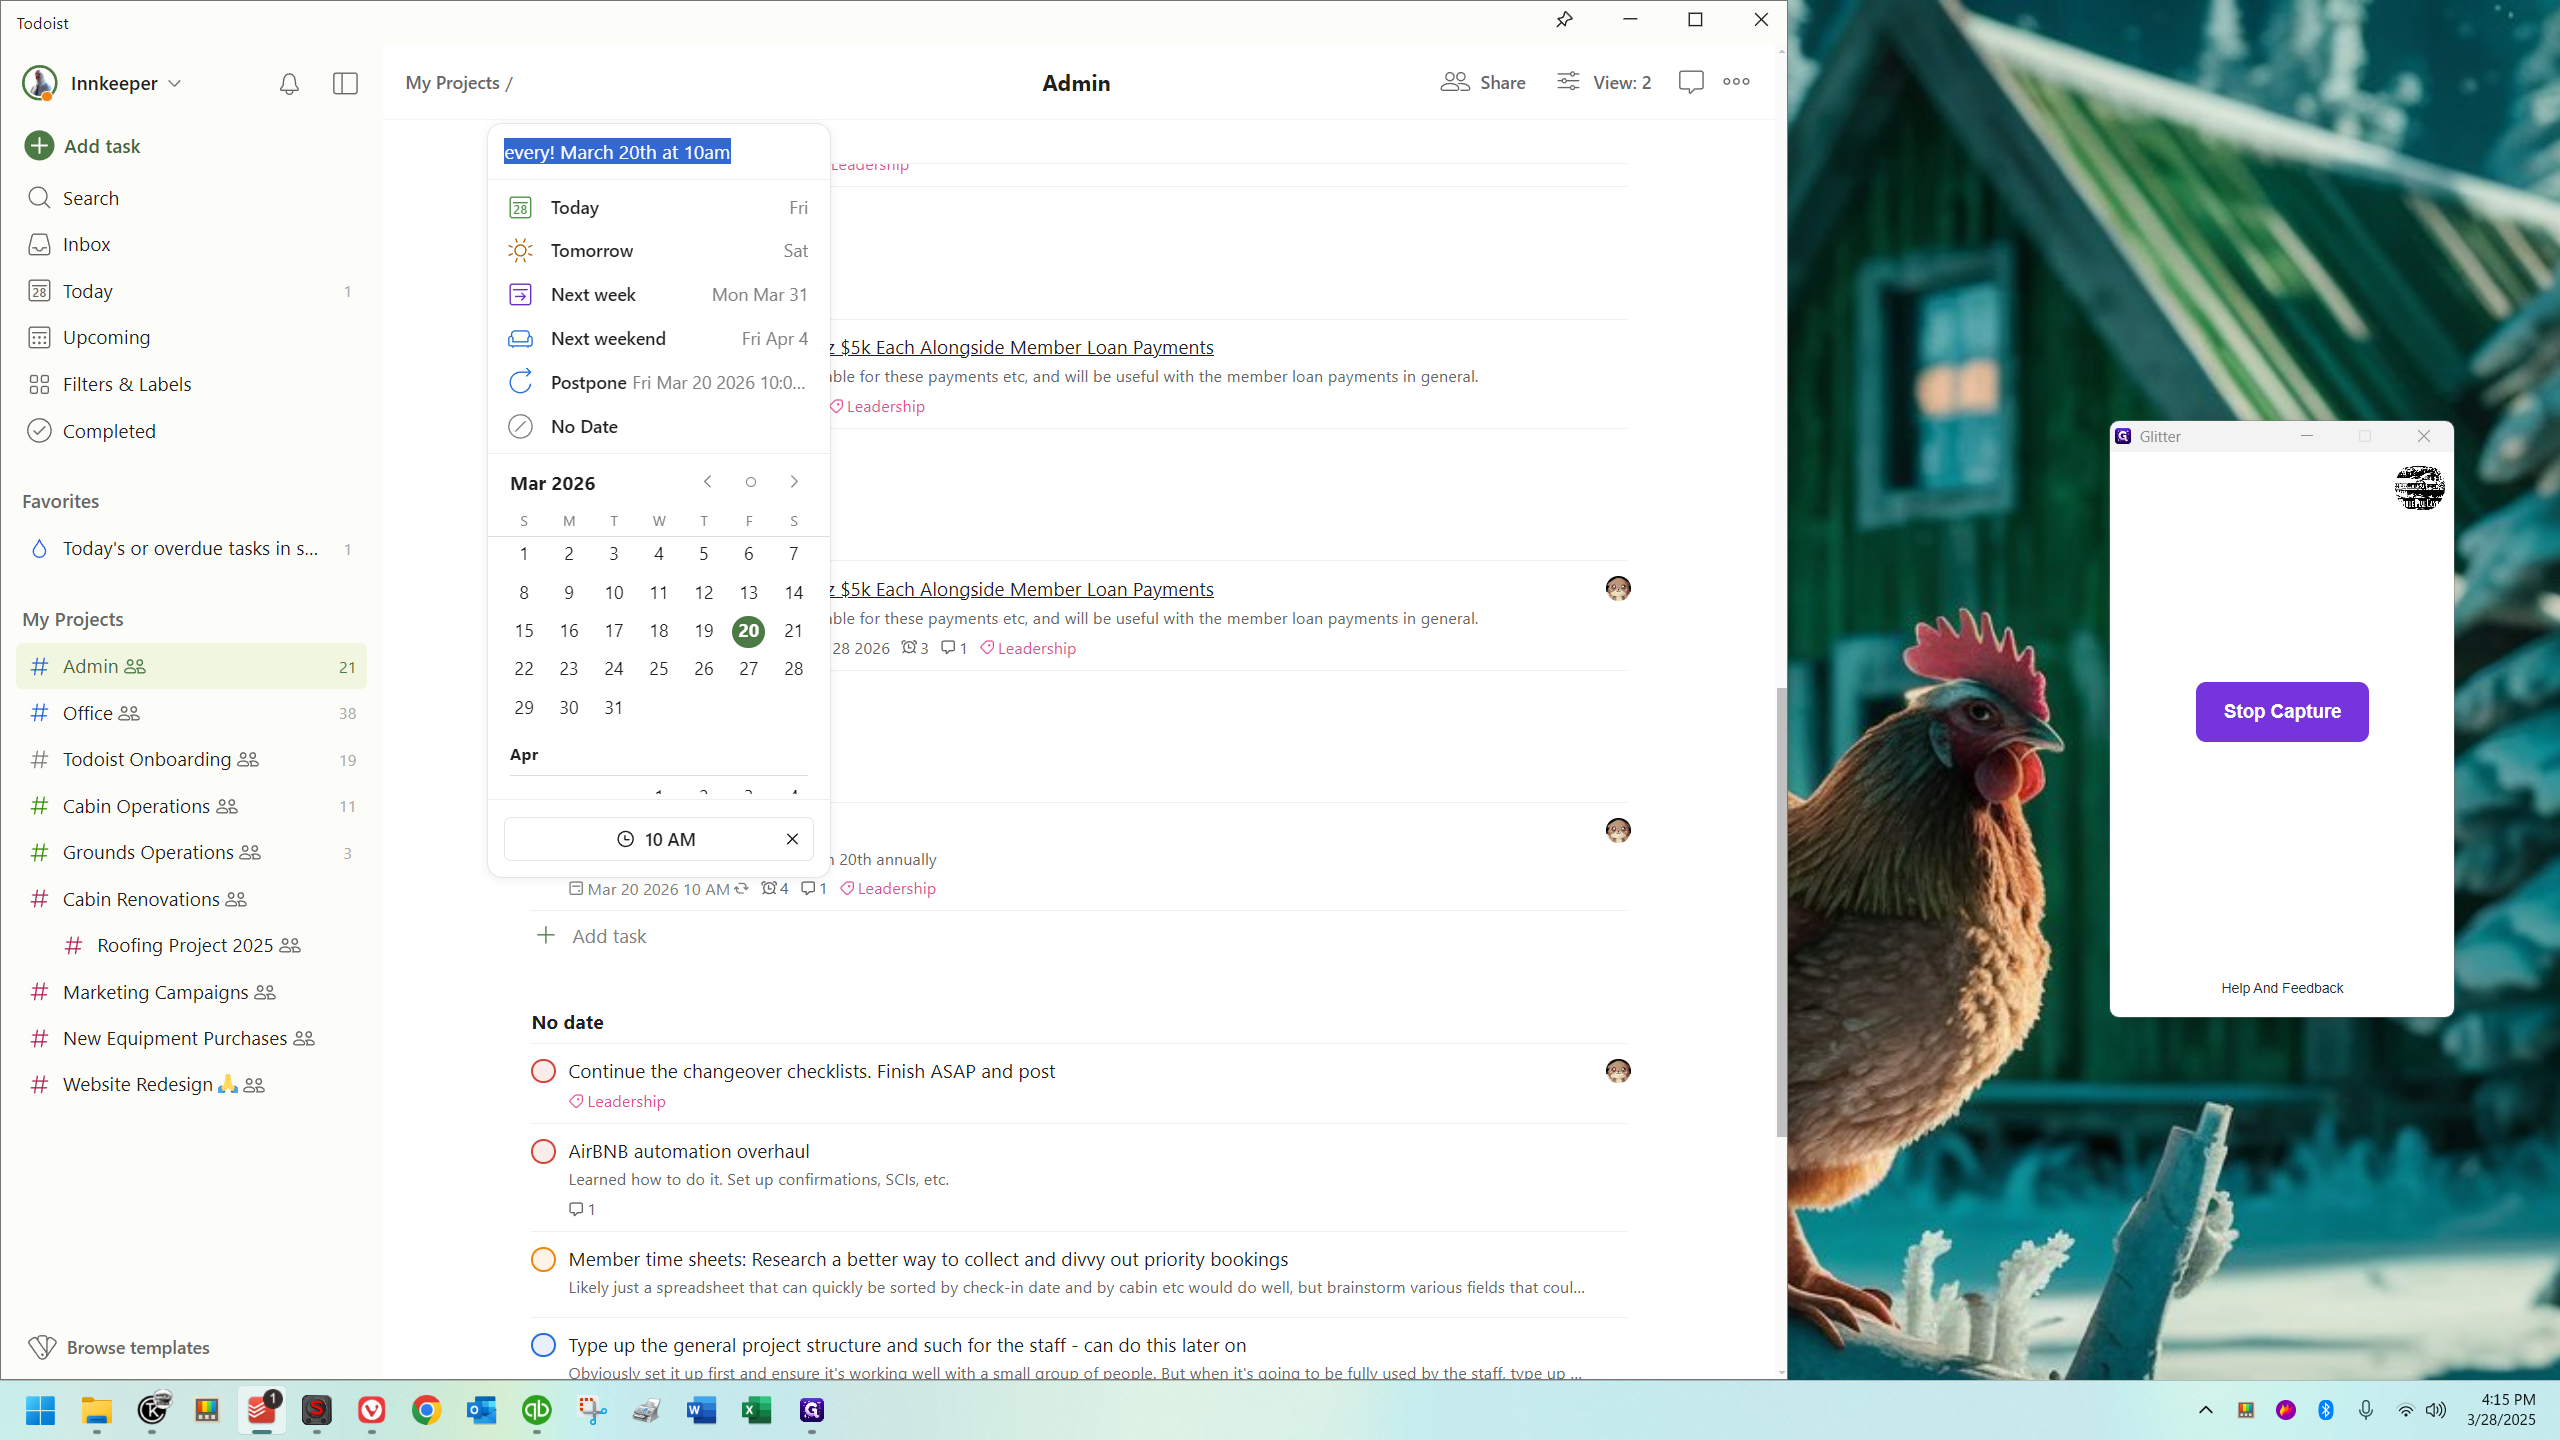
Notice on March 31st, you see a little recycling symbol next to the date and time.

2
Click on "Monday 6 PM"
Step #2: Click on "Monday 6 PM"
3
If I click the time, like I just did, this pops up, showing I've typed "every! last day at 6 pm"
Step #3:  If I click the time, like I just did, this pops up, showing I've typed "every! last day at 6 pm"

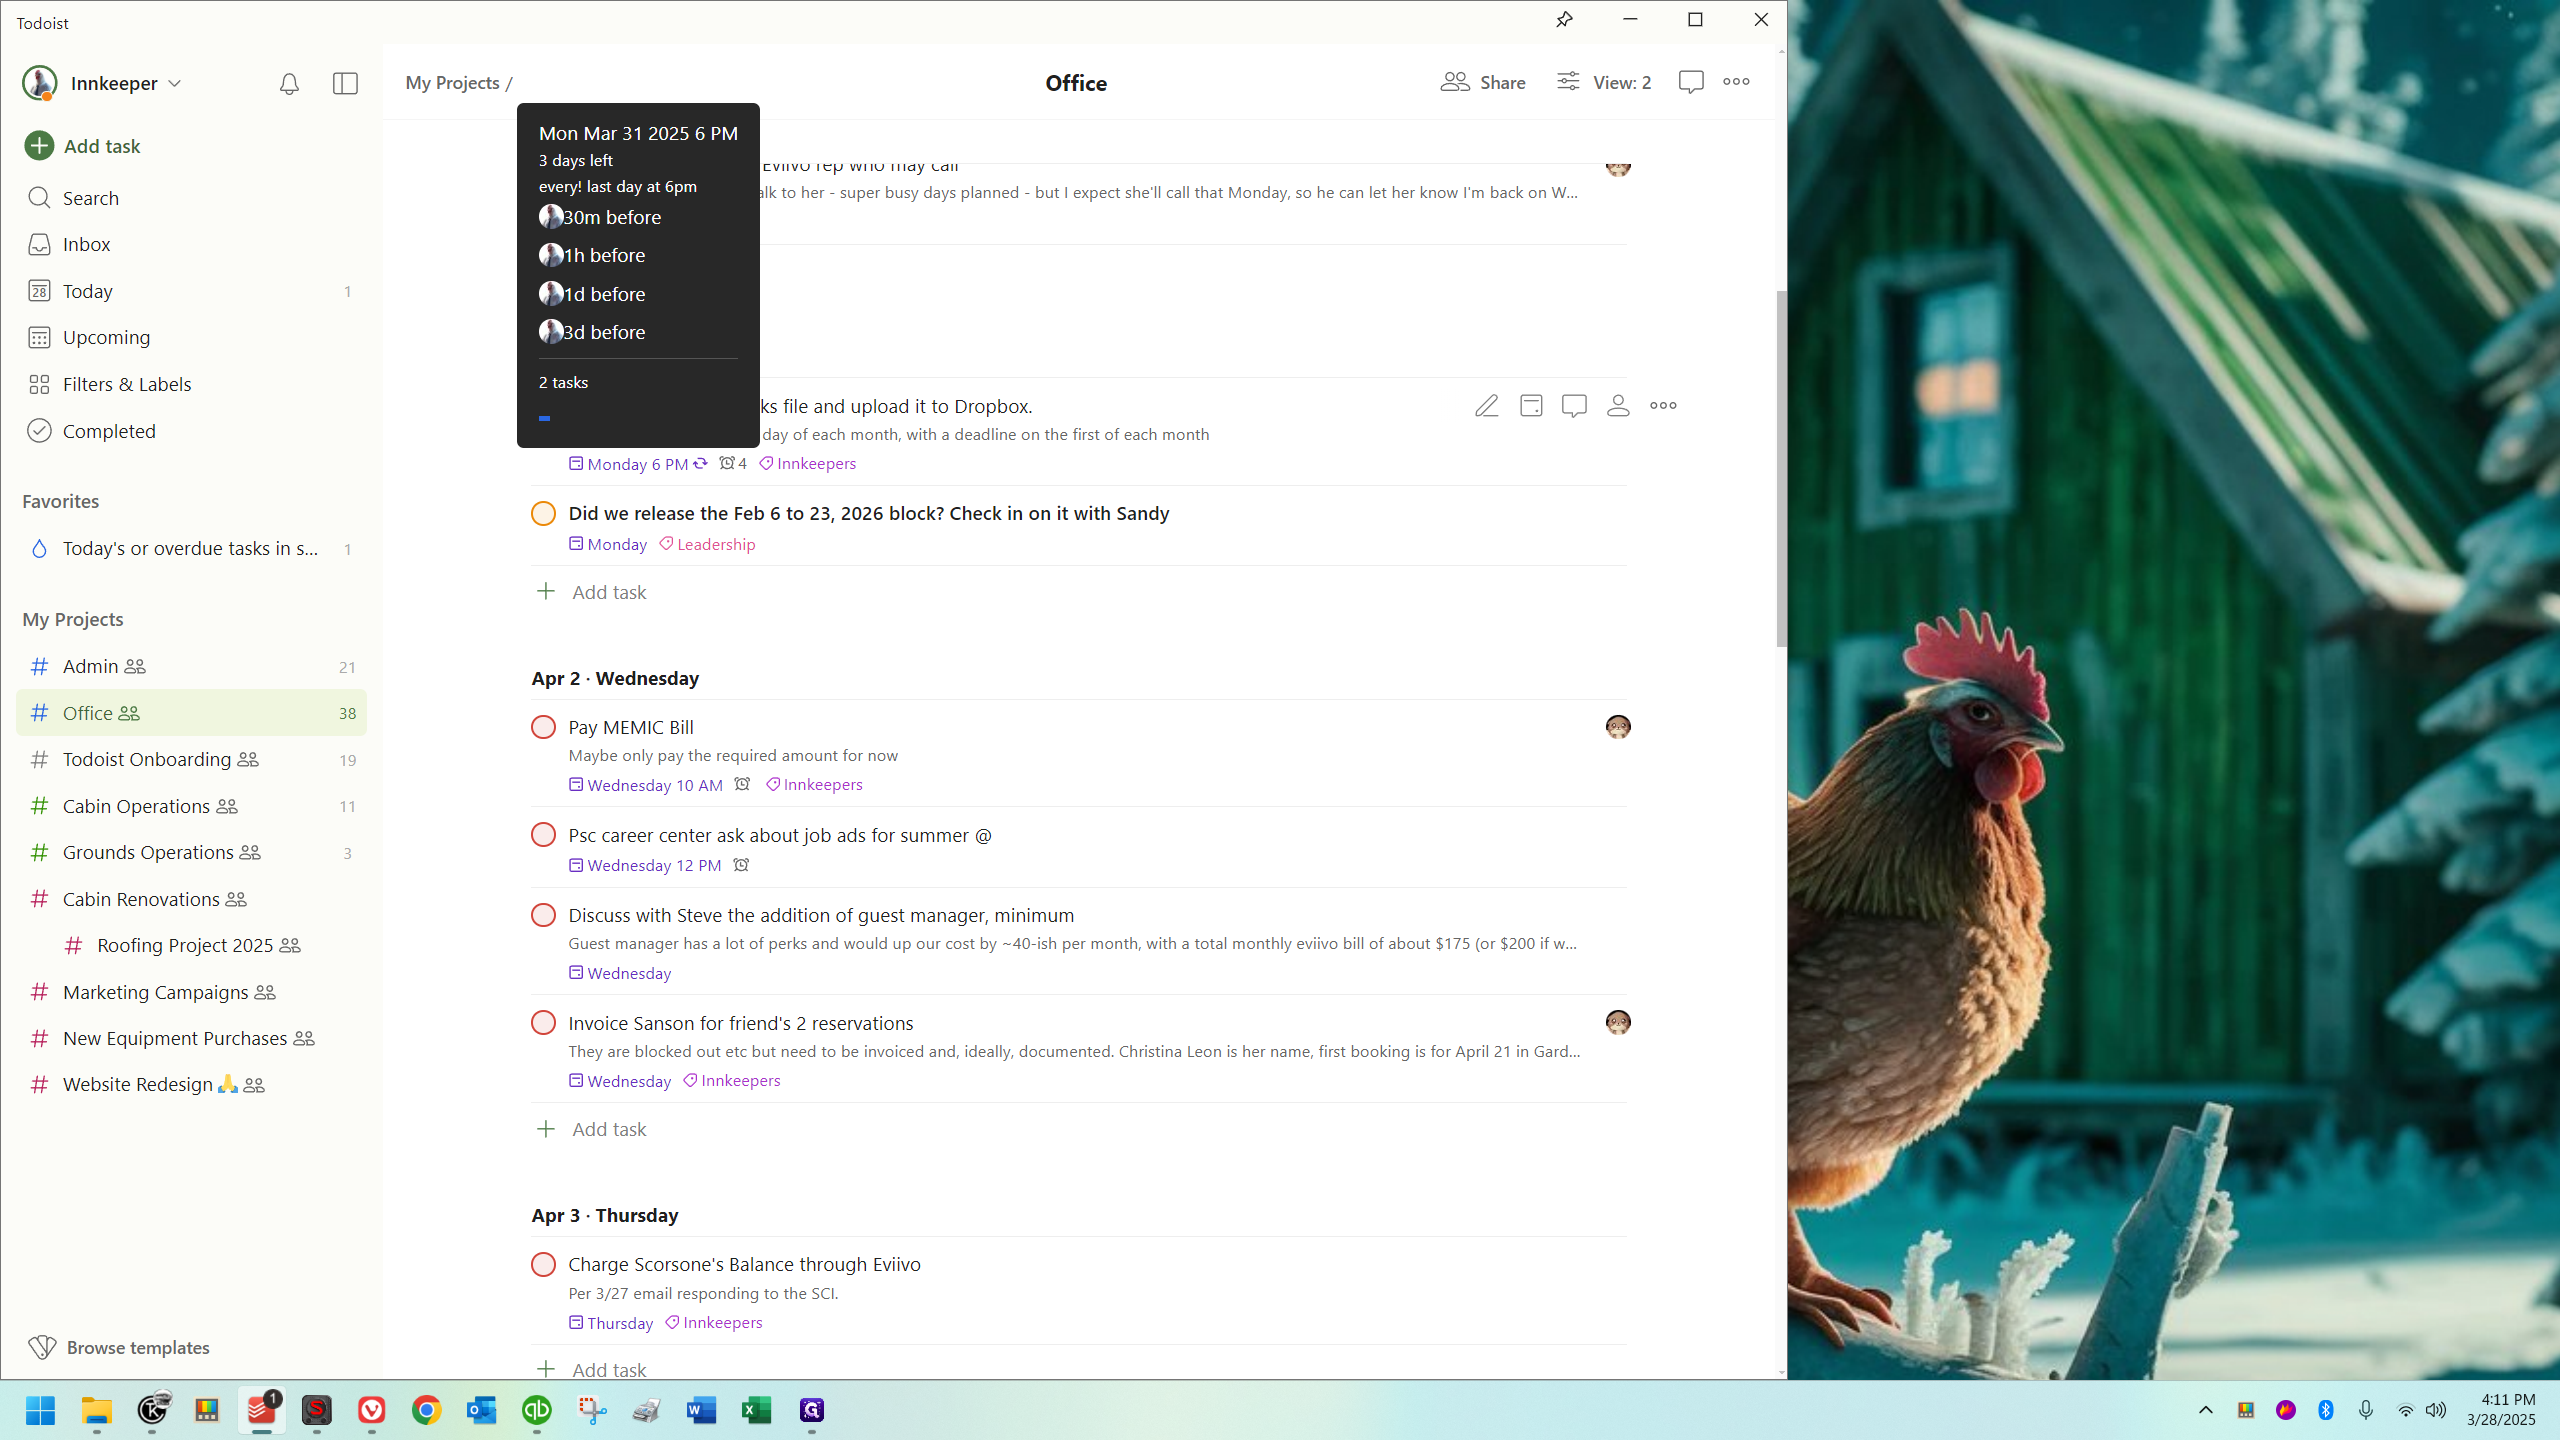
This means that every month, on the last day, this task will appear. This continues indefinitely unless and until we stop it.

4
Look for the last day of April, which isn't listed here. You see it go from April 14th to May 14th.
Step #4: Look for the last day of April, which isn't listed here. You see it go from April 14th to May 14th.

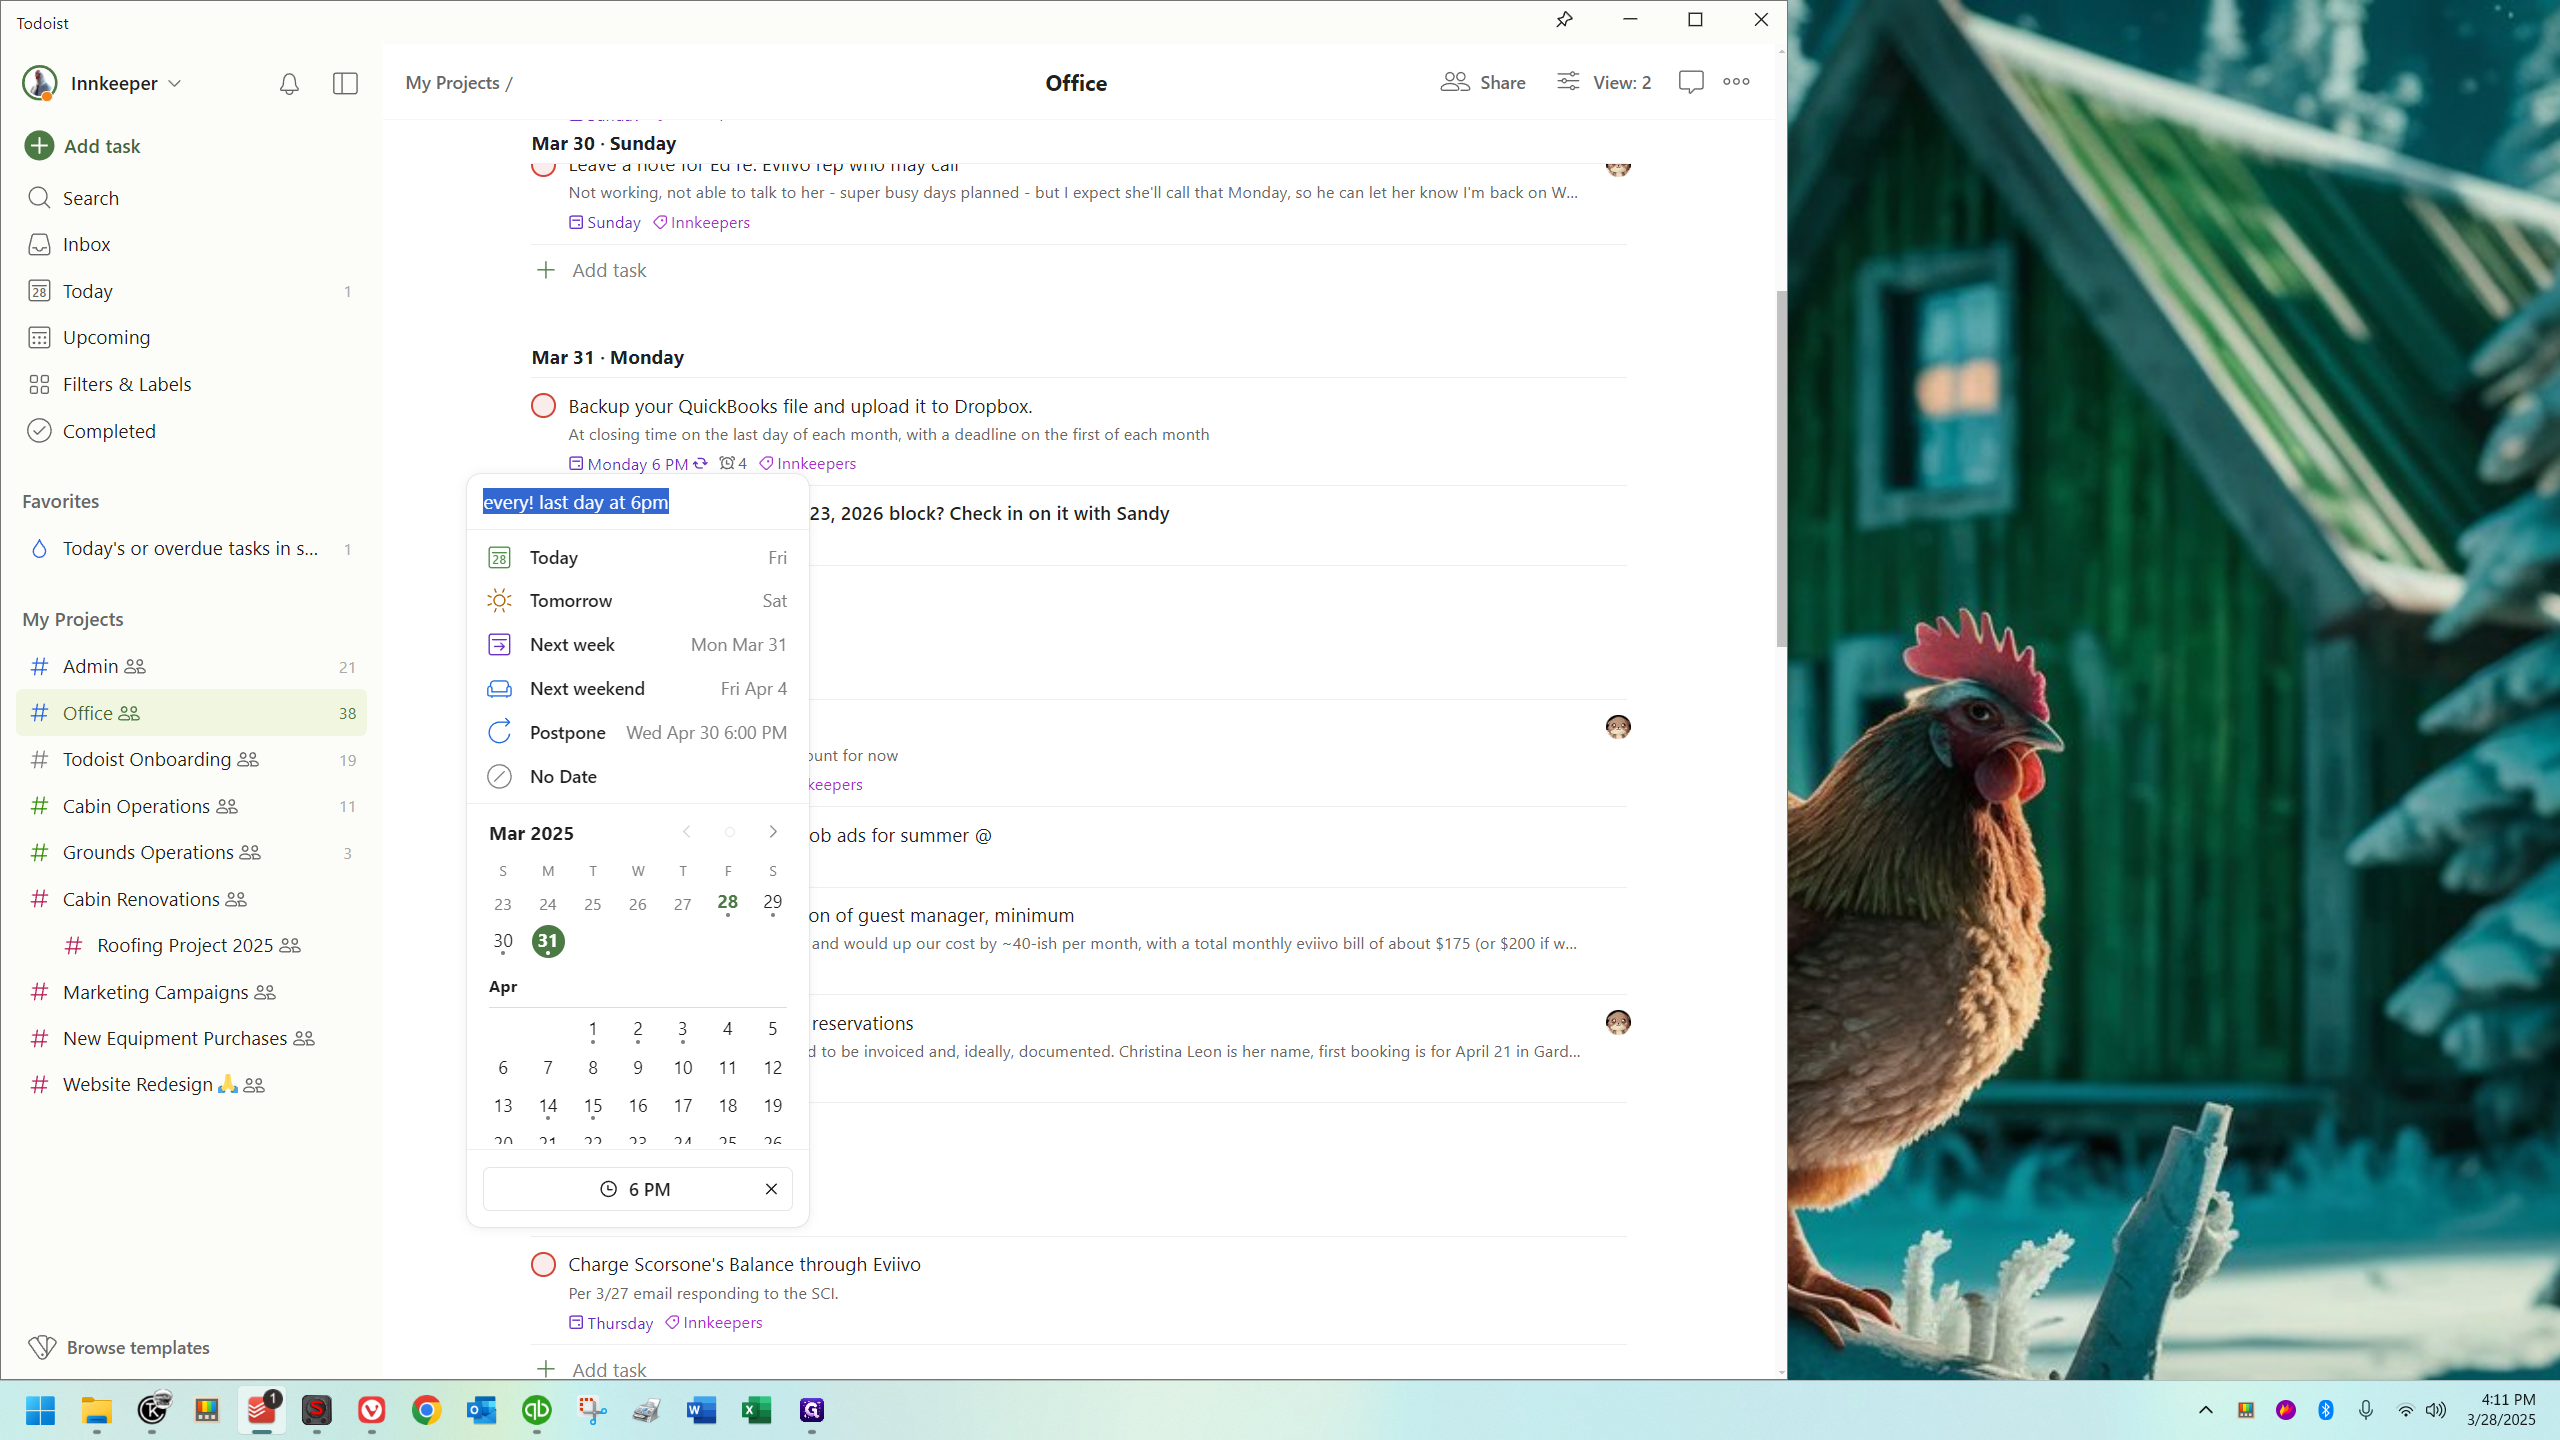
Watch what happens when I go back to March 31st and click on the circle to finalize this task.

5
Click here
Step #5: Click here
6
I just clicked it. A popup now says "Task completed. Next occurrence: April 30th at 6 p.m."
Step #6: I just clicked it. A popup now says "Task completed. Next occurrence: April 30th at 6 p.m."
7
If you look up here, March 31st is gone.
Step #7: If you look up here, March 31st is gone.
8
I'm doing this to get it out of the way early because I'll be using this one instead, which is a one-off.
Step #8: I'm doing this to get it out of the way early because I'll be using this one instead, which is a one-off.

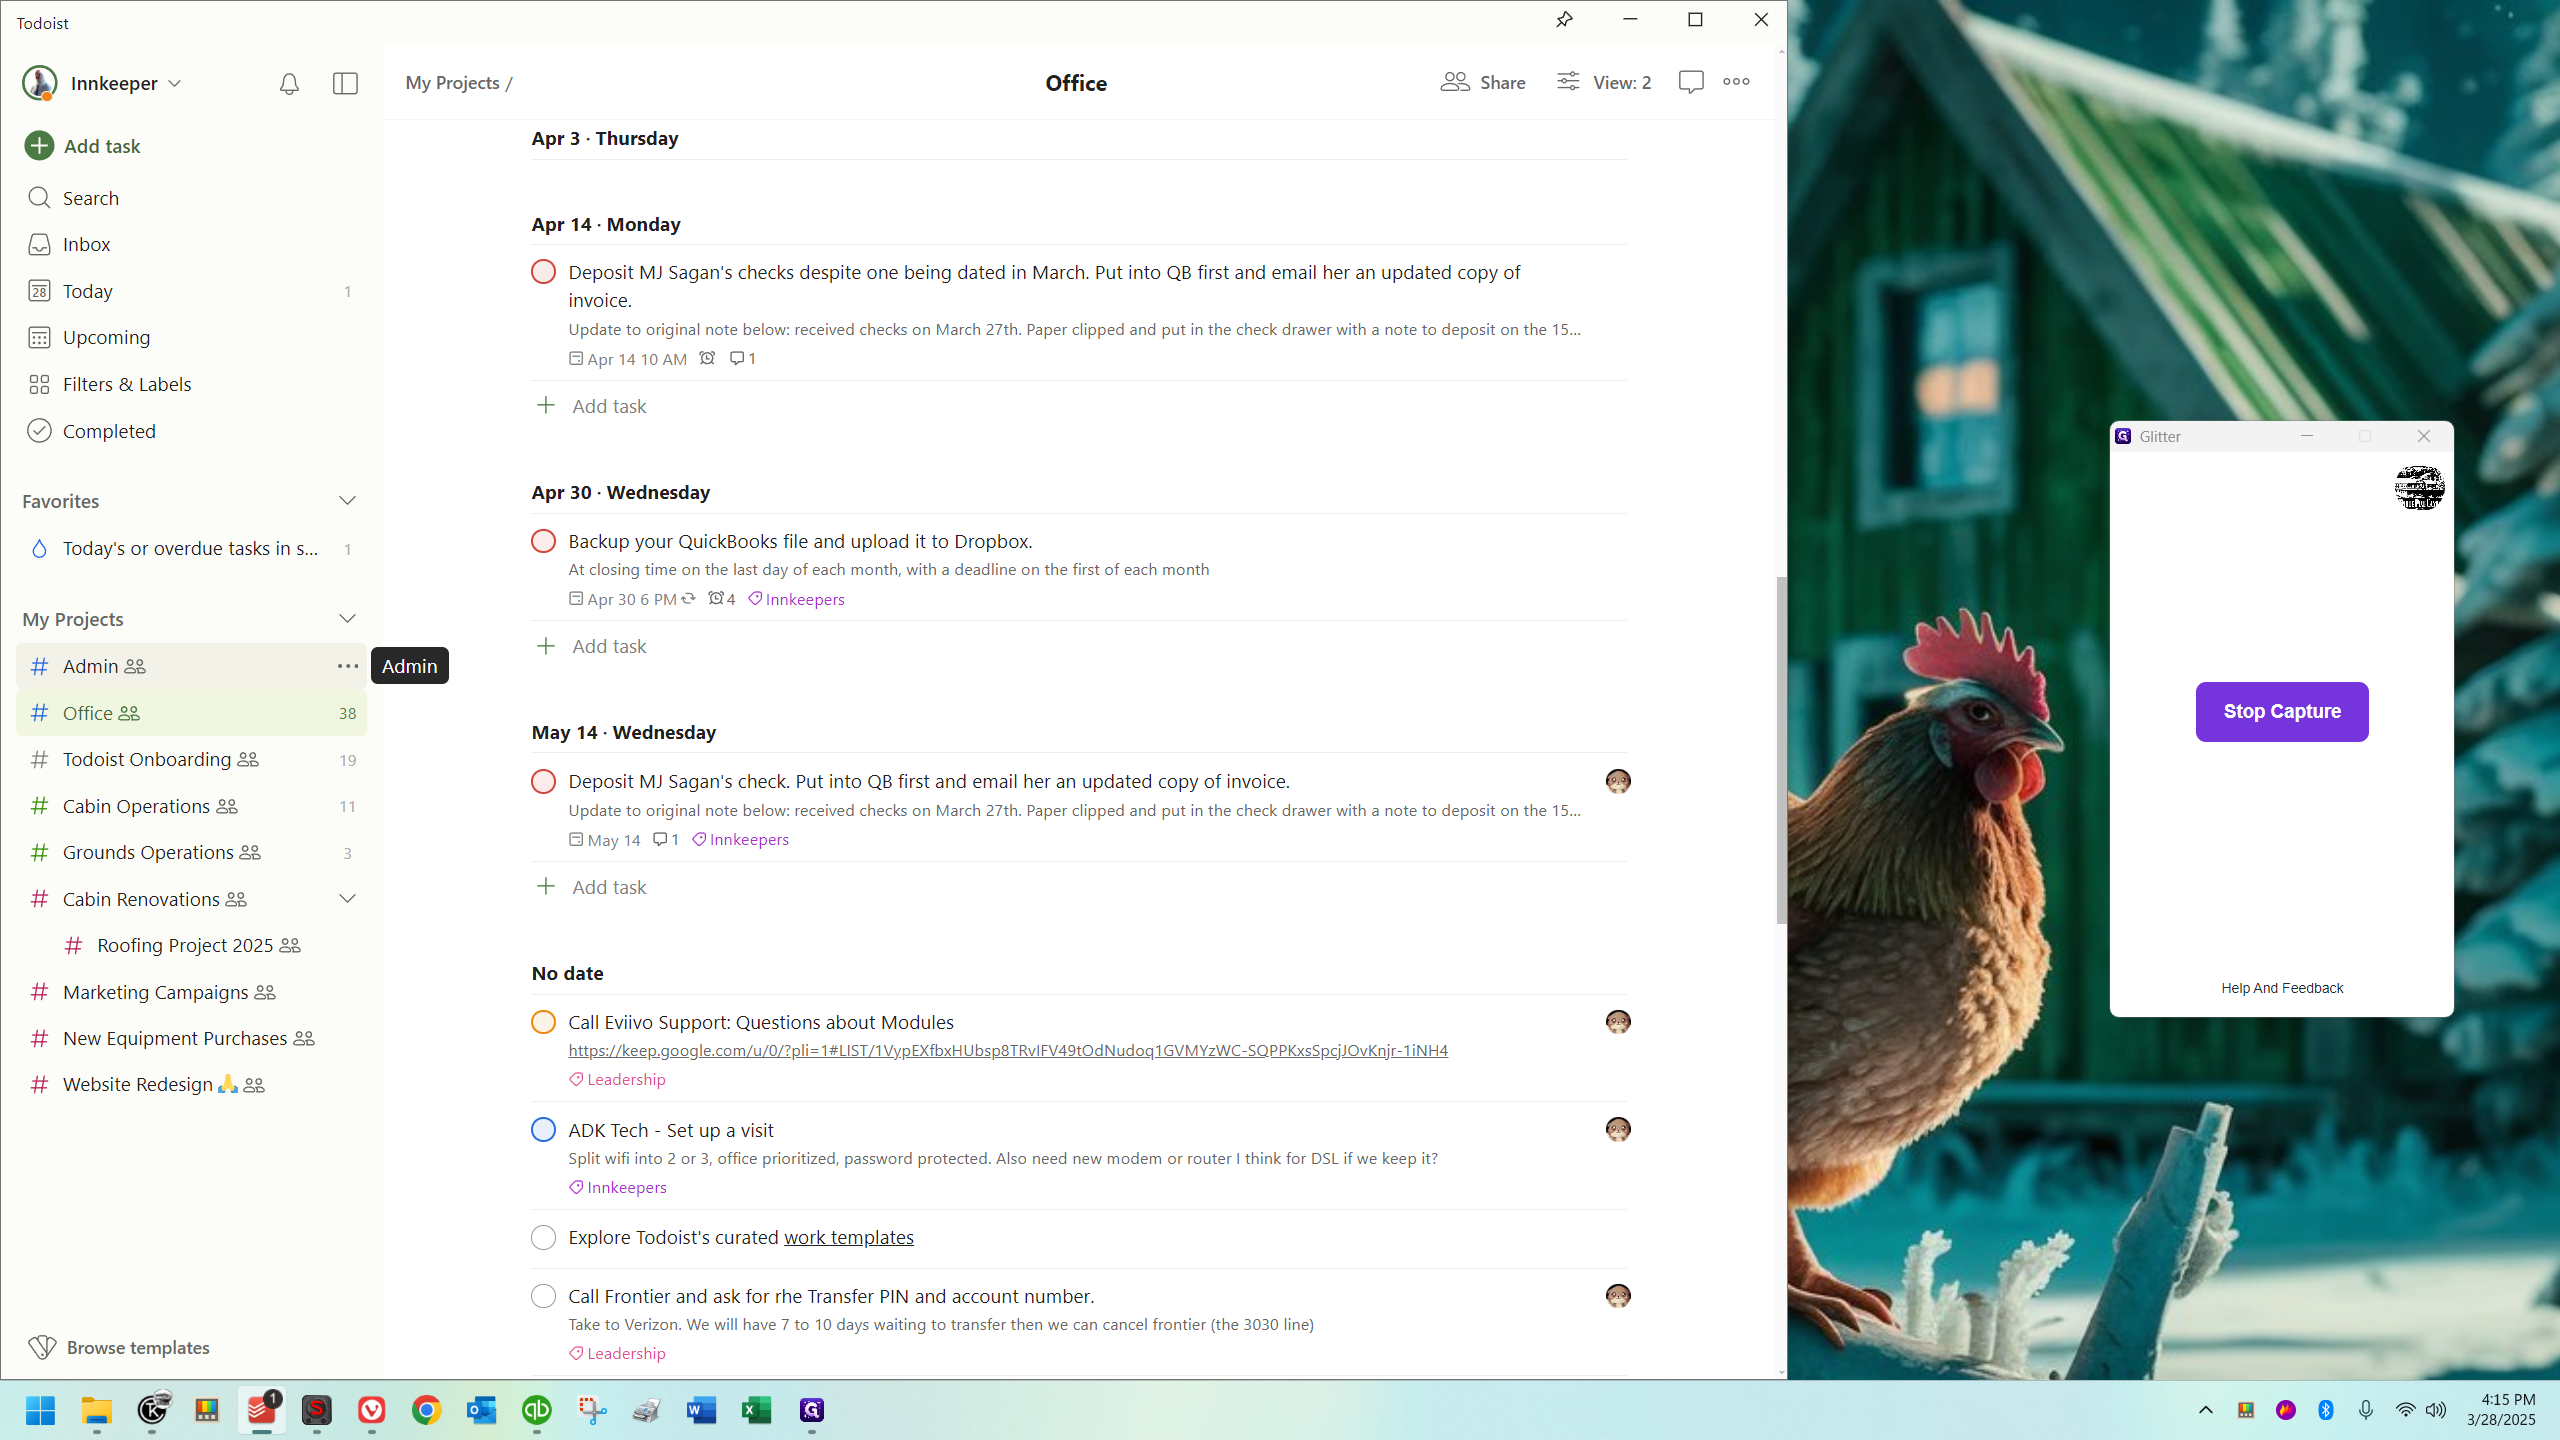
Now - if we go to April 30th, we'll find it.

9
And there it is! Backup your QuickBooks 👍
Step #9: And there it is! Backup your QuickBooks 👍

It's the same task we just clicked to complete a moment ago. These recurring tasks generate the next one when we complete the current one. So, we must complete the March task for the April one to appear. Once we complete the task on April 30th, we'll see the one for the end of May.

This software is excellent and extremely helpful in general, but the best feature, in my opinion, are these recurring tasks. When set up correctly, they ensure we never forget important tasks.

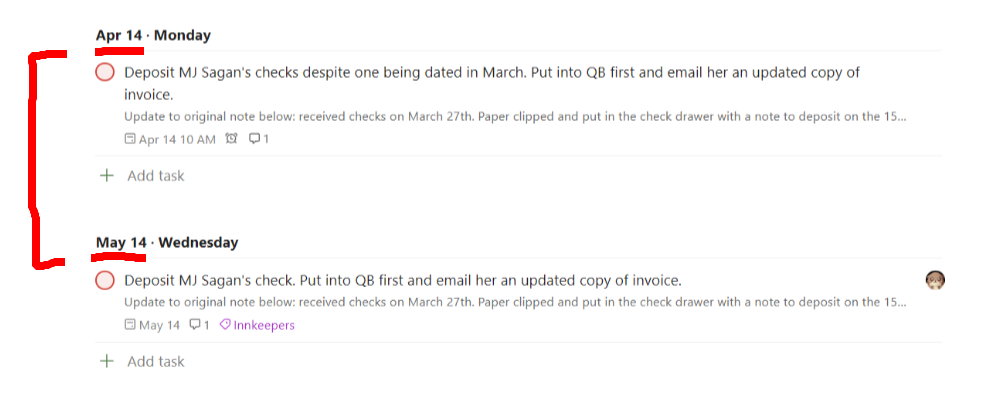
For example, when I enter the admin project, I don't have to scroll very far into next year to see how useful this is.

10
Click here
Step #10: Click here
11
See this here? March 20th, 2026. It already includes our New York sales tax web form. I just clicked the March 20, 2025 one to complete it the other day, and it immediately popped up all the way in 2026!
Step #11: See this here? March 20th, 2026. It already includes our New York sales tax web form. I just clicked the March 20, 2025 one to complete it the other day, and it immediately popped up all the way in 2026!
12
Every March 20th at 10 a.m. 😎
Step #12: Every March 20th at 10 a.m. 😎
13
Click here
Step #13: Click here

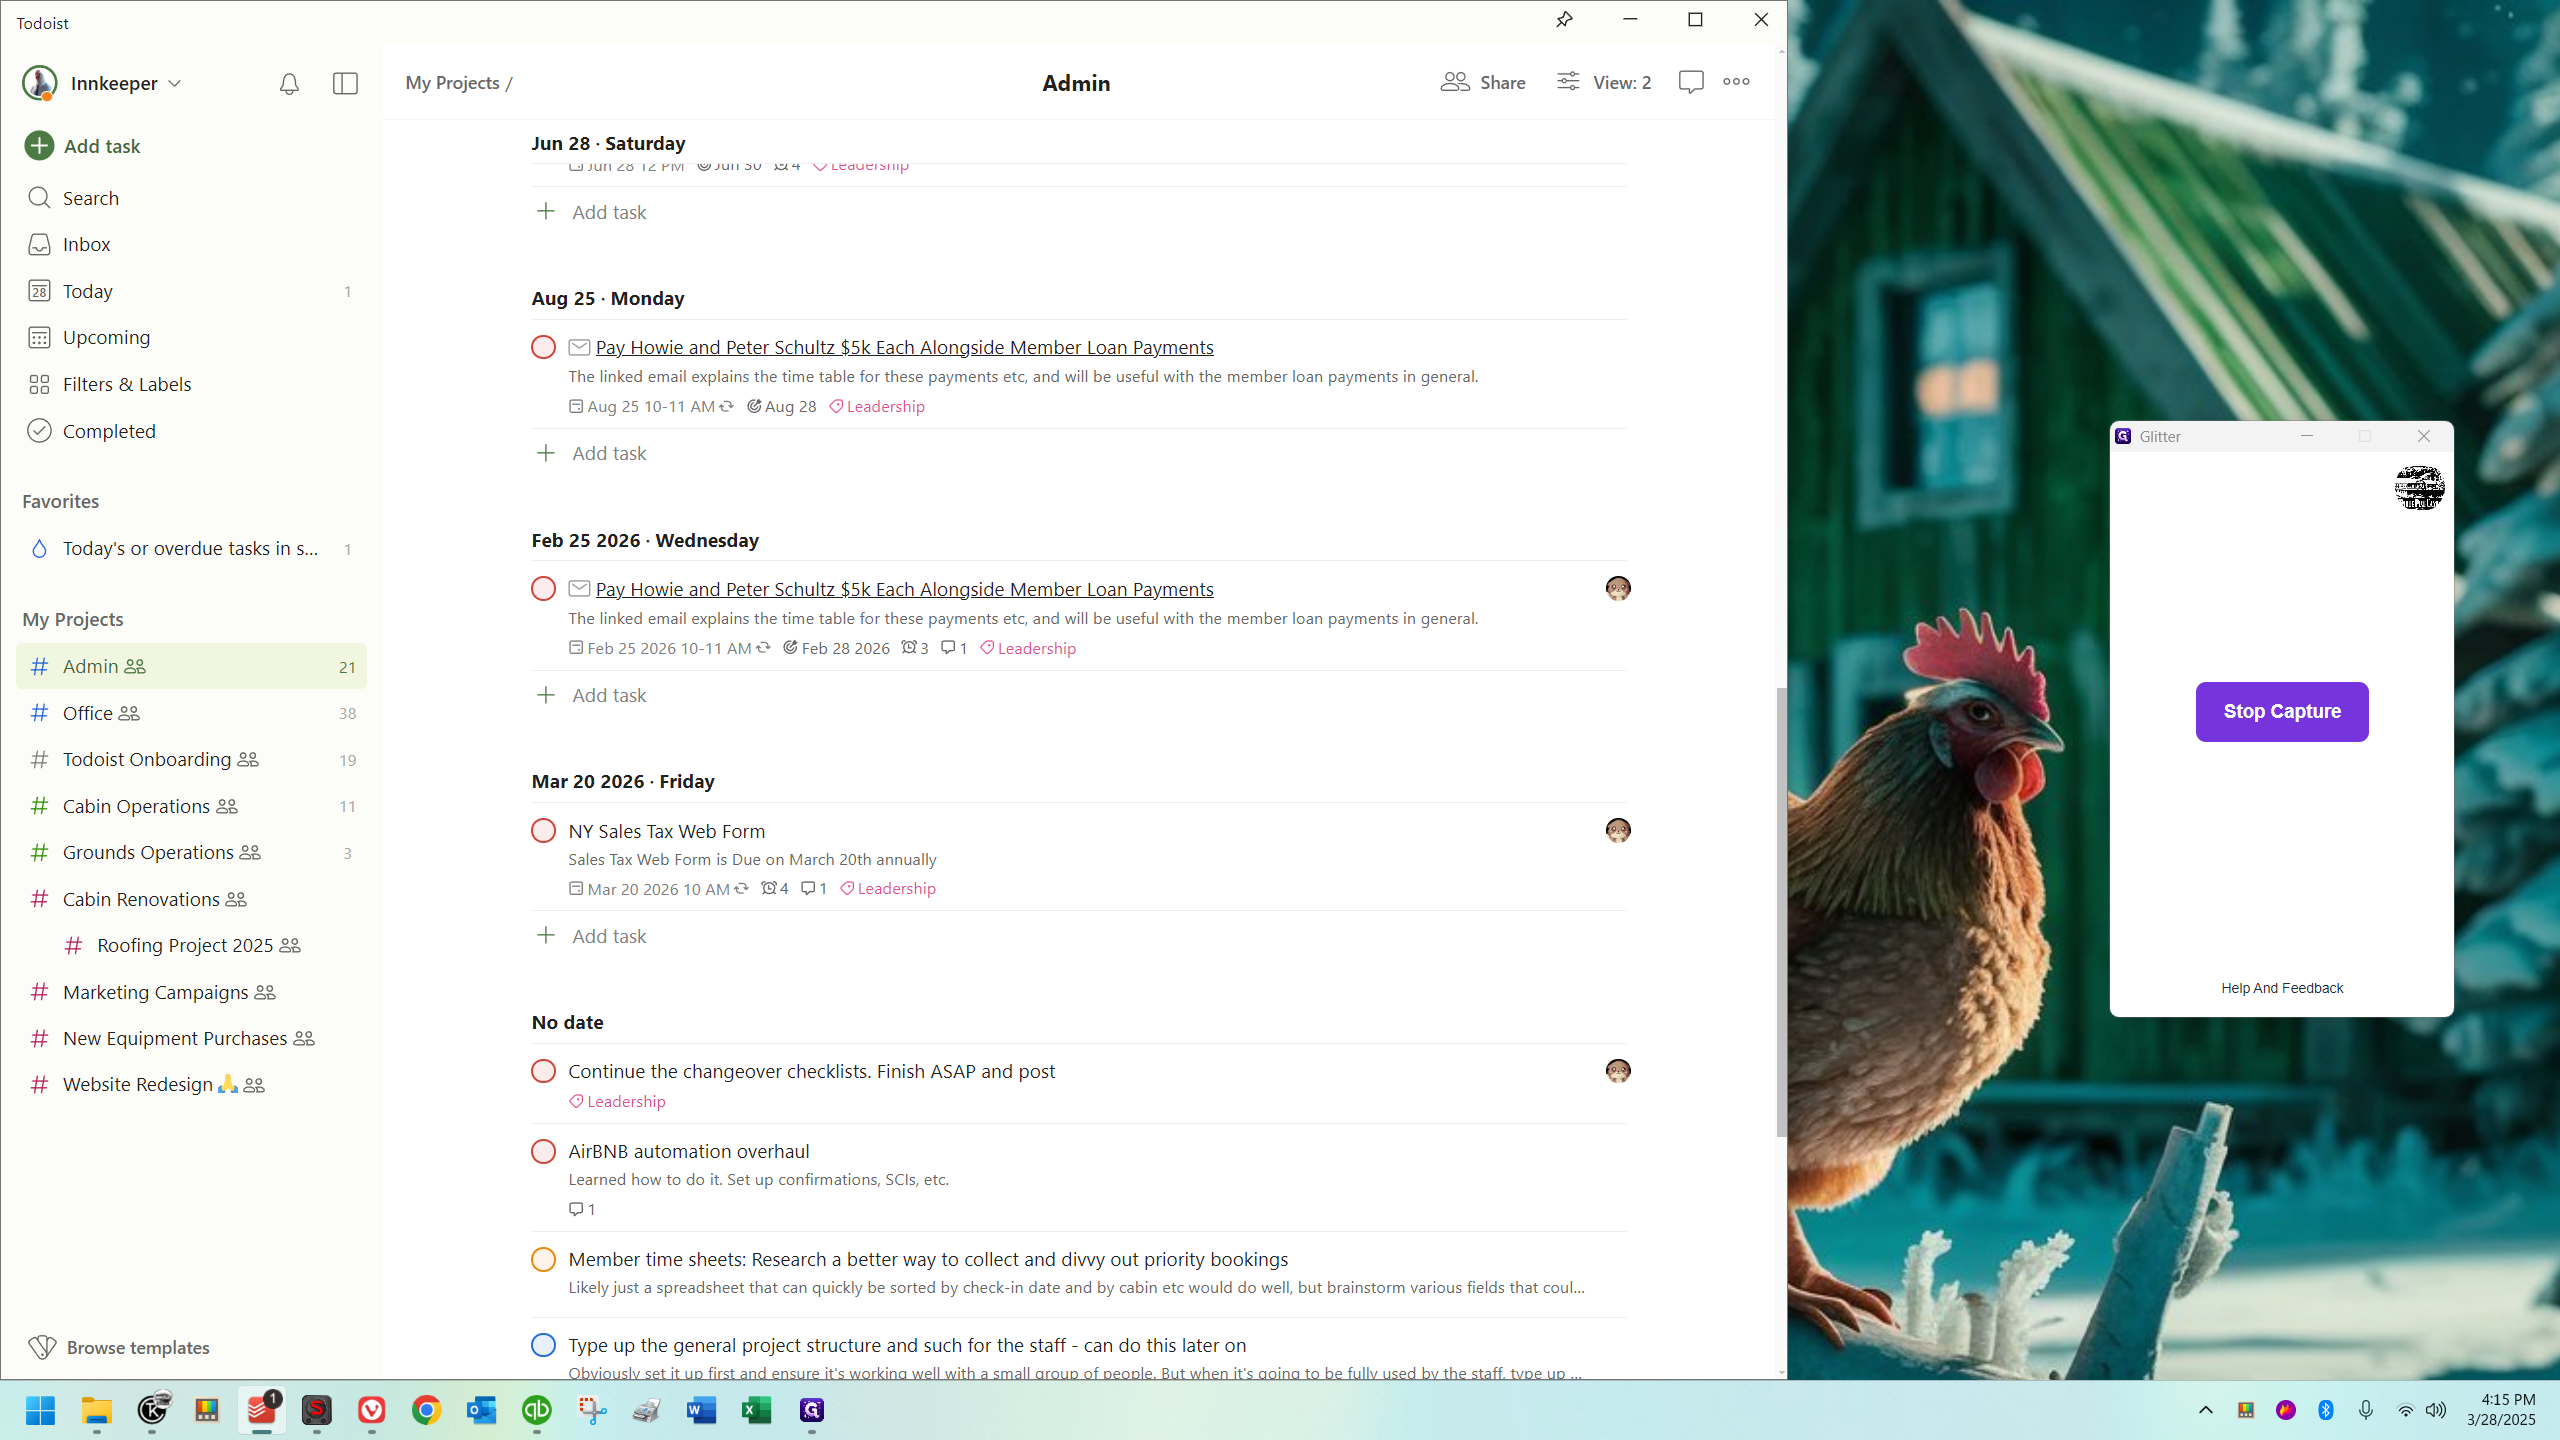
In the comments section, I've posted information and links to the NYS sales tax web portal. You can access a PDF from there. Additionally, I've included several reminders (notifications) below.

14
Behold! A thing of pure beauty!👍
Step #14: Behold! A thing of pure beauty!👍
15
This completes your Todoist teaser. Documentation is slowly underway!
Step #15: This completes your Todoist teaser. Documentation is slowly underway!