Setting Up Animations on a Webflow Website
A comprehensive guide on how to set up animations on a Webflow website, demonstrating how to adapt an animation to any type of element.
In this guide, we'll learn how to incorporate animations into a Webflow website. The process of adding animations can enhance the visual appeal and user experience of your site. By following a few simple steps, you can bring your website to life with engaging animations that capture visitors' attention.
Setting Up Animations in Webflow
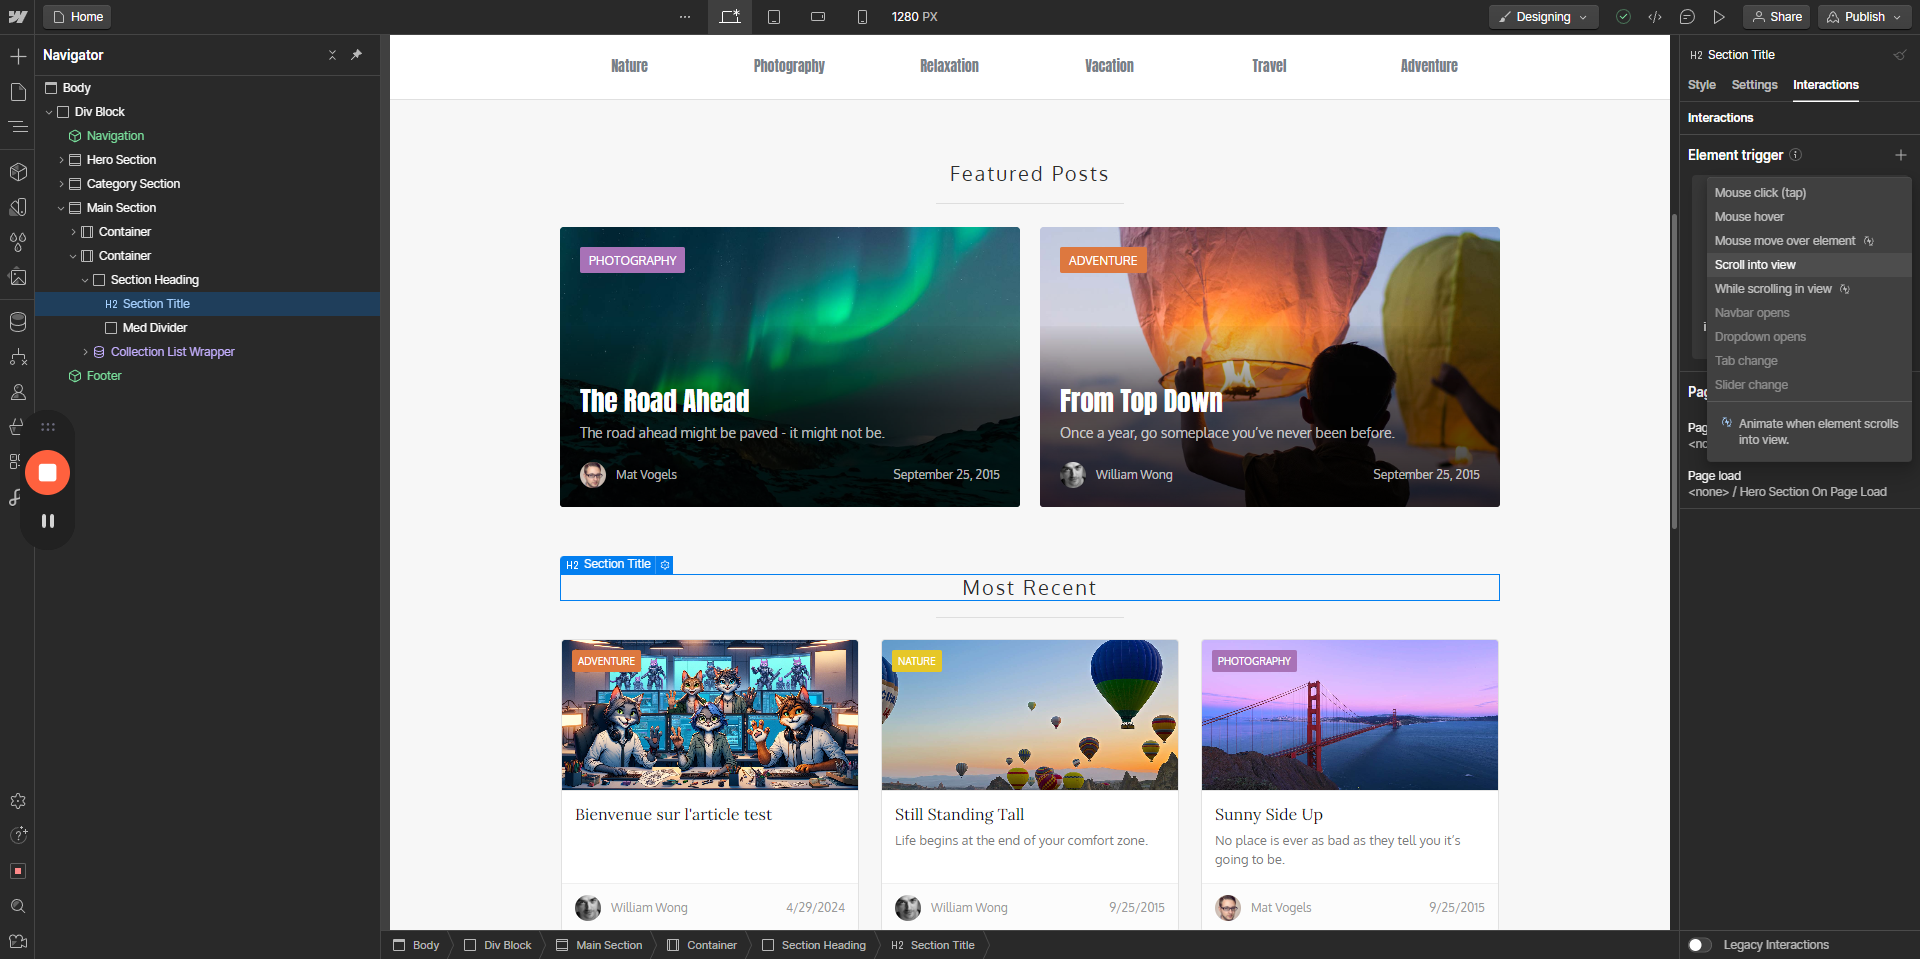
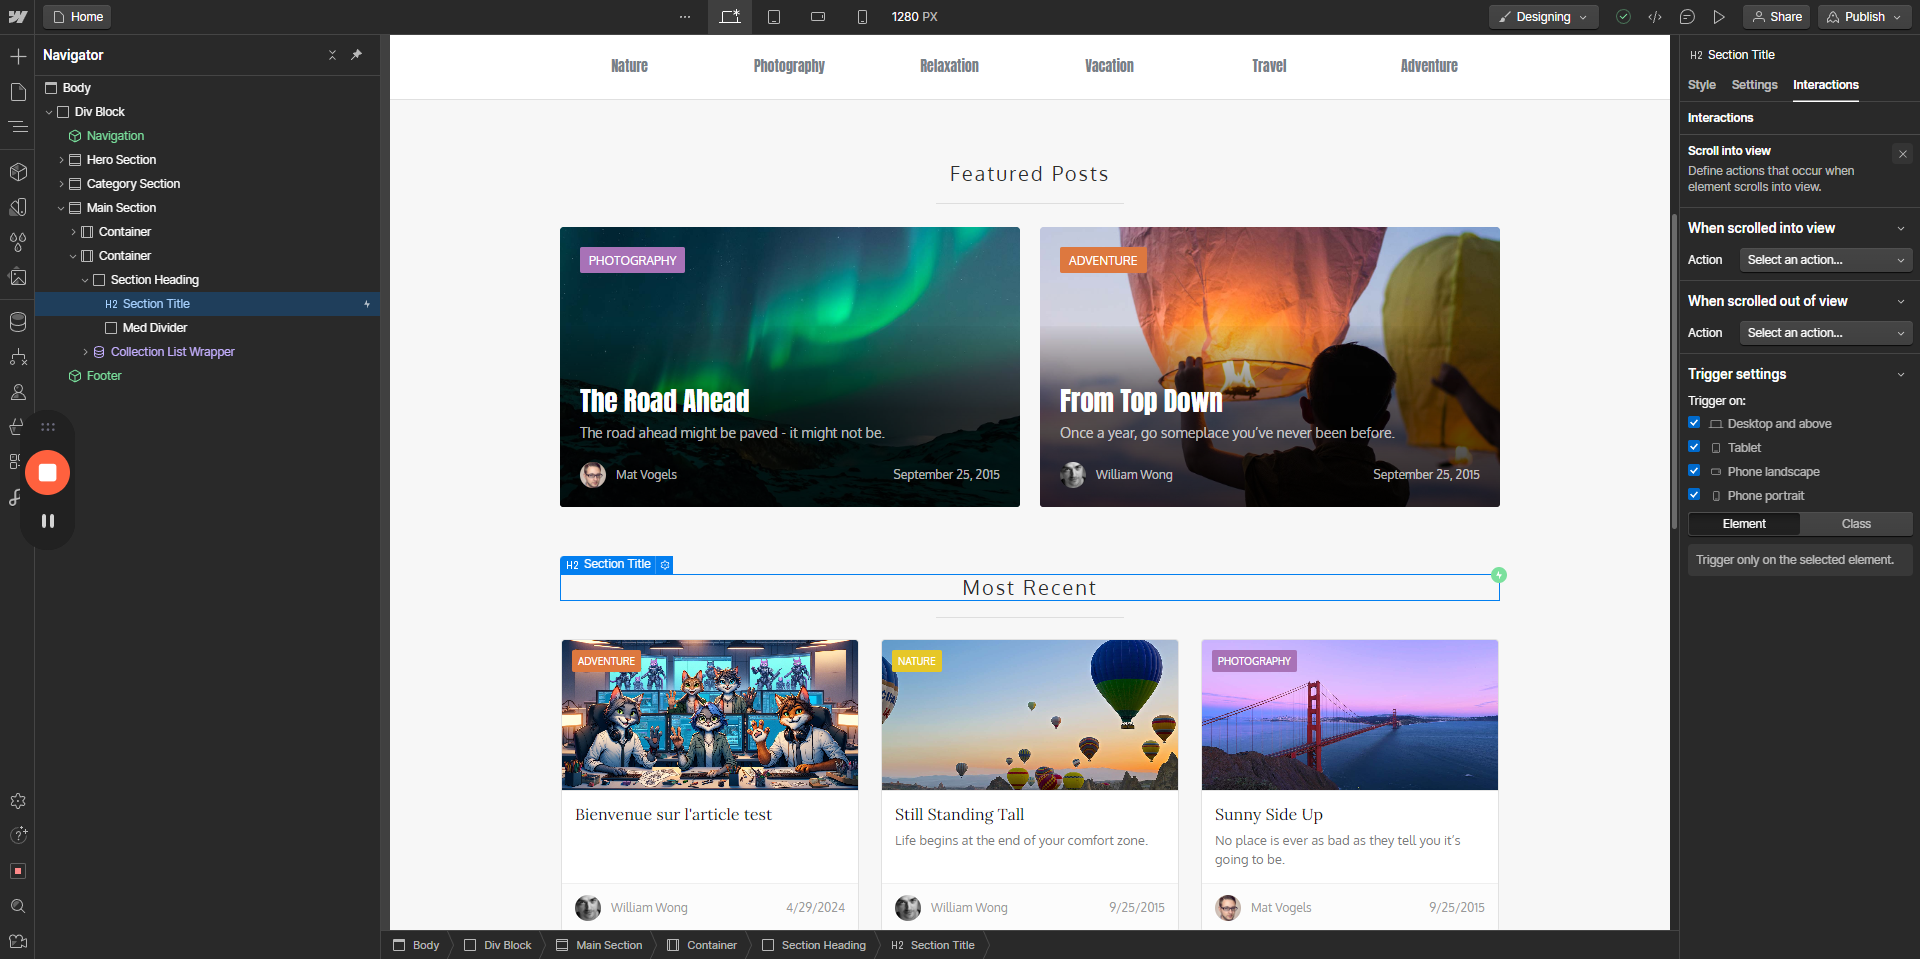
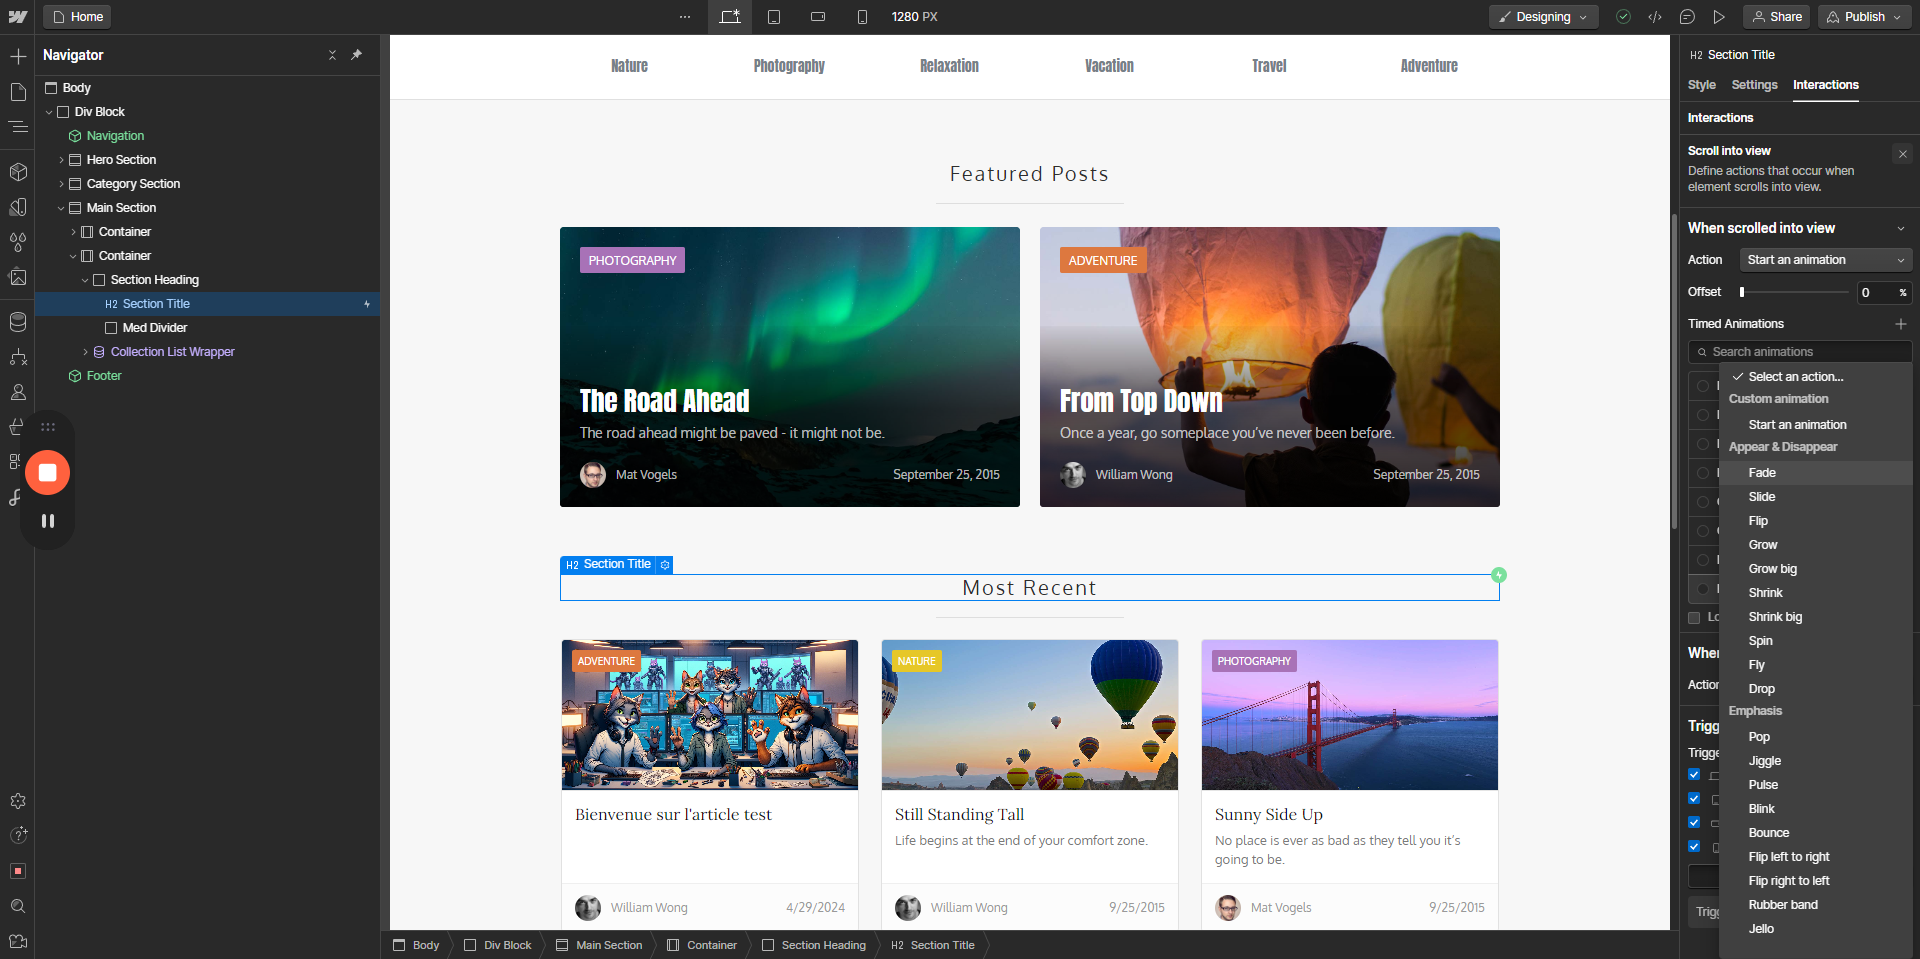
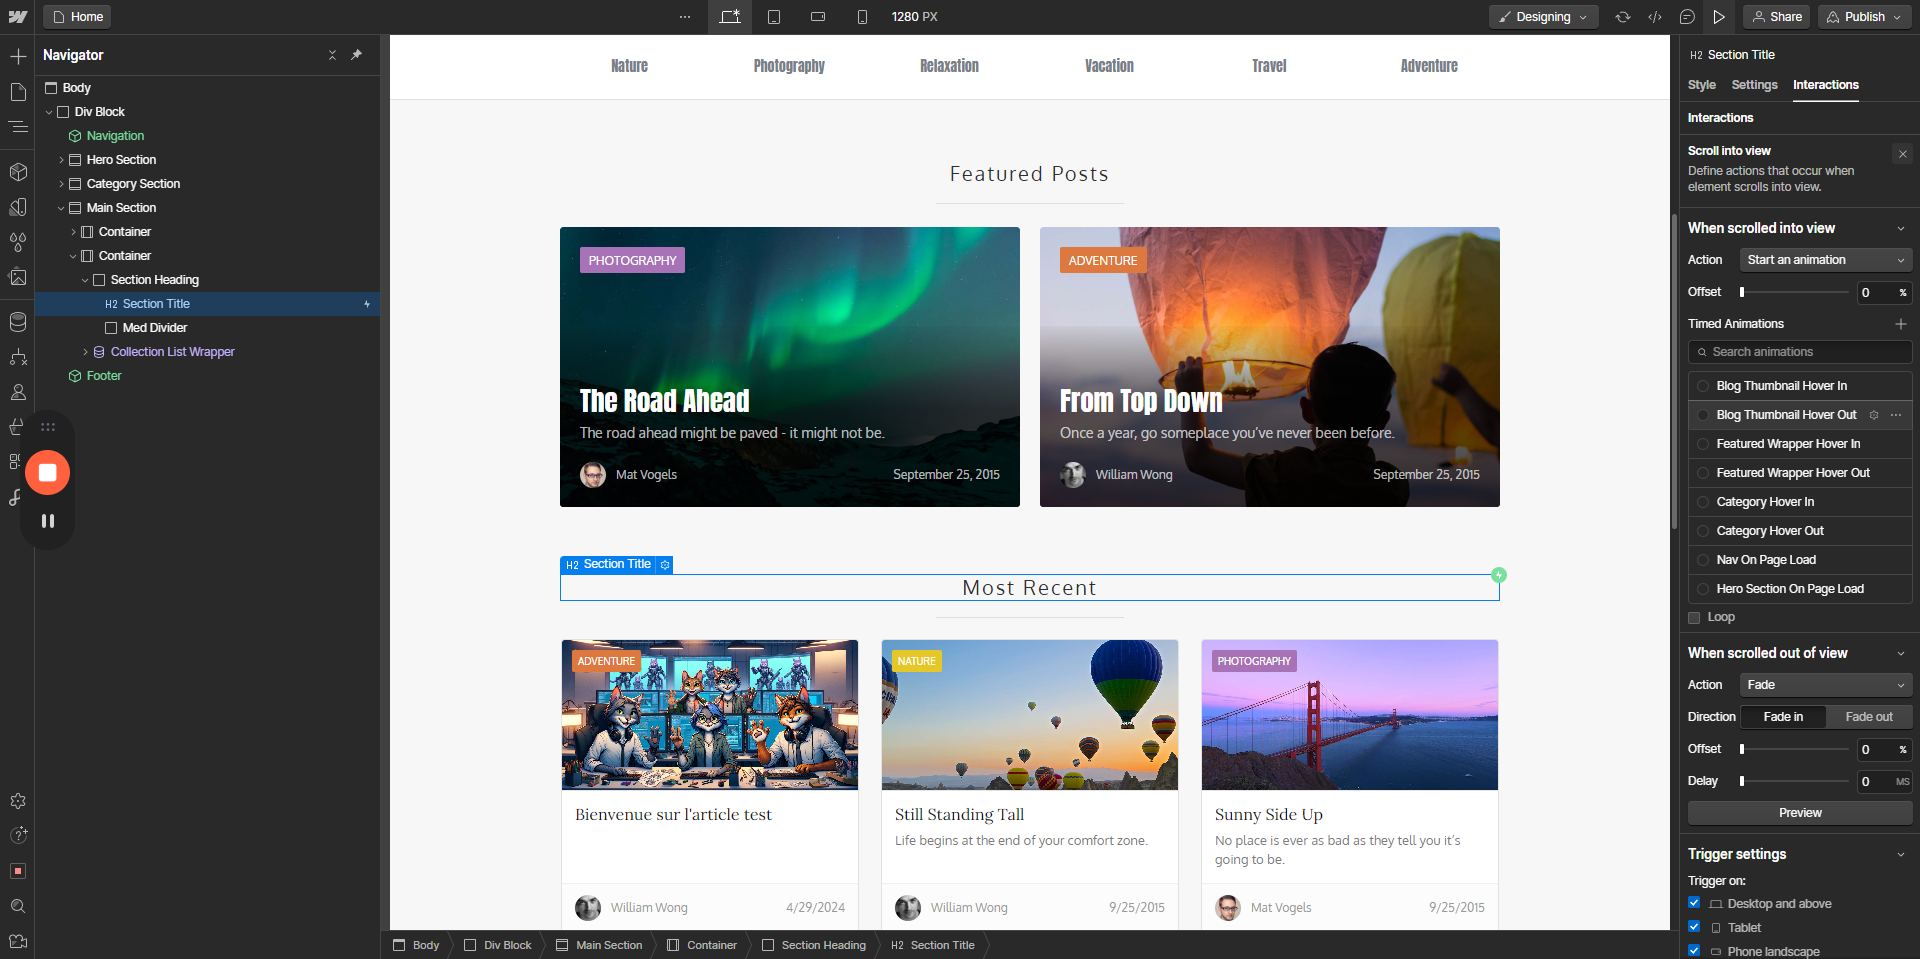
To begin, we'll explore how to initiate animations on a test site. Even if your website wasn't initially designed for animations, you can easily customize elements to include dynamic effects. By accessing the interaction settings and defining triggers based on user actions like scrolling, you can seamlessly integrate animations into various elements of your Webflow site.
Let's get started.
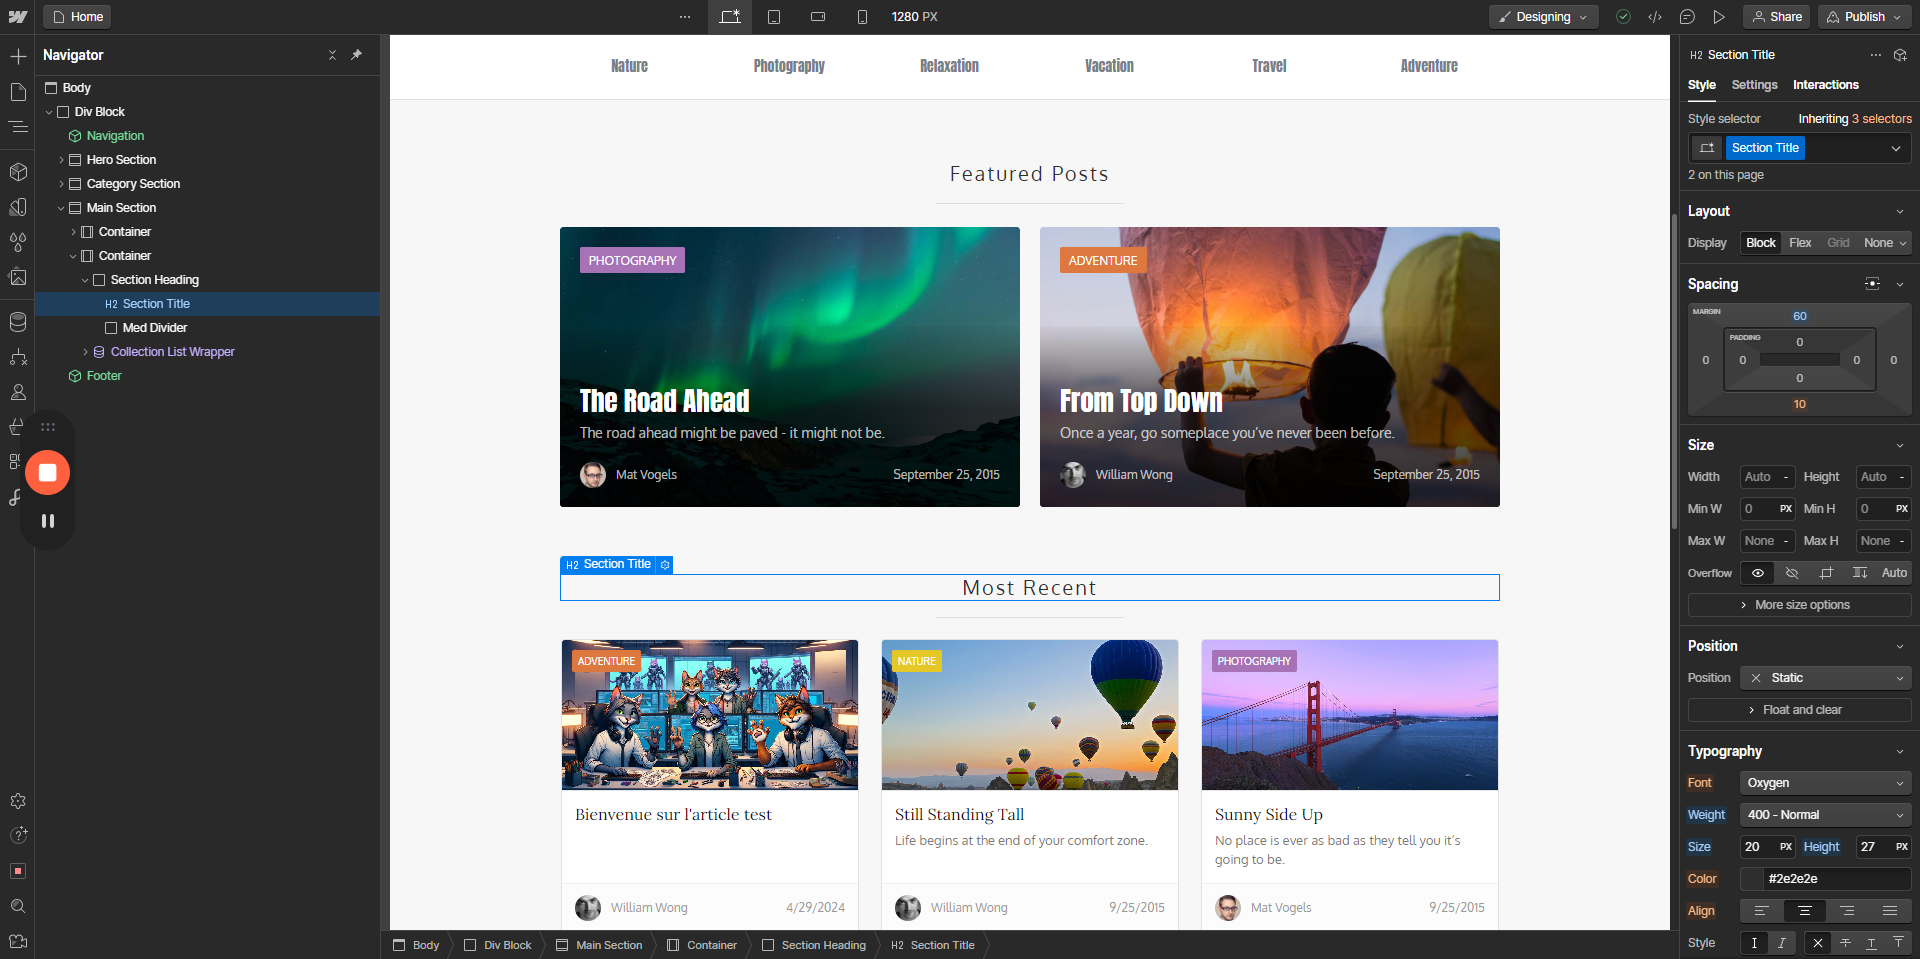
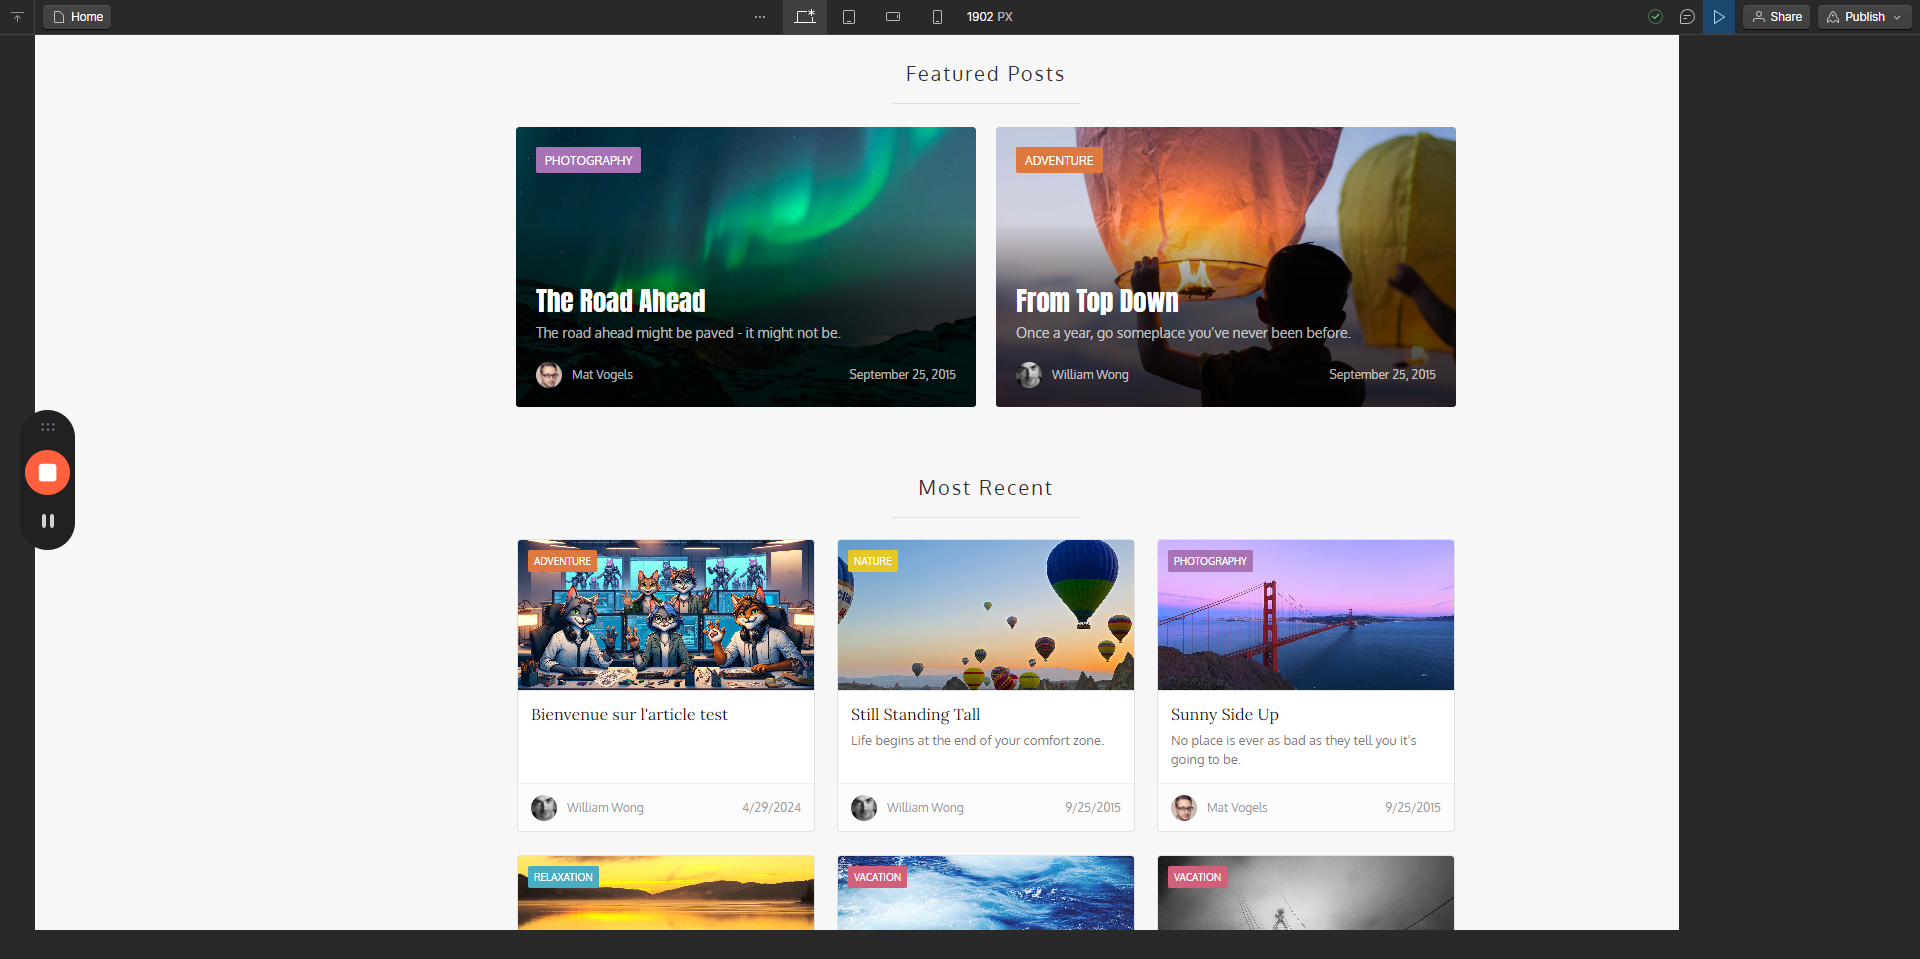
Welcome to my presentation on setting up animations on a Webflow website. Let's dive right in and see how it's done on a test.
Let's try this. We will open a website that is not designed for this purpose, but the idea is to show that we can adapt an animation to any type of element. When selecting an element, go to interaction, place a trigger element that states when scrolling on the view, then take an action that initiates an animation from scratch.